
What is Music Production? (Detailed Guide)
Understanding Music Production: How to Make Music
(Looking to master chords and melodies without the boring academic music theory? Skip straight to our (Not Boring) Music Theory Guide.)
When you’re new to music production, everything can feel abstract. You open a DAW, see a blank timeline, and suddenly you’re staring at a world of buttons, tracks, meters, and menus that don’t mean anything yet. It’s like being handed a spaceship with no instruction manual.
But here’s the truth: Every song - from a simple beat to a full cinematic score - is built from the same basic building blocks. Once you understand these pieces, the whole process becomes clearer. You stop guessing. You stop feeling overwhelmed. And you start making intentional choices. But before you dive into the details below, be sure that you are fully squared away with how to start making music on your computer.
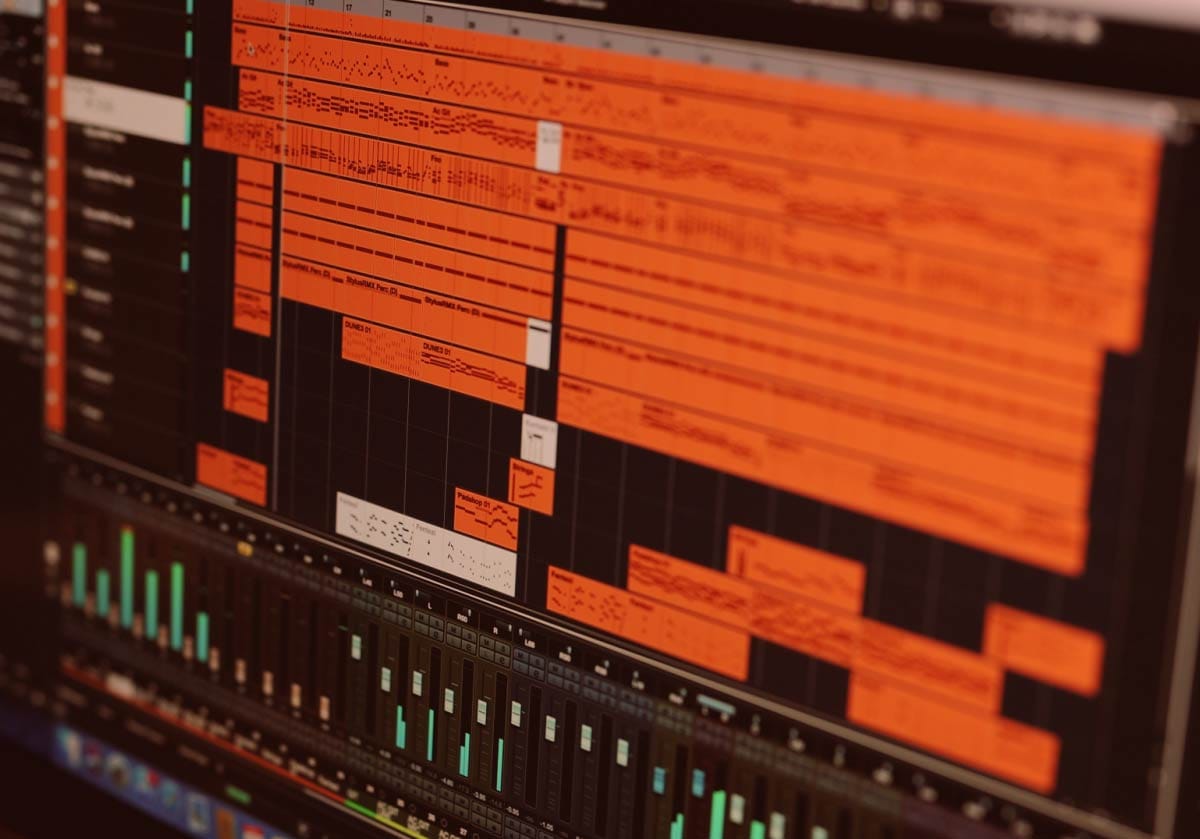
This guide breaks down the essential components of modern music production in a way that’s simple and easy to understand. Think of it as your foundation - the place where everything starts to make sense.
Before we get into the individual building blocks, it helps to understand how these pieces fit together inside a DAW.
Let's dive in!
Prefer to watch or listen? Check out the video below, or continue reading below for the full deep-dive guide.
DAW Tracks: The Essential Building Blocks
Tracks are the lanes where your musical ideas live. Every DAW uses them, and every song you make will be built by stacking tracks together to get your final result.
A track can hold:
MIDI Data: Data that controls virtual instruments.
Audio Recordings & Samples: Recorded audio files.
Virtual Instruments: Computer-controlled sound-generating instruments.
Automation: Programmed parameter changes over time.
Audio Processing Effects: Tools used to change the sound on a track.
Think of tracks like layers in a painting. Each one adds something unique, and together they create the full picture.
It is typical that in a DAW there will be audio tracks and MIDI tracks. Audio tracks hold audio files and MIDI tracks are where the DAW holds virtual instruments and MIDI data.
Why Tracks Matter
Tracks matter because they help you to:
Organize Your Project
Separate Instruments
Control Volume and Panning
Apply Processing to Specific Sounds
Apply Processing to Groups of Tracks
Keep your Workflow Clean
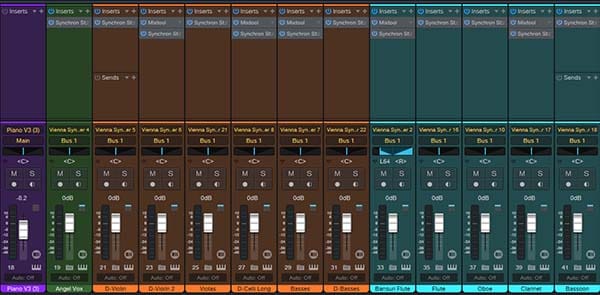
DAW interface shown: Studio One Console by PreSonus
A beginner mistake is trying to cram too many sounds into too few tracks. Instead, give each idea its own space. A kick drum gets its own track. A bass line gets its own track. A piano gets its own track. Each microphone from a recorded material gets its own track.
The more clearly you separate your ideas, the easier everything becomes - especially when you get to mixing.
MIDI vs. Audio: Music Production Software Basics
MIDI is one of the most powerful tools in modern music production, and it’s often misunderstood by producers.
MIDI is not sound. MIDI is information. And that information tells your computer how to treat whatever virtual instrument is reading that music data.
What is MIDI in Music Production
MIDI tells your DAW:
What Note (Pitch) was Played
How Hard it was Struck
How Long it Lasted
The Character of Vibrato on the Note
The Dynamics of the Note
How it should be Shaped or Articulated
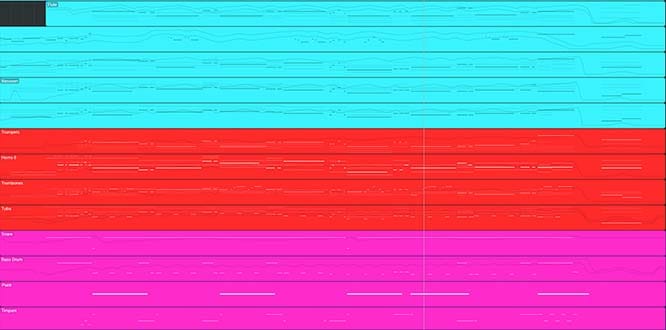
DAW interface shown: Studio One Arranger by PreSonus
MIDI is like sheet music for your computer, where the virtual instrument that is assigned to a track 'reads' the MIDI and then plays the notes accordingly. It really is pretty magical.
Why MIDI is Great for Making Music
MIDI is super powerful for making music because you have note control. Note control may feel intimidating if you have not worked with MIDI before. But the power of having control over what notes different instrument sounds play at what time is how you learn how to really express yourself through music.
After all, if no one had that note control, songs would literally not exist in the world.
Why using MIDI is powerful and fun:
MIDI is Easy to Edit: You can move notes around after the recording! You can fix mistakes or make adjustments - whatever you want.
You can Swap Instruments: Want to know what a guitar part would sound like on a piano? No problem - just swap the instrument or drag the MIDI to the piano track and you are in business.
Experiment without Consequences: With MIDI, you can play with ideas without having to worry about messing up. Just make a copy of your original idea and shape it like clay to your heart's desire.
Learn Arrangement and Harmony Visually: Most of the world is visual... even music people. And MIDI lets you see how notes fall and relate. That is a powerful learning tool.
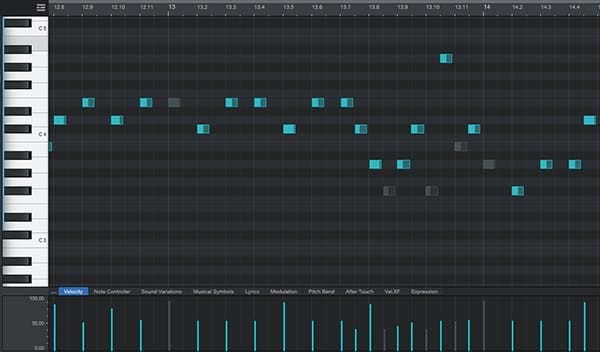
DAW interface shown: Studio One Piano Roll by PreSonus
If you’ve ever dragged a note longer, moved it up a step, or changed a chord with your mouse - that’s the magic of note manipulation using MIDI.
MIDI is the foundation of most production-friendly workflows, and it’s the fastest way to start making music without needing recording gear.
Music Production Instruments - Where Your Sounds Come From
If MIDI is the performance of the notes, instruments are what play that performance and generate sound from the MIDI data. Because MIDI doesn't contain sound - it only becomes audible when it is played through an instrument.
If you want note-level control over instruments when making songs and want to break out of working with loops, MIDI is the path to do that. And using MIDI means using virtual instruments.
Virtual Instruments & Sound Sources
These instruments that exist inside your computer are virtual - they are not a physical instrument that makes notes when air is blown through it or it is struck.
Instead, instruments come in several forms in your DAW:
Virtual Instruments: Virtual versions of physical instruments that play back sound through triggered samples or modeled programming.
Samplers: Replaying and manipulating triggered sounds that were previously recorded.
Synthesizers: Making sounds through oscillation, waveforms, and other forms of digital synthesis.
Drum Machines: Generating rhythmic sounds generally associated with drums.
Virtual Instruments (VSTi, or VI)
Virtual Instruments are software-based instruments that generate sounds. Many generate these sounds through a virtual instrument player that translates your MIDI controller keystrokes into specific triggered sounds. Others use programmatic methods to generate sounds through modeling.
While other sound sources in this section are technically virtual instruments, this name is normally used for sampled instruments that are based on physical instruments that exist in the real world.
Virtual Instruments can be:
Acoustic Instruments: Piano, strings, brass, woodwinds, guitars, etc.
Synthesized Sounds: Synths, electronic engines, and textural sound sets
Rhythmic Tools: Drum kits and percussion libraries
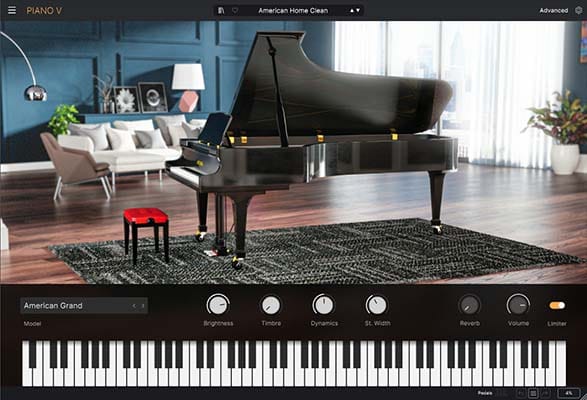
Plugin interface shown: Piano V by Arturia
Samplers
Samplers play back recorded audio - like drum hits, vocal chops, sound effects, or cinematic textures. They can also manipulate these recorded samples by applying different effects like adjusting the envelope, pitch, timing, etc.
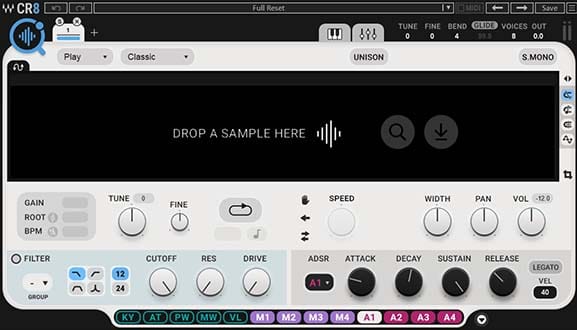
Plugin interface shown: CR8 Creative Sampler by Waves Audio
Synthesizers
Synthesizers generate sound electronically using oscillators, filters, and modulation, etc. Even starting from a sine, saw, or square wave, complex sounds can be synthesized through the use of waveform manipulation.
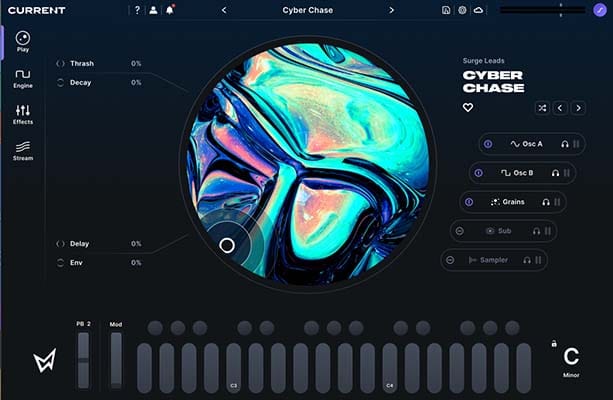
Plugin interface shown: Current by Minimal Audio
Drum Machines
Drum machines specialize in rhythmic sounds and patterns. In their digital form, they can look like a physical pad-based drum machine or have more exotic user interfaces. In either form, their goal is to trigger rhythmic elements.
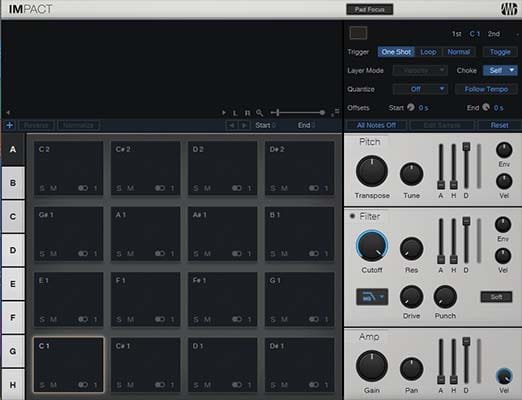
Plugin interface shown: Impact XT by PreSonus
For each of these different types of instruments, it is important to remember that without the instrument, MIDI notes will not play sounds. After all, MIDI is just data, right? It is not sound. Data does not have a sound unless it is routed into an instrument that can interpret that data.
On the flipside, without MIDI notes, the instrument will not play sounds. They work together to create sound and cannot do so alone in a DAW.
Why Instrument Selection Matters for Music Production
Instrument selection matters because it defines the character of your music.
A melody played on a soft piano feels emotional. The same melody played on a gritty synth can feel aggressive. The same melody played on strings can feel cinematic.
If making a song was like painting a painting, your instruments are the colors that make up the painting. Paint with a lot of blues and the painting may look sad or calm. Paint with a lot of reds and the painting may look energetic or angry.
Choosing the right instrument is one of the most creative decisions you’ll make - and it’s one of the most exciting parts of production. But transforming those choices into an actual arrangement requires a bit of skill. If you want to fast-track that process, grab our free MIDI Madness Tier 1 training to learn how to turn basic block notes into expressive musical performances.

Audio Files & Samples Explained
While MIDI is editable performance data, audio is actual sound. We are talking about some kind of sound that was captured or generated and stored in an audio waveform file.
Audio files can be:
Vocals
Guitars
Other Live Instruments
Field Recordings
Sound Effects
Samples
Loops

In your DAW, audio is represented as a waveform - a visual shape of the sound itself.
Why Audio Matters
Audio is essential when:
Recording Real Instruments
Using Samples
Layering Textures
Adding Realism to MIDI Performances
Adding Sound Effects to a Song
There is one important distinction between audio and MIDI information: Unlike MIDI, audio files cannot easily be changed note-by-note - you are editing the recording itself.
Producers often start with MIDI because it’s forgiving - but learning how audio behaves is a key part of becoming a well‑rounded producer. If you are a singer-songwriter that plays an instrument like a piano or guitar then understanding how audio works inside your DAW will be critical for your success.
Audio Processing & Plugins: Shaping Your Sound
Processing is how you shape, refine, and enhance your sounds. This is where the idea of effect plugins finally comes in - effect plugins are not instruments, but tools that modify audio.
Processing tools help your sounds fit together, feel intentional, and support the emotional arc of your song.
Common audio processors include:
EQ (Equalization)
Compression
Reverb
Delay
Saturation
Filters
EQ (Equalization)
Equalizers adjust the volume of specific frequencies to make sounds clearer or more balanced. They can also be used to shape the overall sound to influence its frequency balance.
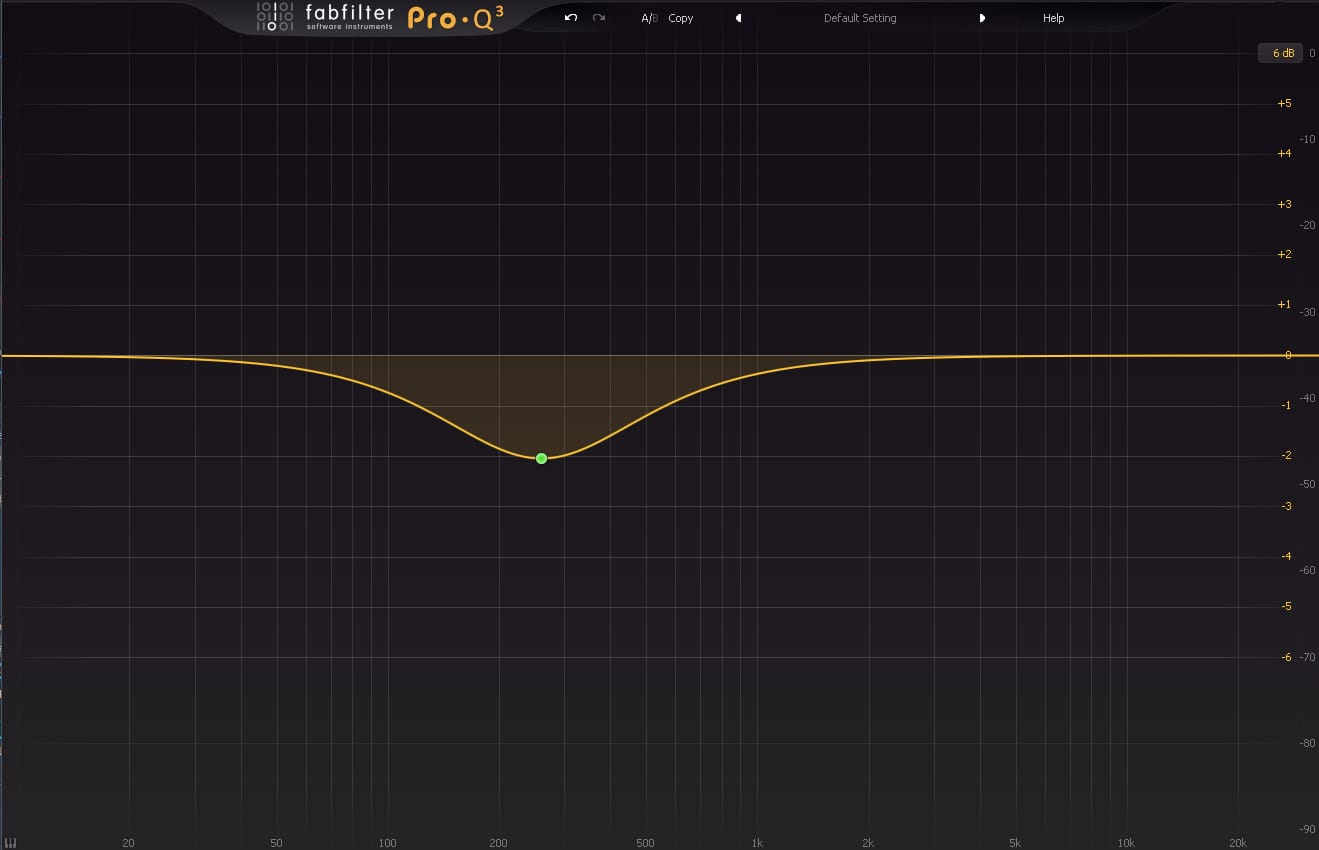
Plugin interface shown: Pro-Q 3 by FabFilter
Compression
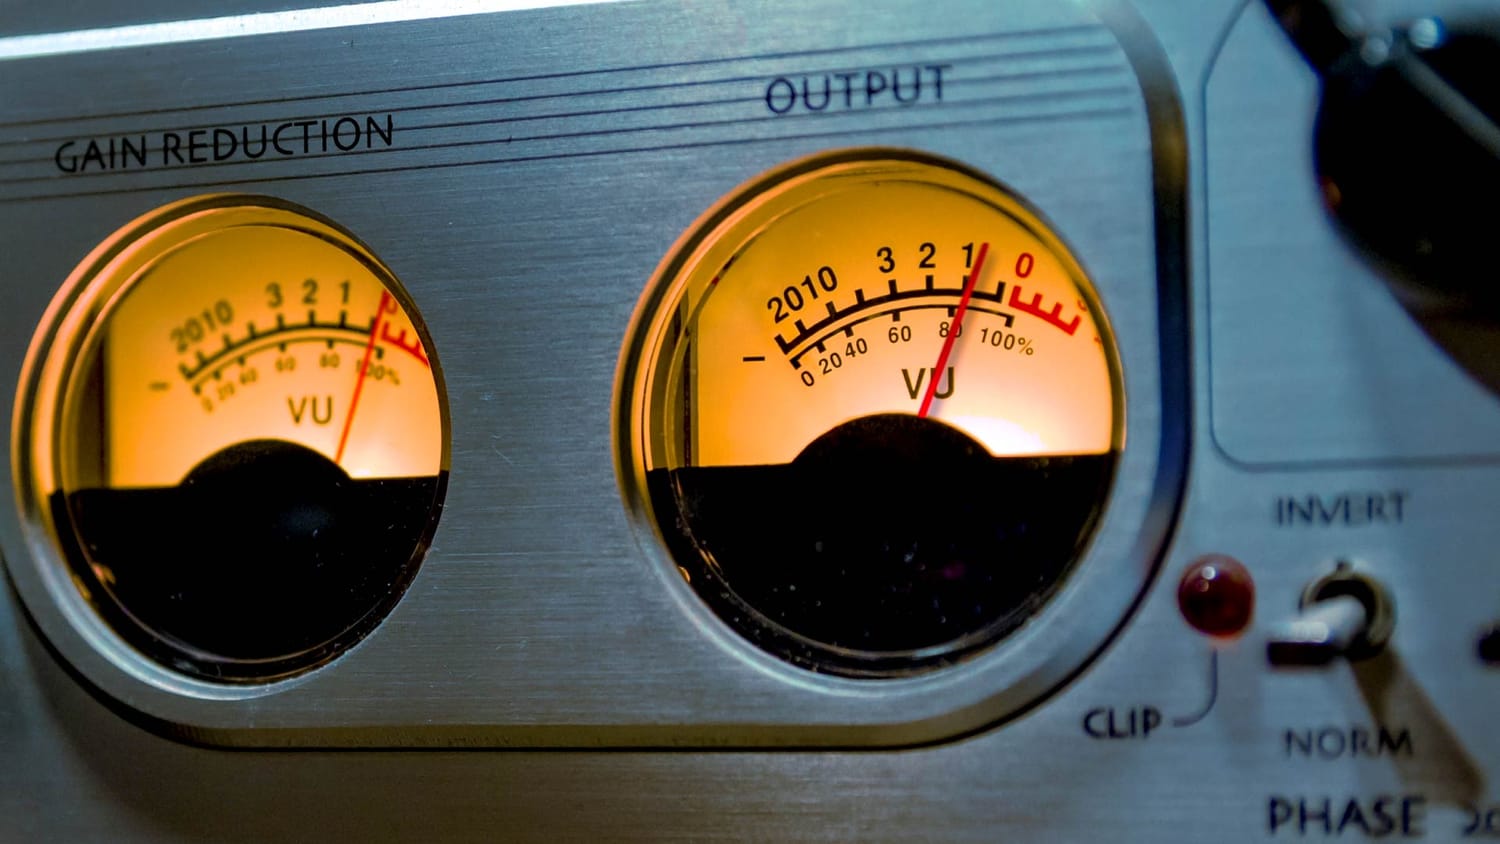
Compressors were originally created to control (or compress) the dynamic range of an audio signal. Because compressors adjust the volume of the quieter or louder parts of a sound, they can be used to make sound volumes more consistent or to bring attention to certain parts of the audio they process.
Reverb
Reverb tools can add a sense of space, depth, and ambience through simulated room echoes applied to the original sound source. The range of these processors are vast, not only in the style of echoes that they can add (room, hall, sewer, etc.) but also in the manner in which they process the sound.
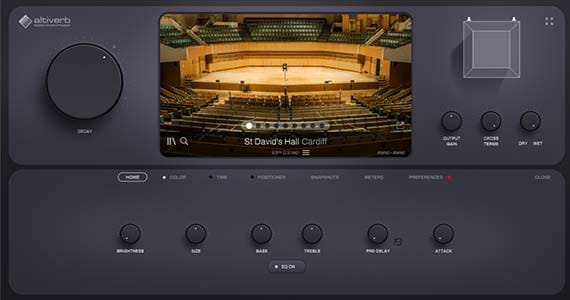
Plugin interface shown: Altiverb 8 by Audio Ease
Delay
Delay processors create echoes and rhythmic repeats with tools that copy and manipulate the original sound source. These tools can be used both stylistically and selectively to create audio effects on anything from vocals to guitars to other instruments.
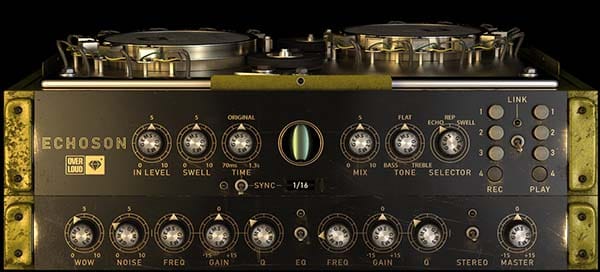
Plugin interface shown: Gem Echoson by Overloud
Saturation
Saturation processors adjust the volume of distortion on a sound to add warmth, edgy distortion, color, or harmonic richness depending on the usage. When we hear distortion, we normally think of an electric guitar sound, but saturation can be very subtle. Part of the benefit of analog gear is the natural saturation that the internal circuitry provides, and some plugins are designed to emulate that effect.
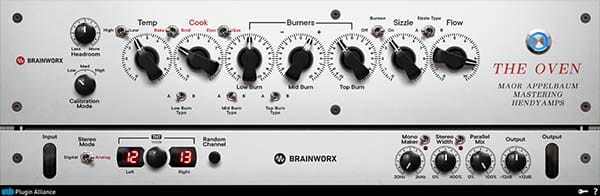
Plugin interface shown: THE OVEN by Brainworx / Plugin Alliance
Filters
Filters adjust the volume of certain frequencies to shape the sound. Filters normally remove or emphasize certain frequencies. By filtering out some frequencies, you can kill the low- or high-frequencies above or below a certain point and even dynamically adjust where that cutoff happens to create neat effects.
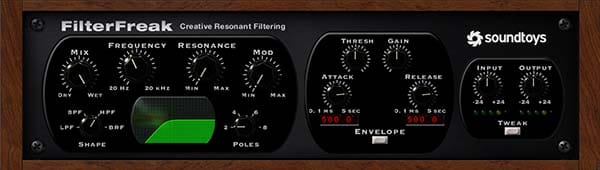
Plugin interface shown: FilterFreak by Soundtoys
Why Processing Matters
You can use audio processing to:
Clean Up and Enhance Individual Sounds
Make Instruments Sit Well Together
Remove Muddiness
Add Clarity
Create Emotion
Shape the Energy of a Track
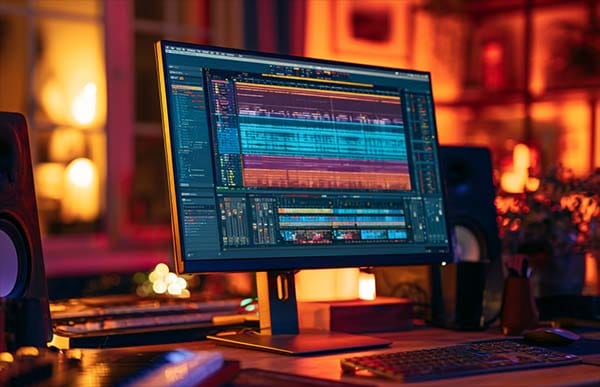
Processing can be applied at various points in the song: tracks, buses, the master bus, etc.
A bus is basically a group of tracks combined together to create a single, organized point where processing can be applied to a group instead of individually on multiple tracks. The master bus is the final bus in the song where everything combines to create the single audio file that will be your song's output before mastering.
These processing tools are typically referred to as plugins in the world of computer music. You simply drop a plugin onto a track or a bus and it applies its processing effects to whatever sounds pass through it.
You don’t need to master these tools on day one - but understanding what they do will help you make better decisions as you grow. Gift yourself the grace of patience when learning how all these tools can help expand your music-making tool kit. And, in the meantime, take your time learning how plugins and processing can work for you.
Song Arrangement: Turning Loops & Notes into Finished Tracks
Arrangement is the art of deciding how your musical ideas unfold over time.
It’s the difference between a loop and a song.
Arrangement includes important elements like:
Song Sections: Intros, verses, choruses, bridges, and breakdowns
Energy Dynamics: Builds, drops, and climaxes
Transitions: Sweeps, risers, falls, and contrast shifts
Instrumentation: In modern production, arrangement includes which sounds play which parts and how they are layered.
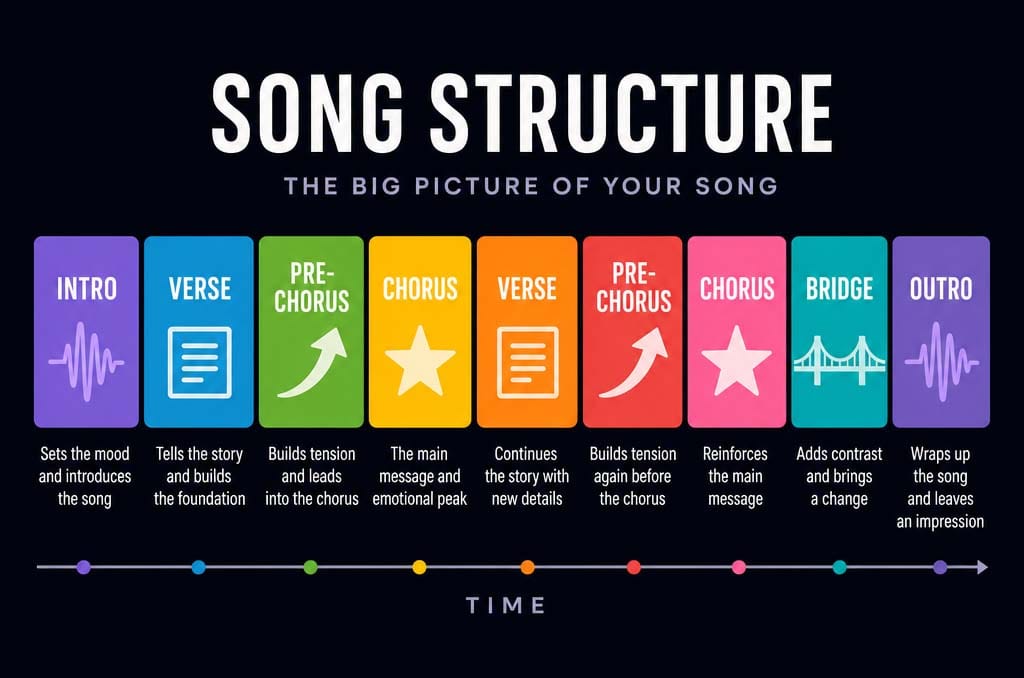
When looking at the different sections of a song, you are exploring song structure.
Song structure is important because it helps tell the story across the emotional arc of your song. Listeners can get bored quickly with repetition, so a great song structure, just like a great story or movie, can move people from the beginning through the journey of the song to the end.
Arrangement Basics: Song Structure
Elements of song structure include:
Intro: The start of the song
Verses: The storytelling part of the song
Choruses: The high-energy main message of the song
Bridges: A contrast meant to build some variety into the song
Transitions: Help to make smoother shifts between different sections
Builds: Push the energy up and build anticipation
Drops: A big-energy section with hardcore bass as in EDM music
Breakdowns: A stripped-down section that lowers the energy for contrast
Why Arrangement Matters
Arrangement directly affects the song structure. The song structure is rather like a blueprint for building a house - it shows where different rooms will be and how they connect to one another. It works the same way in a song, where an intro might lead into a verse and then into a chorus, and so on.
A great arrangement:
Creates Momentum
Keeps the Listener Engaged
Tells a Story
Builds Emotional Arcs
Gives Your Song Structure
Producers often get stuck in the “8‑bar loop trap” - a great idea that never becomes a full piece. Learning arrangement is how you break out of that cycle and develop ideas into full songs. This gives the listener a sonic journey to experience.
Mixing & Mastering Explained
Mixing and mastering are the final stages of the music‑making process. This is where all the prior work comes together to get blended into a final single song audio file. Each step has a different purpose and the first thing that happens is the mixing stage.
Mixing
Mixing is all about balancing all the song elements so they work together and sound cohesive.
Mixing includes:
Volume Balance: The relative volume of one track to another.
Panning: Where tracks are placed in the stereo field.
EQ: Making frequency-based adjustments.
Compression: Making dynamics-based adjustments.
Spatial effects (reverb, delay, etc.): Creating a sense of depth and width.
Automation: Programming track adjustments over time.
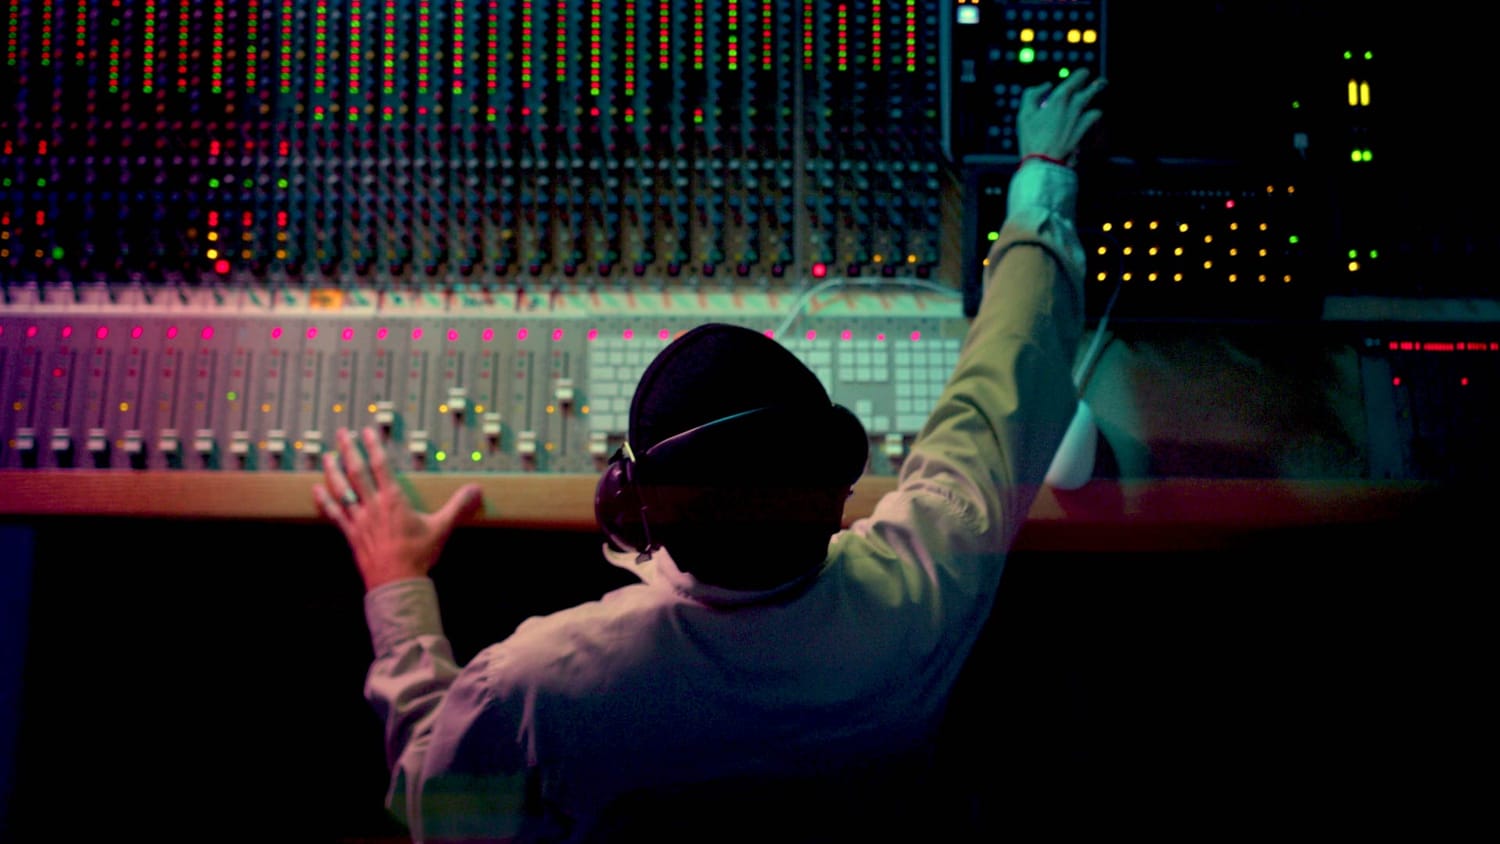
Mixing is the act of taking all of those individual tracks and blending them in different amounts to come up with the final song. This makes your track feel cohesive and intentional. It is not unlike cooking a dish, where different proportions of ingredients are mixed to create the final result - with each ingredient doing its specific job but the whole dish working in harmony.
(If you are ready to explore how to balance your tracks right now then you may want to jump into making your mixes sound better, a guide dedicated to this kind of knowledge.)
Mastering
Mastering is the final polish on your song. It is about getting the spectral balance and loudness up to par so your track can sit in its finished form, ready to be released and sit confidently on playlists.
The goal of the mastering step is:
Appropriate Loudness: Is your song loud enough but not too loud?
Balance Across Speakers: How does the stereo field feel?
Translation between Headphones, Cars, and Phones: Is the listening experience consistent across different sources?
Consistency with Related Music: Does your track stack up against comparables?
At the mastering level, the song has been mixed together into one single track. Mastering happens after you export your final mix into a single audio file - it's the last step before sharing your music.
During the mastering process, the mastering engineer takes that final mix track and works to hit all of the above bullet points. After this step, you will have a song that is competitively loud, balanced, and feels like could play next to music similar to it without sticking out or sounding funny.
You don’t need to become a mastering engineer - but understanding the purpose of mastering helps you finish your music with confidence.
Next Steps - Where to Go After the Basics
Once you understand these building blocks, the whole process becomes clearer. You stop guessing, and you start making intentional choices.
If you want to keep your momentum going, you will need to select a DAW where you can take these concepts and apply them.
(Alternatively, if you are struggling with a specific project right now, jump ahead to see how to stay motivated when making a song.)
These building blocks are only one part of the entire creation pipeline. To see exactly how to take a song from an initial computer sketch all the way to a polished, completed track, download the substantial and free Embervane Sparkflow Map.
Ready to dive straight into getting that song made? The absolute best step from here is MIDI Madness Tier 1, our free introductory course where you will learn how to turn simple block notes into expressive, musical performances.
Found this guide helpful?
Spread the word and share with another creator.
Return to How to Start Making Music on Your Computer Topic Hub
> Next Topic
About the Author

Jim is the creator of Embervane - a lifelong music maker with a curiosity‑driven approach to creativity and learning. He has been playing drums since age nine and composing seriously since 2018, continually refining his craft through study, experimentation, and hands‑on practice.
With a background in chemistry and more than two decades of studying behavioral psychology, Jim brings a unique blend of scientific thinking and human understanding to music education. He beta‑tests tools for companies like Mastering the Mix, Kit Plugins, and Soundiron, which keeps him close to the evolving landscape of modern production.
Jim isn’t a celebrity producer or award‑winning engineer - he’s a creator who remembers exactly what it feels like to struggle, learn, and grow. His mission is to help other music makers build clarity, confidence, and momentum in their craft.
Jim is the creator of Embervane - a lifelong music maker with a curiosity‑driven approach to creativity and learning. He has been playing drums since age nine and composing seriously since 2018, continually refining his craft through study, experimentation, and hands‑on practice.
With a background in chemistry and more than two decades of studying behavioral psychology, Jim brings a unique blend of scientific thinking and human understanding to music education. He beta‑tests tools for companies like Mastering the Mix, Kit Plugins, and Soundiron, which keeps him close to the evolving landscape of modern production.
Jim isn’t a celebrity producer or award‑winning engineer - he’s a creator who remembers exactly what it feels like to struggle, learn, and grow. His mission is to help other music makers build clarity, confidence, and momentum in their craft.


©2026 Embervane LLC. All rights reserved. Embervane™ is a trademark of Embervane LLC.