
Vocals and Recording: Capturing Clean, Confident Performances at Home

Great Vocals - No Booth Required
Recording vocals at home is one of the most empowering skills a modern creator can learn on your digital music journey with Embervane. You don’t need a commercial studio, expensive gear, or perfect acoustics to capture clean, confident performances - you just need a clear process, a well‑treated space, and an understanding of how microphones, gain staging, and vocal technique work together.
This guide gives you a complete foundation for recording vocals and instruments that sound polished from the start. You’ll learn how to set up your space, choose the right microphone, record with confidence, fix common problems, edit your takes, and shape your sound with EQ and compression.
While most people focus on vocal recording and chunks of this article will go the same, know that the same skills apply for recording an instrument (like a guitar amp). With recording, getting it right at the start can make a massive difference in how your song turns out at the end.
Recording Vocals At Home
Recording at home starts with simplicity. You don’t need a complicated setup - you need a clean signal path, a quiet space, and a repeatable workflow. Most beginners struggle not because their gear is bad, but because their process is unclear.
Your Signal Chain Matters
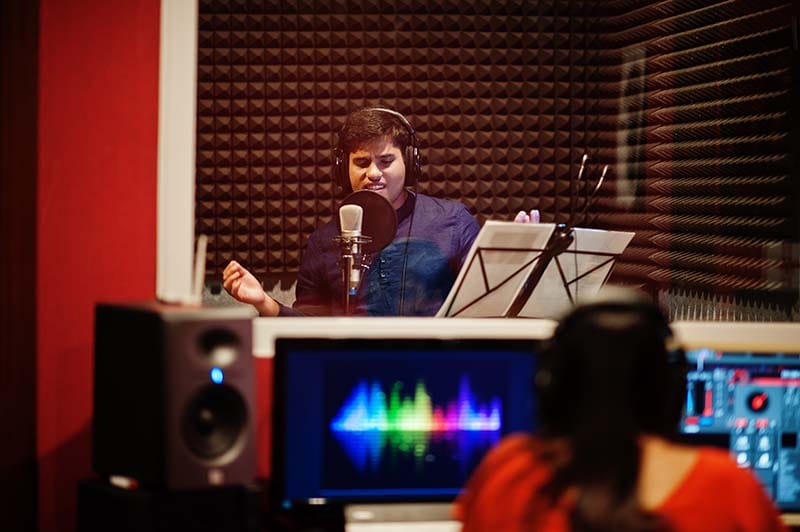
A basic vocal chain includes:
Pop Filter
Microphone
This chain doesn’t need to be expensive. What matters is that each part is set up correctly.
Gain Staging for Clean Recordings
Set your input gain so your loudest notes peak around –12 to –6 dBFS. This gives you headroom, prevents clipping, and keeps your signal clean.
Mic Positioning
Small adjustments make a big difference:
4–8 inches from the mic
pop filter between you and the mic
slight angle to reduce harshness
consistent posture and distance
Positioning is one of the easiest ways to improve your sound instantly.
Performance Environment
Turn off fans, AC units, and noisy electronics. Close doors. Record when your home is quiet. Clean recordings start with a clean environment.
Vocal Technique: Singing Better While Staying Healthy
Your voice is an instrument - and like any instrument, it performs best when you treat it well. Good vocal technique isn’t about perfection; it’s about consistency, confidence, and health.
Warm-Ups Matter
The last thing you need to do as a singer is hurt your vocal cords. Treat them like the muscles they are - warm them up before use. A simple 5 to 10-minute warm‑up can transform your performance:
lip rolls
humming
gentle sirens
light scales
Warm-ups reduce strain on those cords and help you hit notes more clearly.
Breath Support
It might sound simple, but without proper air, you're not going to be singing well. And that air comes from breath support - your breathing/core muscles.
Good singing starts with good breath support. Focus on:
breathing low (diaphragm expansion)
steady airflow
relaxed shoulders
avoiding throat tension
Breath support gives your voice stability.
Healthy Techniques
Keep your vocal cords in good shape - avoid pushing or shouting.
If a note feels strained, adjust:
vowel shape
breath support
pitch approach
vocal placement
Healthy technique leads to better recordings and long‑term vocal health.
Confidence in Performance
If you have been singing for a while, you probably realized how much your mental state can affect your performance. Singing with confidence comes from a place of comfort.
Get into that state and then record multiple takes. Experiment with tone. Let yourself explore. The more relaxed you are, the better your recordings will sound.

Troubleshooting: Why Your Vocal Recordings Sound Bad - And How to Fix Them
When you first start recording vocals, there are normally going to be some problems that pop up. If they happen, don't worry - this is just part of dialing in your recording environment.
Most vocal problems come from a few predictable issues. And, once you know what to look for, fixing them becomes simple.
Problem 1: Too Much Room Sound
When you are hearing too much of the room in your recordings - you know, that echoey sound that can make your vocals feel distant - then your mic is picking up the reflections in your room.
Try the following to fix this:
recording closer to the mic
adding absorption behind and around you
using blankets or acoustic treatment panels
facing a treated wall
Problem 2: Harshness or Sibilance
If your recording is sounding harsh or sibilant (the sound that comes from the letter 's,' for instance), then there are a couple of things you might look at as the culprit:
singing directly into the capsule
bright microphones
untreated reflections
excessive gain
You will still need to have the sound of the letter 's,' but you don't want it drilling into your listener's ears. Adjust your mic angle, consider using a pop filter, and playing with room treatment.
Problem 3: Muddy or Boomy Tone
When your recording sounds muddy or boomy, that is normally a sign that there is too much low end on the incoming signal. Have you ever moved yourself so you were right up close to a microphone to make your voice sound deeper? That's right - your distance can absolutely affect the tonal quality of the recording.
If you are hearing a muddy/boomy result in your recordings, then look for the following culprits:
being too close to the mic
proximity effect
low‑end buildup in the room
The first thing you want to do is back off from the mic and see if that fixes things. After that, be careful of your physical recording location in case you are sitting in a low frequency buildup zone.
Problem 4: Inconsistent Volume
When you watch a singer perform live, they might pull back away from the mic when they are hitting louder notes. But in the recording studio, this is one of the ways to end up with inconsistent volume on your recording.
If your recordings are pointing to jumps in volume, then try:
adjust your distance
practice breath control
use compression later
record multiple takes
Now, you might be thinking that you could just compress the vocals later and 'fix it in post.' I will strongly caution you against this.
The better your source recording can be, the better your plugin and processing results will be later on. Get it right at the start!
Microphones: Choosing the Right Mic for Your Vocal Budget
Your microphone shapes the tone of your recordings more than any plugin. But microphones range greatly in cost and type.
The fact is, you don’t need a $1,000 mic to get great results - you need the right mic for your voice and environment. And when you are starting out, it is better to find a mic that fits your voice and your budget before you start expanding your microphone collection.
Dynamic vs. Condenser
Typically, vocal recordings are going to use either a dynamic or a condenser microphone. Let's take a quick look at the differences between those two types of mics.
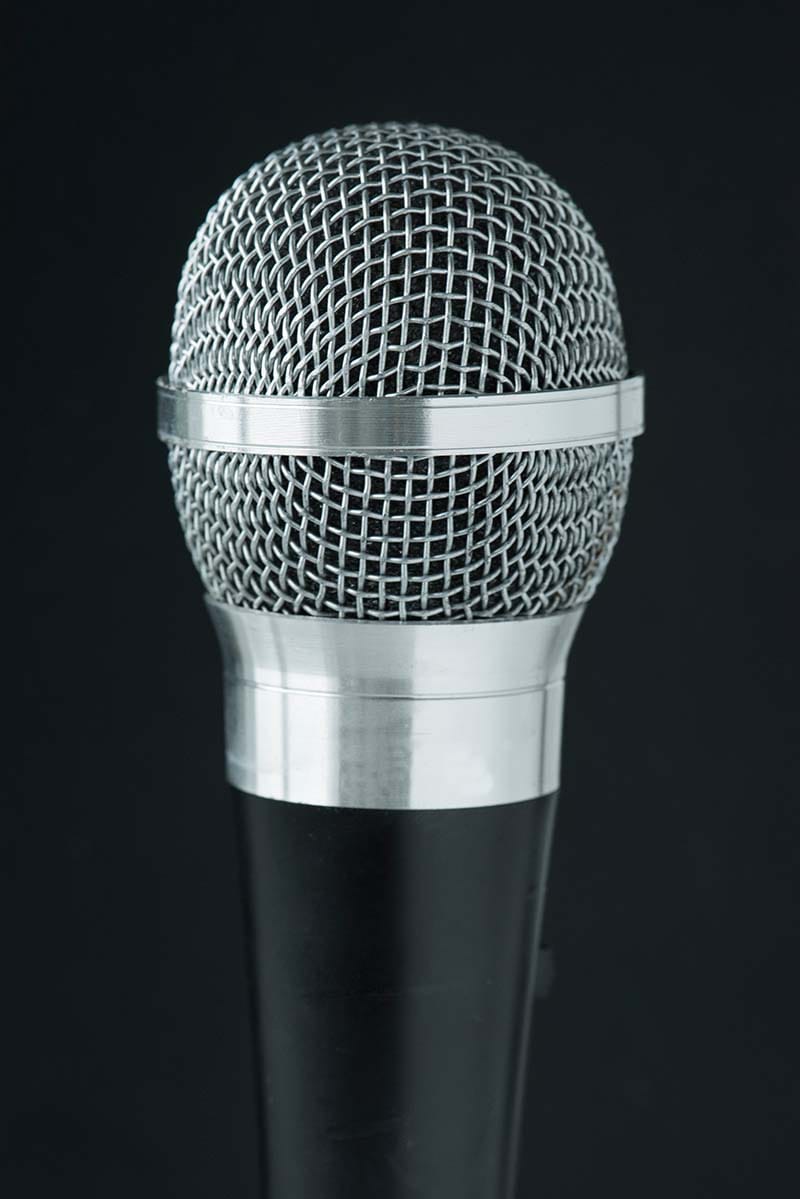
Dynamic Mics (SM7B, SM58, etc.)
Dynamic microphones are durable, forgiving, and great for recording vocals in untreated or noisy rooms. They handle loud sources easily and naturally smooth out harshness, making them ideal for beginners and home studios. Because they’re less sensitive than condensers, they capture a focused, controlled sound that’s easy to work with in a mix.
Less sensitive here might sound bad, but it means issues like plosives (letters p, b, t, etc.), sibilance (sharp s and t sounds), and room reflections tend to be lower with these mics.
Dynamic mics are:
great for untreated rooms
smooth top end
forgiving of loud vocals
less sensitive to noise
Condenser Mics (AT2020, NT1, etc.)
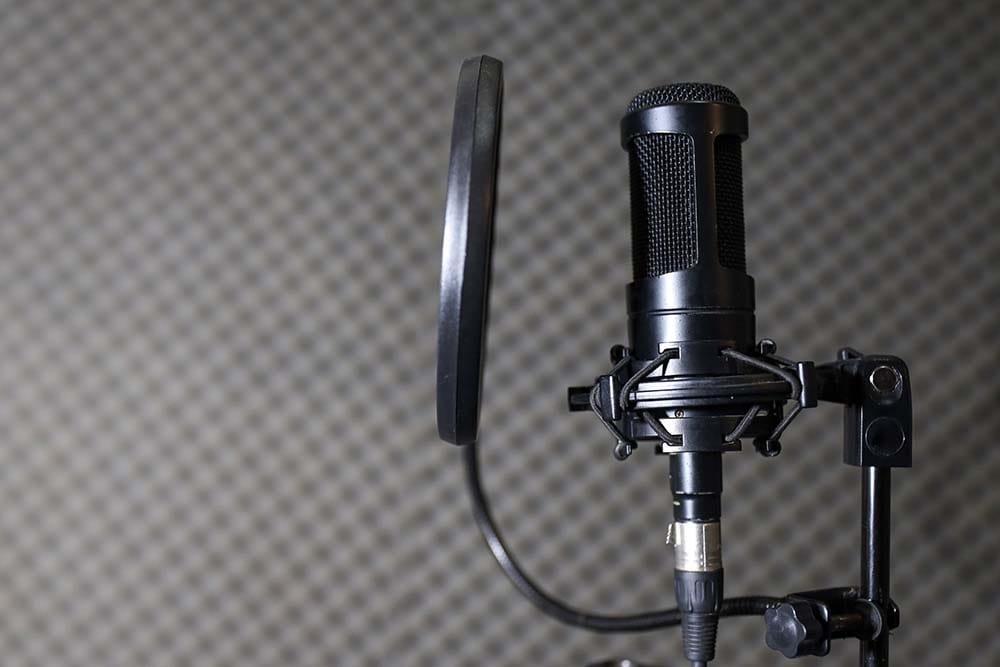
Condenser microphones are more sensitive and detailed, capturing the full nuance and brightness of a vocal performance. They excel in treated rooms where reflections and background noise are under control. Their clarity and responsiveness make them the go‑to choice for polished, professional‑sounding vocal recordings.
With the responsiveness and detail, however, come the increased potential for plosives, sibilance, and room reflections getting picked up by the mic during recordings.
Condenser mics are:
detailed and bright
more sensitive
better for treated rooms
great for soft vocals
Example Microphones by Budget Tier
You can find a mix of different example dynamic and condenser microphones below sorted by price tier:
Budget Options (Typically Under $200)
Midrange Options (Typically Under $500)
Upper-Range Options (Typically Under $1,000)
Pro Options ($1,000+)
A Useful Resource
When you are checking out microphones, it can be a little intimidating. There is a database listing a large range of microphones with specific information in the Recordinghacks Microphone Database.
It compares brands and types of microphones, their circuitry, and audio characteristics. That kind of stuff is useful if you are looking for a particular tone or function when scouting microphones.
Room Treatment: Creating a Space that Supports Clean Vocals
Your room affects your vocal recordings more than your microphone does. That's right - your recording space is more important than the mic.
Take a great mic and put it in a reflective room and things are not going to turn out well. The answer to that is normally some kind of acoustic treatment to help absorb those reflections.
Treating your room doesn’t require expensive panels - just smart placement.
Absorption Over Diffusion
For vocals, you want absorption, not diffusion. Absorption knocks down those reflections and any echo in the room.
Diffusion spreads sound around and requires precise mathematics and room sizes to work correctly. If you see those 'fancy' looking treatment panels with decorative reflective wood surfaces on the front of them, know that is not going to help you.
Want to hear absorption in action without buying any panels? Step into your shower and sing a little - listen to the reflective sound of the environment. Then, step into a closet full of clothes and sing. Do you hear the difference? That's absorption happening.
Where to Place Treatment
Let's say that you have some acoustic absorber panels that you have handy. Where should you put those things for recording?
If you do not already have any panels in your room, then here are some key locations:
behind the singer
behind the microphone
side reflections
corners (bass buildup)
ceiling (especially over the microphone)

If you are already operating in a treated room, then the corners, front, side, and rear walls plus the ceiling is likely covered already. You can find the place in the room where your mic and voice combo sounds really good and then make some small panel additions around that location. Use your ears here.
DIY Treatment
Can you throw some stuff up that absorbs sound and make your recording better? Yes. Is this the acoustically correct way to do things? Definitely not!
Keep in mind, these DIY treatments are not ideal, but sometimes we need to use what we've got until we are in a better situation.
You may want to try some of these DIY options if you do not have budget for acoustic treatment:
moving blankets
thick curtains
mattresses
rugs
When you are working with these DIY options can cause other acoustic problems, so it is not my recommendation to rely on them.
The Quick and Dirty Vocal Recording Fix
Remember that closet singing test I mentioned a little bit ago? Well, a closet filled with clothes can make for a very quick makeshift 'vocal singing booth.' Is it going to be the best? Absolutely not.
But is it going to get the job done for you when you are starting without spending any other money. Yeah - it can take you pretty far.
One thing to look at in a closet is the ceiling above and the floor below the mic - ideally, that has something up there to help kill any bounces from your voice back to the mic.
The Recording Position: Where to Face
When recording vocals where you want to reduce room reflections, you may want to face an acoustically treated wall. Avoid corners, which can magnify reflections. Try to avoid standing or having the microphone positioned near reflective surfaces, which can bounce sound back into the mic.
If you are recording in a room where you want the reflections, like in a church or large hall, then your position in the room will matter more. Additionally, there normally is not acoustic treatment like absorbers hanging on walls in these places, so you would typically face into the room.
Test different positions in the room and see what sounds best. These tests will help you loads when dealing with your vocal recording later on in the mix. Small changes here can make big improvements.
Vocal Editing: Timing, Tuning, and Cleanup Explained
Have you ever wondered how some vocal recordings can sound so amazing on a song you listen to? At the core, that is because of a step called vocal editing.
Editing is where your vocal takes become polished. That's right - your takes, as in multiple recording of the same thing. This is the step where you get to cherry pick the best bits while removing the little parts that don't sound so great to come up with your final vocal composition.
Good editing doesn’t make vocals sound fake - it makes them sound intentional. Here are some of the steps to take during the vocal editing process: timing cleanup, tuning, general cleanup.
Timing Cleanup
Cleaning up timing is making edits to when a word or syllable hits. As humans, we can be a little ahead or behind of the beat. This step is about focusing on:
tightening consonants
aligning phrases
fixing late or early notes
preserving natural feel
Tuning
Modern tuning tools (Melodyne, Waves Tune, RePitch) let you correct pitch of the individual notes. But care will be needed to not end up with a robotic-sounding vocal. These tools are powerful, but skill is needed to use them artfully.
And, the further the pitch shift needed, the harder the tool needs to work and the higher the risk of sounding artificial. Get it right at the start - it is better to record a new vocal take that was nailing the pitch than to try and make big moves with tuning.
Use tuning to:
fix small pitch issues
smooth transitions
preserve vibrato
maintain natural tone
General Cleanup
After you have addressed the timing and the tuning, the next stage is to fix any general cleanup issues. Remember when we talked about plosives and sibilance in the microphones section? This is where you would address anything that could not be avoided in the recording.
Not all of this necessarily needs to be done by hand, although that is the most personal-touch method. Software like Izotope's RX software can take care of some of these items. As always, use with care or risk getting funky results.
I mean vocal cleanup items like this:
removing breaths (or reducing them)
cutting mouth clicks
reducing noise
crossfading edits
cleaning plosives
Vocal Processing: Compression and EQ for a Professional Sound
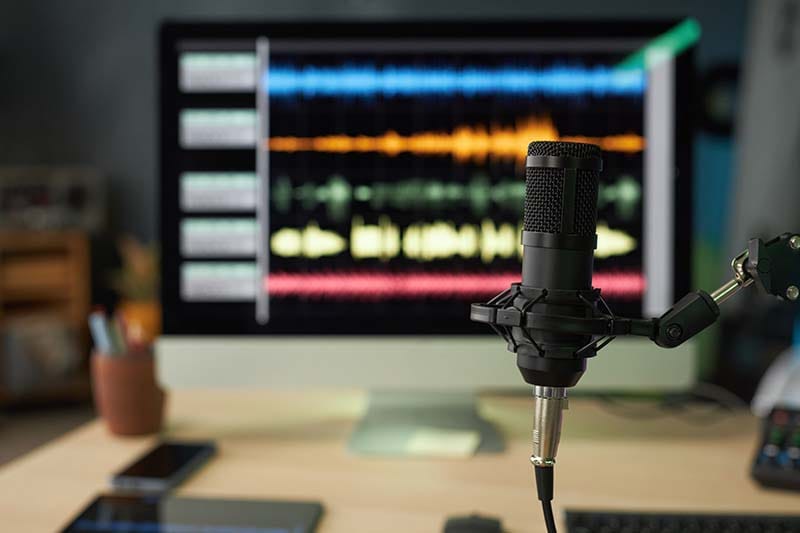
Once your vocals are recorded and edited, processing shapes them into a polished, mix‑ready sound. EQ and compression are the foundation of modern vocal mixing.
EQ: Shaping Tone and Clarity
EQ on your vocal recording can help to provide some tone shifting and frequency corrections. Some of the places where EQs are used on vocals are:
mud removal (100–250 Hz)
harshness reduction (2–5 kHz)
add air (10–15 kHz)
carve space for the mix
Start with cuts to set the overall tone, then add gentle boosts to refine the shape of the vocal frequencies.
Compression: Controlling Dynamics
Compression reduces the dynamic range of a sound. When sounds are more consistent (lower dynamic range), they hold our brain's attention better. When sounds are compressed too heavily, they lack emotion and movement.
For vocal compression, focus on:
medium attack (10–30 ms)
medium release (40–80 ms)
2–6 dB of gain reduction
smooth, controlled movement
In the end, compression should feel supportive, not aggressive.
Additional Processing
Modern vocals normally are processed through a plugin chain. This stack of plugins aims to add the following:
saturation for warmth
de‑essing for sibilance
reverb for space
delay for depth
automation for emotion
Much of this additional processing will happen during the mixing stage of the song creation process.
Where to Go Next
Capturing great vocals at home isn’t about expensive gear - it’s about understanding your space, your voice, and your tools. When you know how to set up your room, choose the right microphone, record with confidence, troubleshoot problems, edit your takes, and shape your sound with EQ and compression, your recordings become clean, expressive, and ready for mixing.
Found this guide helpful?
Spread the word and share with another creator.
Previous Topic <
> Next Topic
About the Author

Jim is the creator of Embervane - a lifelong music maker with a curiosity‑driven approach to creativity and learning. He has been playing drums since age nine and composing seriously since 2018, continually refining his craft through study, experimentation, and hands‑on practice.
With a background in chemistry and more than two decades of studying behavioral psychology, Jim brings a unique blend of scientific thinking and human understanding to music education. He beta‑tests tools for companies like Mastering the Mix, Kit Plugins, and Soundiron, which keeps him close to the evolving landscape of modern production.
Jim isn’t a celebrity producer or award‑winning engineer - he’s a creator who remembers exactly what it feels like to struggle, learn, and grow. His mission is to help other music makers build clarity, confidence, and momentum in their craft.
Jim is the creator of Embervane - a lifelong music maker with a curiosity‑driven approach to creativity and learning. He has been playing drums since age nine and composing seriously since 2018, continually refining his craft through study, experimentation, and hands‑on practice.
With a background in chemistry and more than two decades of studying behavioral psychology, Jim brings a unique blend of scientific thinking and human understanding to music education. He beta‑tests tools for companies like Mastering the Mix, Kit Plugins, and Soundiron, which keeps him close to the evolving landscape of modern production.
Jim isn’t a celebrity producer or award‑winning engineer - he’s a creator who remembers exactly what it feels like to struggle, learn, and grow. His mission is to help other music makers build clarity, confidence, and momentum in their craft.


©2026 Embervane LLC. All rights reserved. Embervane™ is a trademark of Embervane LLC.