
Do You Need a MIDI Controller? (And Which One Should You Get?)
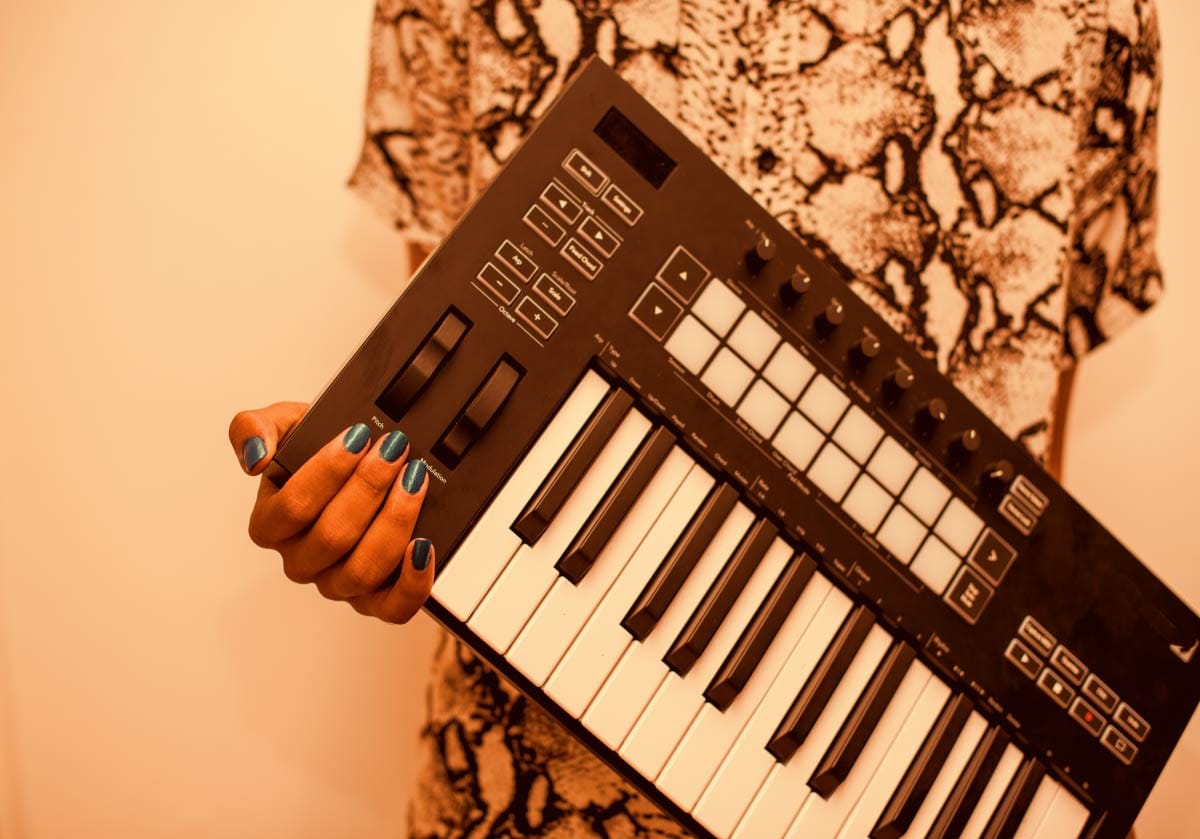
Give Me Control!
So, you’re diving into music production, clicking notes into your DAW with a mouse, and wondering: Do I actually need one of those plastic keyboards with all the knobs and pads to make real music?
You go online, search for MIDI gear, and suddenly you’re staring at dozens of options - 25-key mini boards, massive 88-key weighted controllers, grid pads, electronic drum kits, breath controllers, and motorized fader banks. Before you know it, you're wondering if you need to learn piano just to lay down a simple beat!
Well worry not!
When you're figuring out your setup, remember that gathering the essential gear for making music at home isn’t about buying a pile of hardware - it’s about choosing tools that get you making music fast and easy. It’s about picking tools that remove friction from your workflow without draining your bank account or cluttering your desk with stuff you don't use.
A MIDI controller can be one of the most fun, inspiring additions to your home studio - but only if you choose the type that actually matches how you make music.
In this guide, I’m going to strip away the marketing hype. You’ll learn what a MIDI controller actually does (and what it doesn't do), whether you actually need one on Day 1, the key differences between keys, pads, drum kits, and specialized controllers, and how to pick the perfect hardware for your budget and space.
Let’s hit it!
First Things First: What a MIDI Controller Actually Does (And Doesn't) Do
Before you spend a single dollar, we need to clear up the single biggest misconception producers have about MIDI controllers:
A MIDI controller makes zero sound on its own.
Read that again, because it trips up so many people starting out!
A MIDI controller is not a standalone keyboard or synthesizer. It has no built-in speakers, no internal sound engines, and no headphone jack for sound generation.
Instead, a MIDI controller is simply a data sender. When you press a key, hit a drum pad, or turn a knob, the controller sends digital control messages (called MIDI data) through a USB cable into your computer.
This doesn't seem intuitive especially when a controller can look like a little piano, but it is the way it works - your MIDI controller makes no sounds by itself, but instead it controls any range of virtual instruments inside your computer. And the cool part is that you don't need to change your MIDI controller if you are changing your virtual instrument.
Imagine being able to play a violin, then a bass guitar, then drums, and then a flute all on the same MIDI controller. That is what they do.
Your DAW receives that data and uses it to trigger virtual instruments (VSTs or soft-synths) living inside your computer - whether that’s a grand piano, a punchy 808 sub-bass, an orchestral string section, or a synth lead - whatever virtual instruments you have installed
If you unplug the USB cable from your computer, a MIDI controller is basically just a very fancy piece of plastic.
Do You Actually Need a MIDI Controller?
The short answer? No, but it can make making music a whole lot more fun.
You do not need a MIDI controller to write incredible songs. Modern DAWs let you draw notes directly into a piano roll with your computer mouse, or even convert your computer's QWERTY keyboard into a temporary music keyboard. If you’re making music entirely "in the box," you can draw in every single note, adjust its timing, and tweak its volume manually.
However, drawing every single note with a mouse can feel like filling out a tax spreadsheet. It can feel slow, mechanical, and deeply uninspiring.
Here is what a MIDI controller actually unlocks for your studio:
Speed & Instinct: Playing a melody or tapping a rhythm in real time takes seconds, whereas clicking it in with a mouse can take minutes.
Human Expression (Velocity): When you strike a key softly or hit it hard, a MIDI controller registers that dynamic strength (velocity). This gives your virtual instruments natural life, bounce, and human feel that hard-clicked mouse notes lack.
Hands-On Tweakability: Turning physical knobs to adjust synth filters or fading faders in real time feels intuitive and musical. And there's something satisfying about getting your hands on the music.
The bottom line is this - if you're stuck in "clicker's block" and tired of drawing notes with a mouse, a MIDI controller is the single best tool to inject speed, emotion, and fun back into your creative workflow.
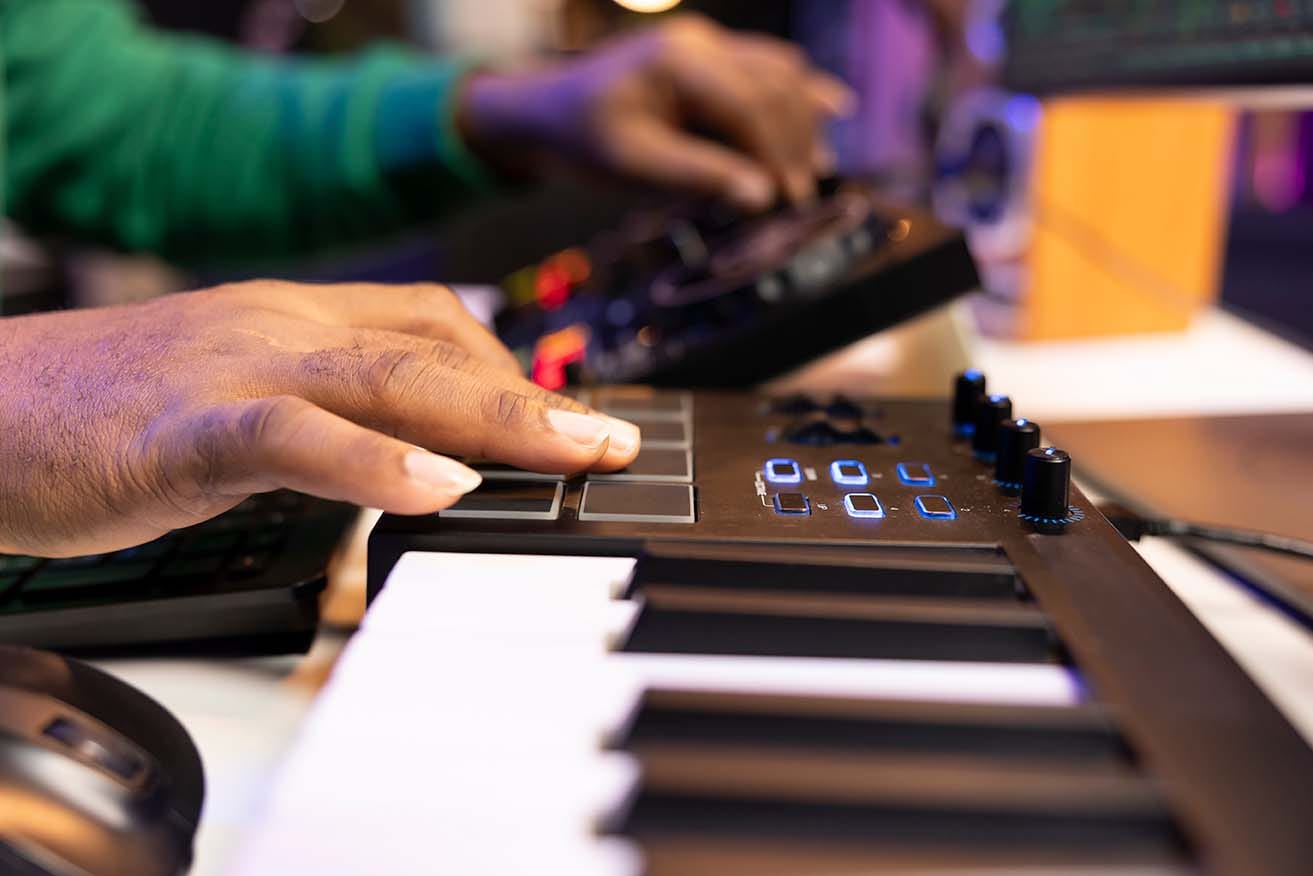
Traditional Keyboard Controllers: How Many Keys Do You Need?
Piano-style keybed controllers are the most common MIDI devices in the world. They let you play melodies, lay down chord progressions, and audition synth sounds naturally.
When shopping for a keyboard controller, the first decision you’ll face is key count. Let’s break down the standard sizes:
25-keys - portable / single-handed playing / ultra-compact
37-49 keys - home studio sweet spot / two-handed playing
61-88 keys -full piano experience / dedicated piano players
25 Keys (The Ultra-Compact Choice)
25-key controllers feature two full octaves. They are lightweight, budget-friendly, and tiny enough to slide into a backpack alongside your laptop.
Strengths: Unbeatable portability, tiny desktop footprint, inexpensive.
Weaknesses: You cannot play with two hands simultaneously. Playing full chords while performing a bassline or melody requires constantly hitting octave-up/down transpose buttons. If you are not trained to play piano, this may not matter, but keep it in mind for sure.
Key Weight: Very often synth keys = no weighting
Best For: Traveling producers, beatmakers making simple basslines and lead melodies, and tiny bedroom desks where space is at a premium.
Popular Models: Akai MPK Mini Mk3, Arturia MiniLab 3, Novation Launchkey Mini Mk3.
By the way, if you think that a 25-key MIDI controller is too small to make anything great, know that I have won composing competitions using songs I made with my little Novation Impulse 25 - it's not the gear, it's the producer.
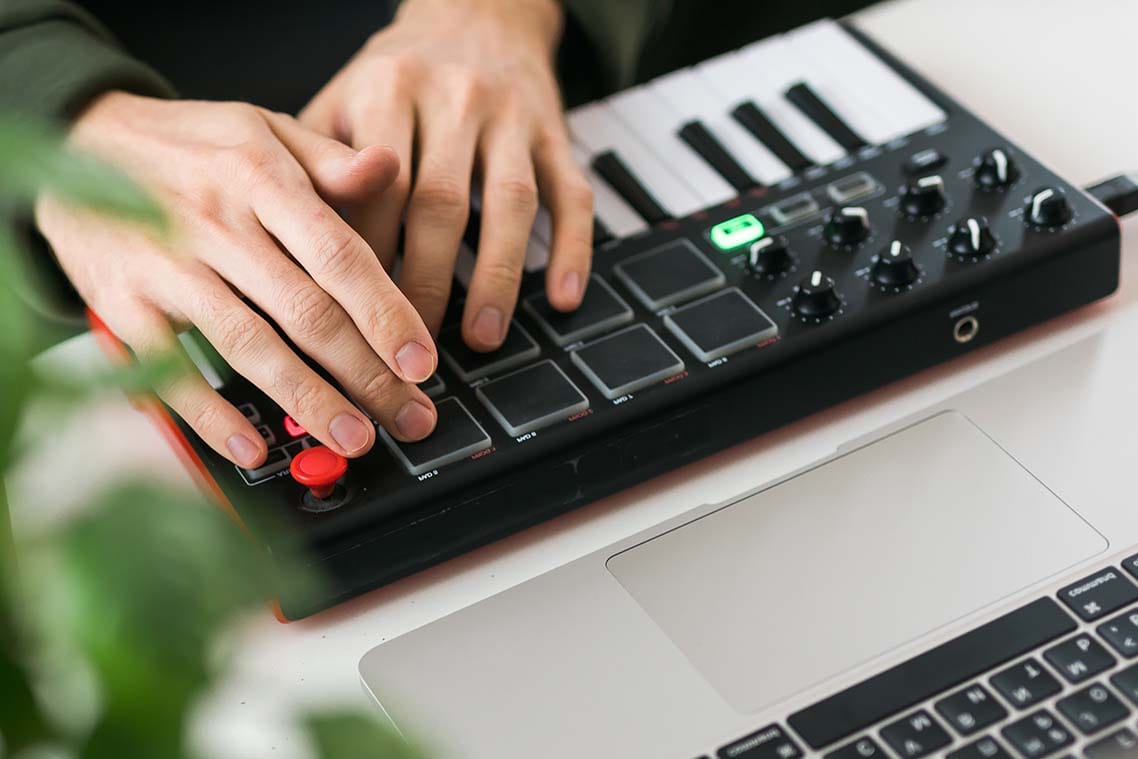
37 to 49 Keys (The Home Studio Sweet Spot)
37 and 49-key controllers hit three to four full octaves of keys. This gives you enough physical room to play chords with your left hand while performing lead lines or bass parts with your right. If you are trained to play the piano, this size will be much more comfortable than the 25-key versions.
Strengths: Comfortable two-handed playing, room to navigate chord progressions without jumping octaves constantly, fits well on standard 4-foot studio desks.
Weaknesses: Takes up noticeable desk real estate; harder to travel with.
Key Weight: Many more options for semi-weighted and even some fully-weighted, although those are more rare
Best For: Most home studio producers, songwriters, and synth players who want a balanced tool for two-handed playing.
Popular Models: Arturia KeyLab Essential 49, Novation Launchkey 49 Mk3, Nektar Impact LX49+.
61 to 88 Keys (The Pianist's Choice)
61 to 88-key controllers offer five to seven-plus octaves. 88-key units often feature "fully weighted hammer-action" keys that mimic the physical resistance and mechanical feel of a real acoustic grand piano. If you need your controller to feel like a real piano, this is the way to go.
Strengths: Authentic piano playing experience, zero octave switching needed, massive performance range.
Weaknesses: Heavy, expensive, and physically massive—these usually require a dedicated keyboard stand or a custom studio desk.
Key Weight: Much more typical to find fully-weighted keys in this range.
Best For: Trained pianists, film composers, and producers who perform complex two-handed classical or jazz arrangements.
Popular Models: M-Audio Hammer 88, Arturia KeyLab 88, Studiologic SL88.
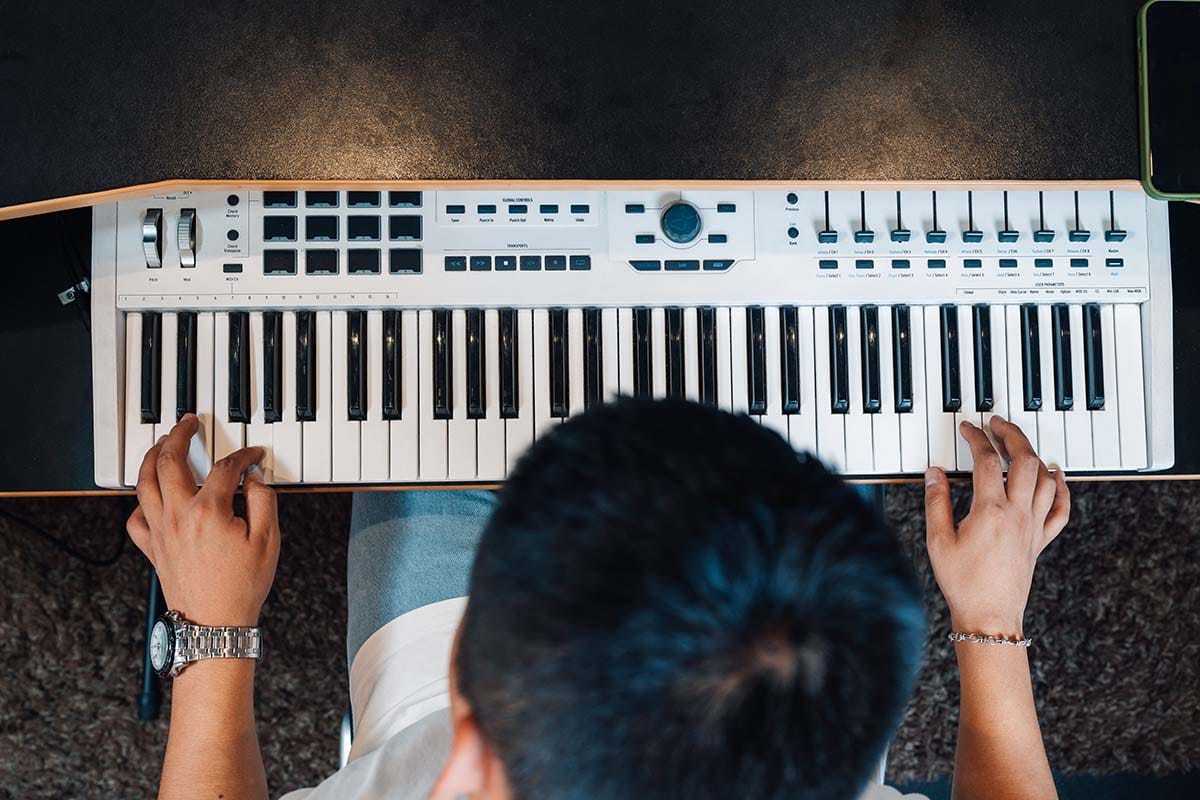
Grid & Pad Controllers: Built for Beats and Clips
Instead of traditional black-and-white piano keys, pad controllers feature grids of rubber, velocity-sensitive square pads.
When you strike a pad, it triggers a drum sound, a sample, or an entire audio loop in your DAW.
If you weren't trained on a piano, pad controllers can provide a creative way to express your musical intentions while keeping the musicality high.
Why Choose Pads Over Keys?
If your primary goal is finger-drumming, chopping up samples, or triggering loops in real-time performance software (like Ableton Live or Bitwig Studio), keybeds can feel awkward. Hitting a snare drum on a piano key doesn't feel natural to most people—hitting a firm, square rubber pad does.
Remember the old drum pads that were hit with sticks in the 1980s? Well, these are the modern, compact versions of those pads - no sticks required.
Pad controllers fall into two main categories:
Compact Finger-Drumming Pads (4x4 Grids)
These feature 16 velocity-sensitive pads arranged in a standard 4x4 square layout. They are optimized for tapping out drum patterns, triggering 808s, and slicing up vocal or soul samples.
Popular Models: Akai MPD218, Native Instruments Mikro Mk3.
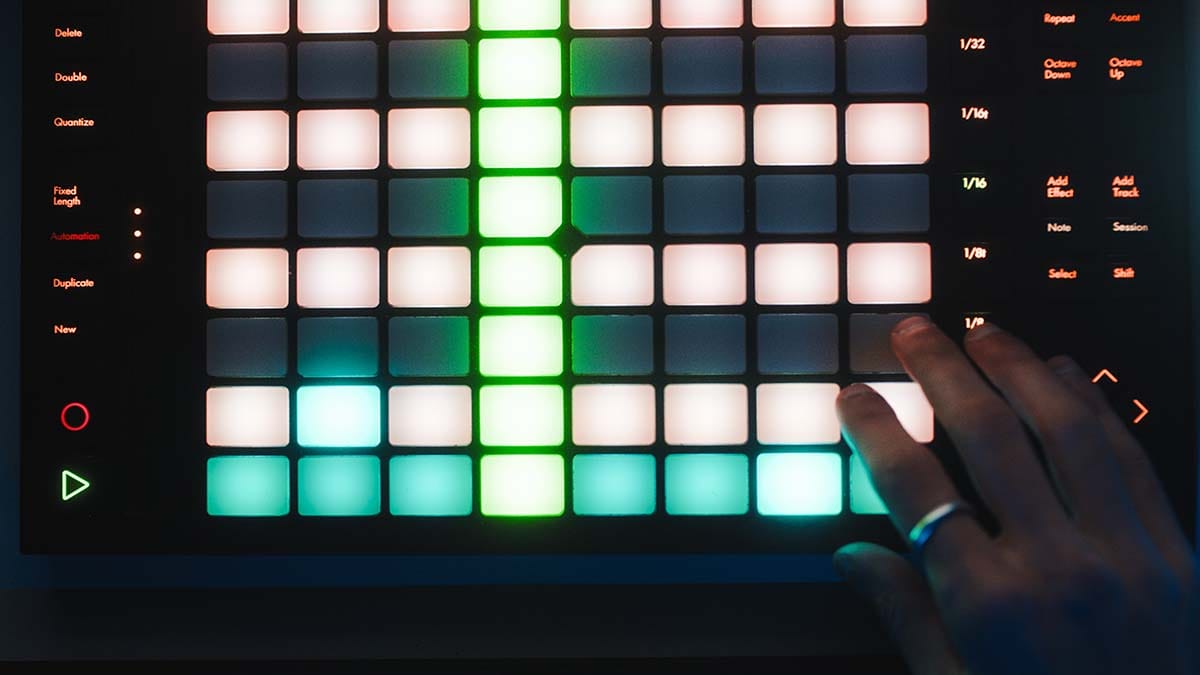
Clip-Launching Grid Controllers (8x8 Grids)
These feature 64 smaller illuminated pads arranged in an 8x8 grid. Models like the iconic Novation Launchpad or Ableton Push allow you to launch scenes, perform live electronic sets, mix tracks, and even play melodies using custom scale modes (where the pads light up only the notes in your chosen musical key!).
Popular Models: Novation Launchpad X / Launchpad Mini, Ableton Push 3.
The "Best of Both Worlds" Solution: Hybrid Controllers
Here is a little secret: you don't actually have to choose between keys and pads!
Most modern budget and mid-tier MIDI keyboards - like the Akai MPK Mini, Arturia MiniLab, and Novation Launchkey series - are hybrid controllers. They give you 25 to 49 piano keys plus 8 to 16 velocity-sensitive pads, along with assignable knobs and faders packed into a single unit.
For most music producers starting out in home, a hybrid keyboard controller offers the absolute highest versatility for your money.
Electronic Drum Sets (For Real Drummers)
If you are a drummer like me, moving into home music production and tapping out rhythm patterns on 2-inch plastic pads or small piano keys with your fingers can feel intensely frustrating. You miss the physical recoil of sticks, hi-hat pedal control, and full-body kinetic movement.
Enter Electronic Drum Kits (E-Kits) as MIDI controllers.
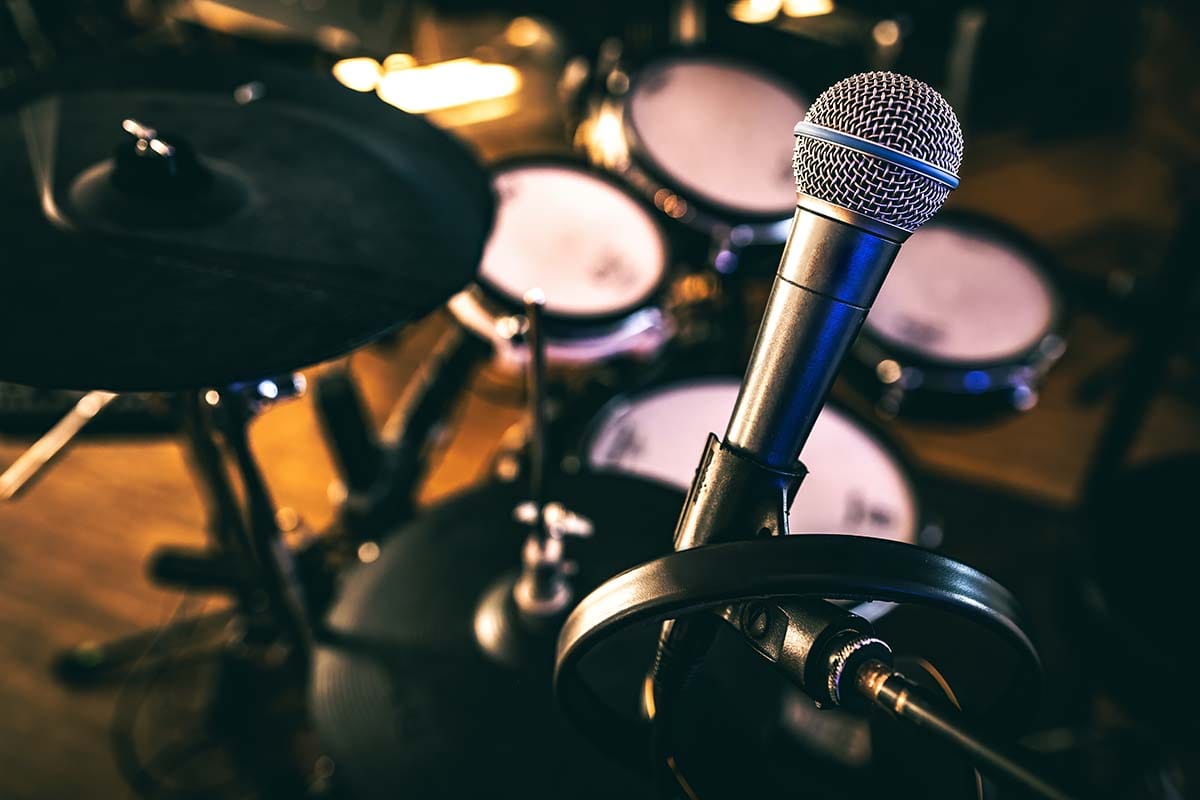
Modern e-kits feature mesh drumheads and rubber cymbals with built-in sensors. You simply run a USB or 5-pin MIDI cable from the drum module directly into your audio interface or computer.
I remember when I played on my current e-kit years ago - I was blown away by how far the technology had come from simple rubber pads into sophisticated mesh head trigger systems. There is even the option to have full cymbal control with electronic versions of hi-hats, snares, and ride cymbals for more realistic playable character.
Why Use an E-Kit as a MIDI Controller?
An e-kit with a brain box will be able to output its own samples as WAV files into your DAW. Some even can output to multiple tracks to act like individual microphones on a live kit.
But you can also use your e-kit as a MIDI controller. When you strike an e-kit, it sends multi-channel MIDI data into your DAW - and that can be used to trigger dedicated drum plugins - like EZ Drummer / Superior Drummer, Steven Slate Drums, or GetGood Drums.
Instead of relying on the robot-sounding stock audio samples inside a budget drum module, your physical stick hits trigger high-end acoustic drum samples recorded in world-class commercial studios!
This can give you a lot of flexibility when recording your drums.
Strengths: Feels like playing real drums, captures natural human swing and dynamic velocity, allows near silent practice on headphones.
Weaknesses: Takes up a massive footprint in a room, requires physical drum sticks and pedals, significantly more expensive than desktop pad controllers. I mean, it is a drum set, right?
Popular Beginner / Mid-Tier Models: Alesis Nitro Max, Roland V-Drums TD-07 series.
Upper-End Models: Roland V-Drums 5 Series.
I own a Roland V-Drums kit, which you will see in the background of my videos. It serves me very well because of my experience on acoustic drums throughout time. E-kits like this are not inexpensive, but they have really gotten both realistic and powerful in terms of what you can do with them if you are stick-inclined like me.
Expressive Niche Controllers: Wind & Expression Gear
While keys and pads cover 95% of home studio needs, there are specialized MIDI devices designed for unique instruments and realistic acoustic articulation.
Wind Controllers (EWI & Digital Saxophones)
For saxophone, flute, trumpet, or woodwind players, traditional keyboards lack the organic breath control and embouchure expression needed to make virtual wind instruments sound realistic.
Wind controllers - like the Akai EWI (Electronic Wind Instrument) or Roland Aerophone - feature breath sensors that convert air pressure, lip bite, and fingering patterns into continuous MIDI data.
As you blow harder into the mouthpiece, the controller sends continuous MIDI CC control data to open up filters, swell volume, and alter pitch naturally.
These are best for woodwind players, orchestral brass arrangers, and synth players looking for vocal-like dynamic lead control. Much like my experience playing acoustic drums translated to playing an e-kit, so does experience playing real wind instruments translate to these controllers - although it is not required.
MIDI CC Controllers: Faders, Knobs, and Tactile Control
When you tweak a knob on a synth or ride a volume fader during a mix, you aren't sending musical notes - you are sending MIDI Continuous Controller (CC) data.
MIDI CC messages carry values from 0 to 127 to control parameters like volume (CC 7), panning (CC 10), expression (CC 11), or filter cutoff (CC 74).
While many keyboard controllers include a few knobs on top, dedicated CC control surfaces give you physical bank control over your DAW mix and virtual instruments:
Fader Banks (e.g., Korg NanoKONTROL 2): Compact, inexpensive strips of physical faders and knobs. Film composers use them to "ride" expression and dynamics faders with one hand while playing string lines with the other.
Motorized Console Controllers (e.g., PreSonus FaderPort, Icon Platform M+): Feature motorized physical faders that move automatically to match your DAW automation tracks. They bring the feel of a multi-thousand-dollar analog mixing console to a small desktop setup!
Typically, motorized fader controllers are used to replicate the faders on a mixing desk, but in the digital age, everything is assignable. Be sure and verify what kind of preferred use case any controller like this has before you purchase one.
The fundamental use of controlling virtual instruments with these kinds of controllers is covered in the MIDI Madness Tier 1 free course.
What to Look For (And What to Avoid)
To save your hard-earned money and keep your setup frictionless, keep these guidelines in mind before buying a MIDI controller:
What to Look For
Velocity Sensitivity: Ensure the keys or pads respond dynamically to how hard or soft you play. (Non-velocity sensitive gear sounds flat and robotic.)
USB Bus Power: Look for controllers that draw power straight through the USB cable connected to your computer - no external power adapter required! (Note - larger controllers are more likely to need external power, so keep that in mind)
DAW Integration: Choose controllers that feature built-in integration mappings for your specific DAW (e.g., Ableton, Logic, FL Studio, Fender Studio Pro (formerly Studio One)) so knobs and play/stop transport buttons work right out of the box.
What to Avoid
DO NOT buy an 88-key weighted controller if you have a tiny 3-foot desk. Measure your workspace before ordering large hardware. And get used to using the gear in your workflow to help you know where you might upgrade in the future.
DO NOT buy a pure pad grid if your primary goal is learning piano chords. Pad controllers are not going to get you playing Beethoven or Mozart while you tickle the ivories, so keep your target function and goals in mind.
DO NOT overpay for complex, motorized fader consoles on Day 1. Learn your DAW's software automation first before adding complex control surfaces. Personally, I have found that it is much easier to identify a potential improvement point by looking for slow spots in an established workflow. Otherwise, you are just guessing.
Where to Go Next
Adding a MIDI controller to your home studio is one of the fastest ways to break out of creative ruts and start making music with your hands instead of just your eyes and a mouse.
Remember: you don't need the most expensive 88-key workstation to write hit songs. I have written great stuff on a little 25-key controller.
Pick the controller type that fits your primary style - whether that's a compact 25-key hybrid, a 49-key desk controller, or a pad grid - and get to work learning its features!
Here are your immediate next steps:
1. Assess Your Creative Style: Are you primarily playing melodies and chords (go with keys), tapping out beats and slicing samples (go with pads), or both (go with a hybrid)?
2. Measure Your Desk Space: Check your physical room setup before buying to ensure your new hardware leaves comfortable room for your mouse, keyboard, and audio interface.
3. Map Out Your Complete Production Flow: A MIDI controller is just one part of the creative puzzle. Knowing how MIDI recording fits into tracking, arrangement, mixing, and mastering keeps you focused on finishing tracks. Download my free, 35-page Embervane Sparkflow Map to get the full step-by-step blueprint from blank DAW project to finished master.
And when you're ready to plug in your controller and power up your MIDI game, jump straight into our free MIDI Madness Tier 1 course.
Now grab a controller, fire up your DAW, and go make something cool!
Found this guide helpful?
Spread the word and share with another creator.
Return to Essential Gear for Home Music Production Topic Hub
Previous Topic <
About the Author

Jim is the creator of Embervane - a lifelong music maker with a curiosity‑driven approach to creativity and learning. He has been playing drums since age nine and composing seriously since 2018, continually refining his craft through study, experimentation, and hands‑on practice.
With a background in chemistry and more than two decades of studying behavioral psychology, Jim brings a unique blend of scientific thinking and human understanding to music education. He beta‑tests tools for companies like Mastering the Mix, Kit Plugins, and Soundiron, which keeps him close to the evolving landscape of modern production.
Jim isn’t a celebrity producer or award‑winning engineer - he’s a creator who remembers exactly what it feels like to struggle, learn, and grow. His mission is to help other music makers build clarity, confidence, and momentum in their craft.
Jim is the creator of Embervane - a lifelong music maker with a curiosity‑driven approach to creativity and learning. He has been playing drums since age nine and composing seriously since 2018, continually refining his craft through study, experimentation, and hands‑on practice.
With a background in chemistry and more than two decades of studying behavioral psychology, Jim brings a unique blend of scientific thinking and human understanding to music education. He beta‑tests tools for companies like Mastering the Mix, Kit Plugins, and Soundiron, which keeps him close to the evolving landscape of modern production.
Jim isn’t a celebrity producer or award‑winning engineer - he’s a creator who remembers exactly what it feels like to struggle, learn, and grow. His mission is to help other music makers build clarity, confidence, and momentum in their craft.


©2026 Embervane LLC. All rights reserved. Embervane™ is a trademark of Embervane LLC.