
Best Studio Monitors: What to Look For and What to Avoid
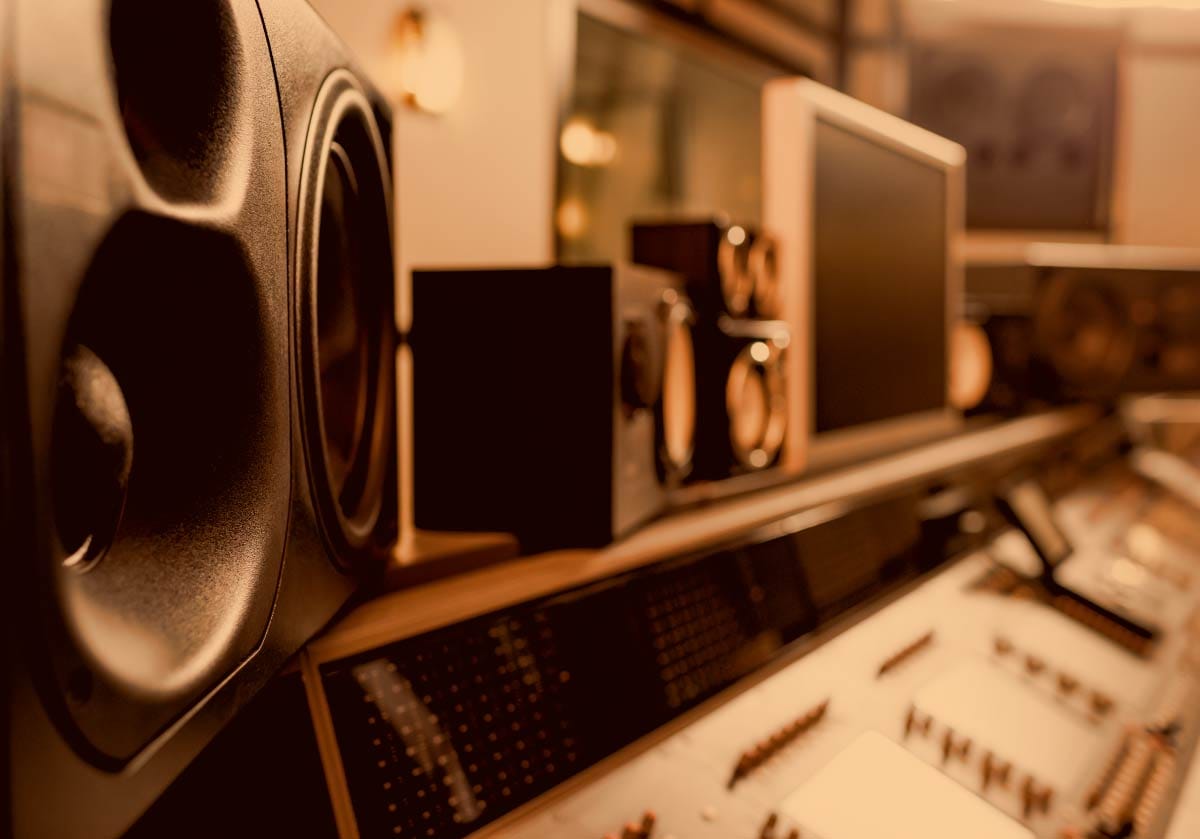
The Truth About Speakers
So, you’ve reached the point in your music production journey where you're tired of wearing headphones all day and you want to feel the air moving in the room. You want studio monitors.
You go online, search for "best studio speakers," and immediately get overwhelmed by driver sizes, active vs. passive crossovers, room modes, and subwoofers. Before you know it, you've got five tabs open and you’re looking at $2,000 monitors designed for commercial mixing rooms, all while you get hit with opinions that are all over the place.
Stop right there! There is no need to get overwhelmed.
When you are looking to outfit your studio with foundational gear, keep in mind that building a functional home studio isn't about owning the most expensive status symbols. It’s about choosing tools that help you hear your music accurately without making you, your room, or your wallet cry.
Studio monitors are one of the most exciting upgrades you can make for your home studio, but they can also be a massive money pit if you buy the wrong size for your room or set them up incorrectly.
In this guide, I'm going to strip away the elitist audiophile jargon. You’ll learn what studio monitors actually do, how they differ from everyday consumer speakers, how to choose the right driver size for your room, what to avoid, and how to set them up so your mixes hold up in the real world.
Let’s check this stuff out!
Studio Monitors vs. Consumer Speakers: Why "Good" Speakers Lie
The most common mistake producers make is assuming that a high-end pair of home theater speakers or a booming Bluetooth speaker will work just fine for music production.
After all, if a speaker sounds rich, warm, and booming when you play your favorite songs, shouldn't it be great for making music?
Spoiler alert: Absolutely not.
Consumer speakers and studio monitors are engineered for two completely different goals.
Consumer Speakers (The Flatterers)
Commercial speakers - like soundbars, car audio systems, and casual hi-fi setups - are designed to make finished music sound as pleasant as possible. This makes the music sound rich and fun.
These speakers apply built-in EQ curves to do this. Because of that, you can expect to hear:
Boosted Sub-Bass - Exaggerated low end to give you that "thump," because lots of bass sounds awesome, right?
Scooped Midrange - The middle frequencies generally get pulled down on these speakers, which can hide some mud and harshness.
Boosted Top-End - the higher frequencies are punched up and that makes even bad recordings sound 'shinier,' but this adds fake clarity.
Consumer speakers are meant for things like a party where the quality of the music does not technically matter so much - people just want to have fun listening to the music in the background.
If you try to mix on consumer speakers, you’re trying to hit a moving target. If the speaker boosts the bass by 6 dB, you will naturally turn the bass down in your DAW mix to compensate. Then, when you play your song in the car or on someone’s earbuds, the bass completely disappears!
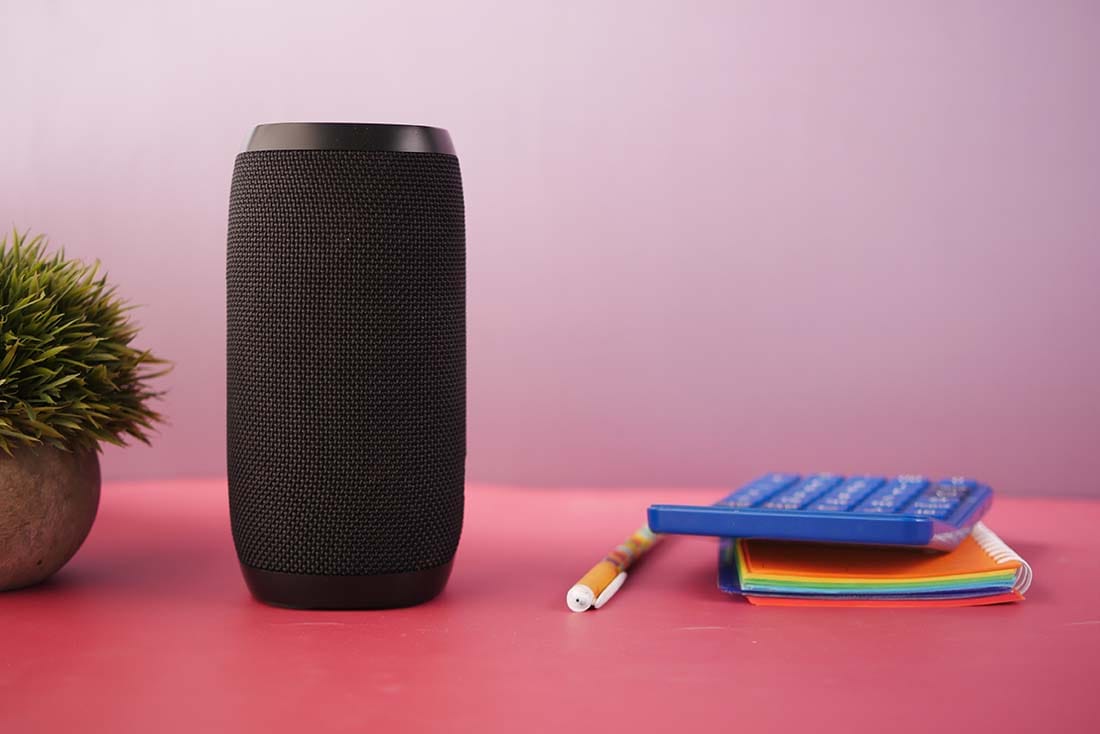
Studio Monitors (The Truth Tellers)
Studio monitors are designed for accuracy. They aim for a flat frequency response, meaning they don't boost or cut any specific frequencies. They hand you the raw, unfiltered truth of what is inside your DAW.
Because of that, you can expect to experience:
Flat Frequency Response - when the frequency response curve of a speaker is closer to flat, all of the frequencies tend to sound equally unremarkable - that is hearing the truth
Fast Transient Response - the speaker drivers are designed to be more responsive, which provides more clarity for transient moments
Raw, Honest Midrange -when the middle frequencies are flat and truthful, you can really dial in the vocals in a song, so they are sitting right and sounding great
It may sound funny when I use words like 'unremarkable' and 'flat frequency response,' because often we grew up with speakers that had a button that said Bass Boost and things like this.
But the reality is this: until you can get a completely honest sonic picture of what your song sounds like, you won't know what to fix. And if you don't know what to fix, your mix will likely fall apart on other systems.
If your mix sounds thin, harsh, or muddy on studio monitors, it’s because your mix is thin, harsh, or muddy.
That might hurt your feelings in the short term, but it’s the only way to build a track that actually translates across multiple playback systems. Accuracy might feel a little boring at first, but boring translates.
Active vs. Passive Studio Monitors: What You Need to Know
When you start shopping around for monitors, you might run across the terms active and passive. Let's make this really simple so you don't buy the wrong thing.
Passive Monitors
Passive monitors require an external power amplifier to drive them. There is no built-in amplifier inside the speaker. Speaker wire runs from an external amp to the speakers, similar to old-school home stereo setups.
Verdict for New Producers: Avoid passive monitors - they require extra gear, physical space, and precise power-matching calculations that add unnecessary friction and cost to a new music producer's workflow.
Active Monitors
Active monitors have built-in power amplifiers specifically tuned by the manufacturer for the exact drivers inside the cabinet. You simply plug the monitor into the wall for power and run a line-level cable (TRS or XLR) straight from your audio interface.
Verdict for New Producers: Go 100% active, man. Virtually all modern entry-level and mid-tier studio monitors (like the JBL 305P Mk II, Yamaha HS series, or Kali LP-6) are active. Plug them in, turn them on, and get to work.
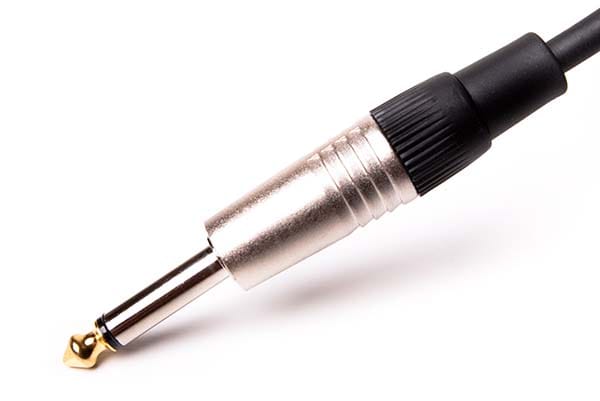
TRS Cable Connector
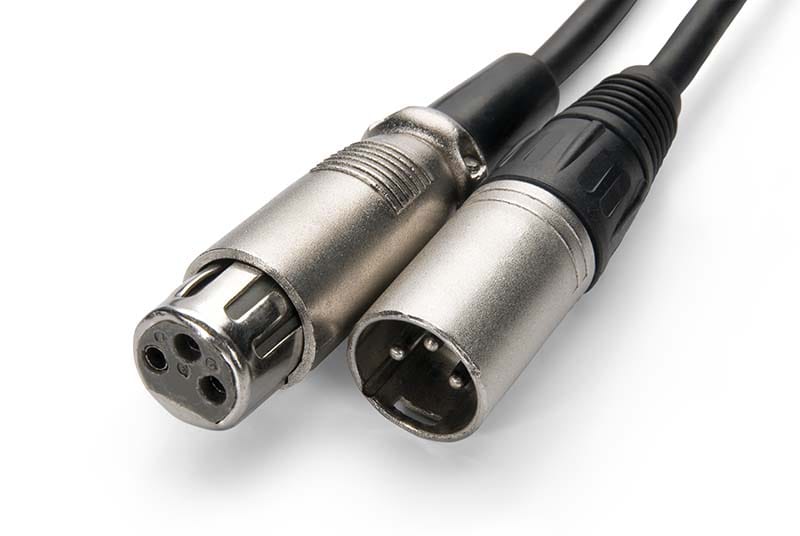
XLR Cable Connector
Choosing Room Size & Woofer Diameter: Why Bigger Isn't Always Better
Here’s a reality check that trips up almost every new producer: buying massive 8-inch studio monitors for a typical bedroom studio will actively ruin your sound.
It's natural to think, "If 5-inch speakers are good, 8-inch speakers must be better!" But physics doesn't work that way, man.
When you place large speakers inside a small, untreated room, those large woofers push out long low-frequency sound waves that slam into your drywall, bounce into corners, and create massive acoustic reflection peaks and phase cancellations. You’ll wind up with boomy, tubby bass that misleads your ears, forcing you to make terrible mixing choices.
When choosing monitor size (measured by the diameter of the low-frequency woofer), match the speaker driver to the size of your space.
Small Room/Bedroom
Approximate Room Dimensions - Under 10' x 10' (100 sq. ft.)
Recommended Woofer Size - 3.5" to 5"
Example Models - PreSonus Eris E5, JBL 305P MkII, IK iLoud Micro
Medium Spare Room
Approximate Room Dimensions - Roughly 10' x 12' to 12' to 15' (~200 sq. ft.)
Recommended Woofer Size - 5" to 6.5"
Example Models - Yamaha HS5, Kali Audio LP-6 V2, Adam Audio T5V
Large Room/Garage
Approximate Room Dimensions - 15' x 20' (300+ sq. ft.)
Recommended Woofer Size - 7"+
Example Models - Yamaha HS8, Kali Audio LP-8 V2, Focal Alpha 65 Evo
Rule of Thumb: If you are producing in a standard 10x10 or 10x12 spare bedroom, 5-inch studio monitors are the sweet spot. They provide plenty of volume, clear midrange, and controlled low end without completely overpowering your room's natural acoustics.
And if your low end is not quite there, then a small subwoofer can help fill in the lower frequencies like the IK iLoud Sub. Or you can use some of the best headphones for music producers to check that low-end.
A Special Note about Coaxial Monitors & Small Studio Monitors
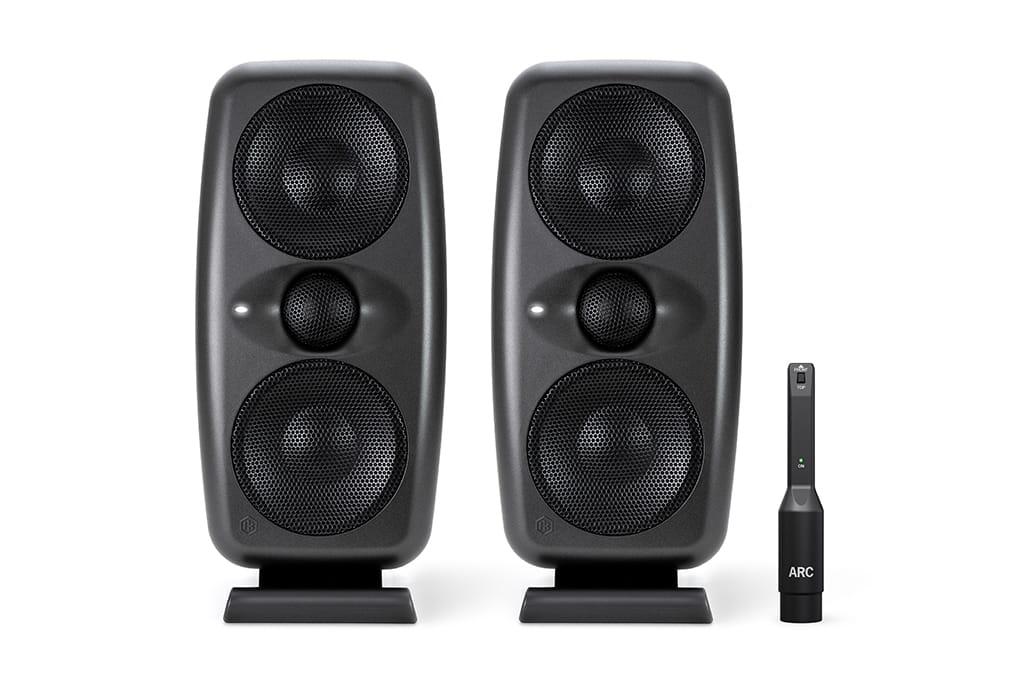
Advances have happened in studio monitor technology that combine smaller drivers (like 3.5") in alignment to create a frequency response that rivals that of 8" driver monitors. In addition to being a physically smaller total size, these kinds of monitors can provide some pretty amazing clarity. They also create a better overall function for a range of room sizes.
The IK iLoud MTM speakers are an example of this.
Do You Need a Subwoofer for a Home Studio?
We have to talk about subwoofers because they look cool, they shake the floor, and every electronic music producer thinks they need one on Day 1.
Do you actually need a subwoofer when starting out? Almost certainly no.
Is a subwoofer something you might grow into? Sure, depending on your room and studio setup.
Here’s why: subwoofers generate massive, long low-frequency energy (below 60 Hz). If you throw a subwoofer into an untreated bedroom, that bass energy collects in the corners of your room and creates huge acoustic "standing waves."
Depending on where you sit in the room, you will either experience a massive "bass void" (where you can't hear any sub-bass at all) or a massive "bass buildup" (where everything sounds like a muddy earthquake).
How to Handle Sub-Bass Without a Subwoofer
If you're producing hip-hop, EDM, or modern pop where sub-bass accuracy is critical, skip the hardware subwoofer for now. Instead, use a pair of flat open-back or neutral closed-back headphones - like the ones we evaluated in our guide to the best headphones for producers- to check your lowest octave (20 Hz – 60 Hz).
That's right - you can use your headphones to check the low-end on your songs if you don't have a subwoofer.
Headphones deliver sub-bass straight into your ears without exciting the acoustic modes of your room. Save that subwoofer money for acoustic treatment or a better audio interface or functional plugins!
Studio Monitor Placement: The Physics That Save Your Mix
You can buy a $2,000 pair of studio monitors, but if you toss them randomly on your desk pushed right against the wall, they will sound like a $50 pair of computer speakers. Sadly, this is just a fact of physics.
Proper placement matters more than the price tag. The good news? You don't need a degree in acoustics to get your monitors positioned correctly. Just stick to these four core rules:
Rule 1: The Equilateral Triangle
While each room may have its own nuances, a fantastic place to start with your monitors is to form a perfect equilateral triangle (equal distances on all three sides) between your head and your two monitors.
If your monitors are 4 feet apart from each other, your head should be exactly 4 feet away from each monitor. Angle (toe-in) the monitors inward so the tweeters are pointing directly at your ears (or just slightly behind your head).
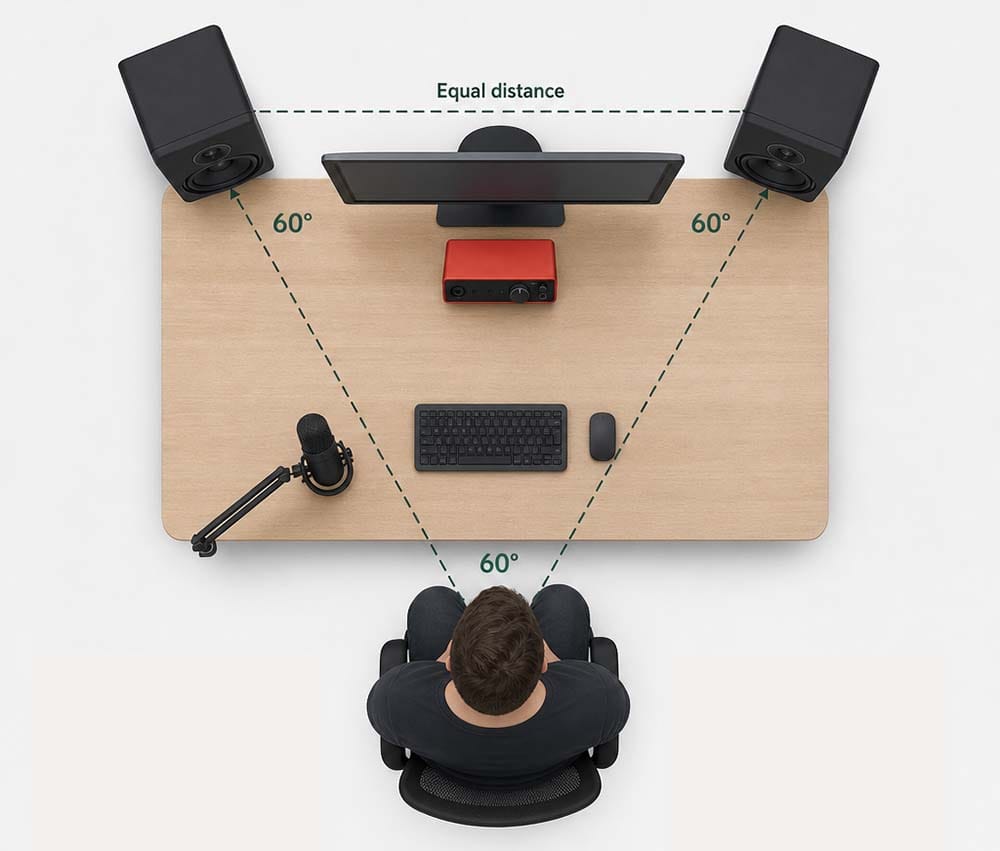
If your room and setup support it, try to get at least a four-foot distance to the triangle sides. (This helps to hear stereo imaging so much better.)
You might notice that in the diagram above, the speakers are kind of hanging off the back of the desk. With typical desks, you may need speaker stands to achieve this positioning. Stands are also recommended to physically disconnect your speakers from your desk, so the vibrations of sound don't affect what you hear as your desk vibrates.
Rule 2: Tweeters at Ear Level
High frequencies are extremely directional. If your studio monitors are sitting flat on your desk pointing at your chest, you will miss out on top-end clarity and detail.
Use dedicated speaker stands or desktop isolation pads to elevate the speakers so the tweeters (the small top drivers) sit at the exact height of your ears. But please, for the love of all that is acoustically good, do not tilt your speakers up or down toward your ears - just get them sitting at the right level so they are flat and pointed right where they should be.
Rule 3: Step Away from the Wall
Placing studio monitors directly against a wall creates "boundary coupling" - an artificial low-end boost that makes your speakers sound much bassier than they actually are.
Pull your monitors at least 8 to 12 inches away from the front wall. (Your 'front wall' is the one you face when you work.) If your monitors feature rear-firing bass ports, giving them breathing room is mandatory to prevent muddy bass reflections. Pay attention to your manufacturer's recommendations for placement with any ported speakers.
Depending on the size of your room and your desk setup, positioning your speakers may get tight, so remember to read the manual for your monitors.
Rule 4: Isolate Your Speakers From Your Desk
When your studio monitors sit directly on a wooden desk, the physical vibrations from the speaker cabinets transfer directly into the wood. Your desk essentially becomes a giant sounding board or drum head, smearing your low-mid frequencies as it vibrates sympathetically with the speaker output!
Inexpensive foam isolation pads (like Auralex MoPADs or generic dense foam pads) or desktop stands decouple the monitors from your desk surface, tightening up your bass and clarifying your stereo imaging instantly. Just remember - keep your speakers flat and don't use any tilt - some of those pads are designed to tilt.
Better yet, full speakers stands will complete decouple your speakers from your desk and can even isolate monitors away from the floor, too.
Best Home Studio Monitors by Budget
Below are the most reliable active studio monitors for producers, broken down by price tier. All of these offer excellent accuracy and value without requiring a commercial studio budget.
Let's Be Honest About the Word "Best"
If you already read through the guide covering the best headphones for music producers, then you know that I am using the word 'best' here with a grain of salt.
Quick reality check before we jump into recommendations: the Internet loves calling gear the "absolute best," but context is everything.
What makes total sense for a commercial mixing engineer working in a treated room is going to be a total nightmare for someone making beats on a small desk in an apartment.
When I mention the "best" monitors in this guide, I’m talking about real-world utility. These are the speakers that hit the sweet spot between affordability, physical space efficiency, and the raw accuracy you need to make confident mixing decisions.
Keeping all of this in mind, let's hit these pricing tiers:
Best Budget Studio Monitors (Under $300 / Pair)
Perfect for new producers, budget studios, and anyone starting out.
Why it's great: Extremely compact and highly affordable. They feature convenient front-panel volume control and aux inputs, making them a massive step up from stock computer speakers for home studios squeezed into tight desk spaces.
Watch out for: Limited sub-bass response due to the smaller woofers.
Best for: Ultra-tight spaces, producers that are just starting out, and small bedroom beatmaking setups.
2. IK Multimedia iLoud Micro Monitors (Best Small Studio Monitors)
Why it's great: Don't let the small 3-inch woofers fool you - these tiny speakers are powered by advanced onboard DSP that delivers flat, reference-grade sound and shocking low-end response down to 55 Hz. They feature built-in isolation feet that angle up toward your ears and a "Desktop EQ" switch to correct low-end reflections when placed directly on a desk.
Watch out for: Uses an external power brick and a proprietary cable connecting the two speakers together.
Best for: Traveling producers, ultra-small desktop setups, or untreated rooms where you need pro-level DSP accuracy without giant speaker cabinets.
Best Studio Monitors for Producers ($300 – $599 / Pair)
Good speakers cost money - it's that simple. You are buying a flatter frequency response, better/cleaner amplification, and clarity. That means that if your budget and room size allow it, these Tier 2 speakers will give you an edge over the Tier 1 products.
1. JBL 305P MkII (5-Inch)
Why it's great: An absolute staple in home studios around the globe. JBL utilized a patented "Image Control Waveguide" adapted from their flagship master reference monitors. This provides an incredibly wide "sweet spot" and gorgeous stereo imaging. You can move around at your desk without losing your high-end accuracy.
Watch out for: Rear-firing ports mean they must be kept away from walls, and they have a very faint idle amp hiss if sat ultra-close to your ears.
Best for: Overall value, incredible stereo width, and accurate midrange balancing.
2. Yamaha HS5 (5-Inch)
Why it's great: Instantly recognizable by their iconic white woofers, Yamaha's HS series carries on the legacy of the legendary NS-10s. They are notoriously analytical and midrange focused. They don't flatter your music at all - if your mix sounds good on Yamaha HS5s, it will sound good anywhere.
Watch out for: A bit light on low-end bass extension; can sound "clinical" or tiring if you're expecting fun bass response.
Best for: Vocal clarity, critical EQ adjustments, and ruthless mix accuracy.
3. Kali Audio LP-6 V2 (6.5-Inch)
Why it's great: Kali Audio was founded by former JBL engineers, and the Lone Pine (LP) 6 V2s are arguably the best value 6.5-inch monitors on the market today. They feature front-firing bass ports (allowing closer placement to walls) and built-in Boundary EQ switches on the back to tailor the sound to your room setup.
Watch out for: Larger cabinet size requires a bit more desk real estate.
Best for: Unbeatable flat frequency response, deep low-end extension without a sub, and flexible room placement.
Pro-Level Studio Monitors ($600 – $1,000+ / Pair)
If you have the budget and the room size that will support these monitors, you are looking at a step up in clarity and speaker responsiveness. Will someone who is just starting out notice a difference between Tier 2 and Tier 3 - perhaps not, until your ears get trained up. You are paying for a better handling of the frequency response curve typically across a wider range with these models .
1. Adam Audio T7V (7-Inch)
Why it's great: Features Adam Audio’s famous U-ART accelerated ribbon tweeter. High frequencies are ridiculously detailed, smooth, and non-fatiguing, allowing for long mixing sessions without ear exhaustion.
Watch out for: Deep cabinet depth requires sturdy speaker stands.
Best for: High-frequency detail, smooth acoustic translation, and modern electronic production.
2. IK Multimedia iLoud MTM (Coaxial / D'Appolito)
Why it's great: A marvel of modern DSP engineering. Despite their ultra-compact footprint, they utilize built-in ARC calibration software with an included measurement microphone to auto-correct their sound output specifically to your room's acoustic flaws!
Watch out for: Requires running the calibration setup procedure and/or acoustic treatment for best results.
Best for: Untreated small rooms where physical space is limited but high accuracy is required.
What to Avoid When Buying Studio Monitors
To save your wallet and keep your studio setup frictionless, watch out for these common traps:
DO NOT buy unpowered (passive) speakers by mistake. Always verify that the monitors are active (powered) unless you already own a dedicated studio power amplifier.
DO NOT use consumer RCA cables or cheap unshielded 3.5mm jacks if you can avoid it. Connect your interface to your monitors using balanced TRS-to-TRS or TRS-to-XLR cables to prevent electrical hum, interference, and noise.
DO NOT put 8-inch monitors in a tiny room without acoustic treatment. You will end up fighting boomy room modes that ruin your low-end translation.
DO NOT ignore speaker isolation. Placing monitors directly on a wooden desk without foam pads or isolation stands smears your low end and destroys stereo clarity.
A Quick Caution About Acoustic Treatment
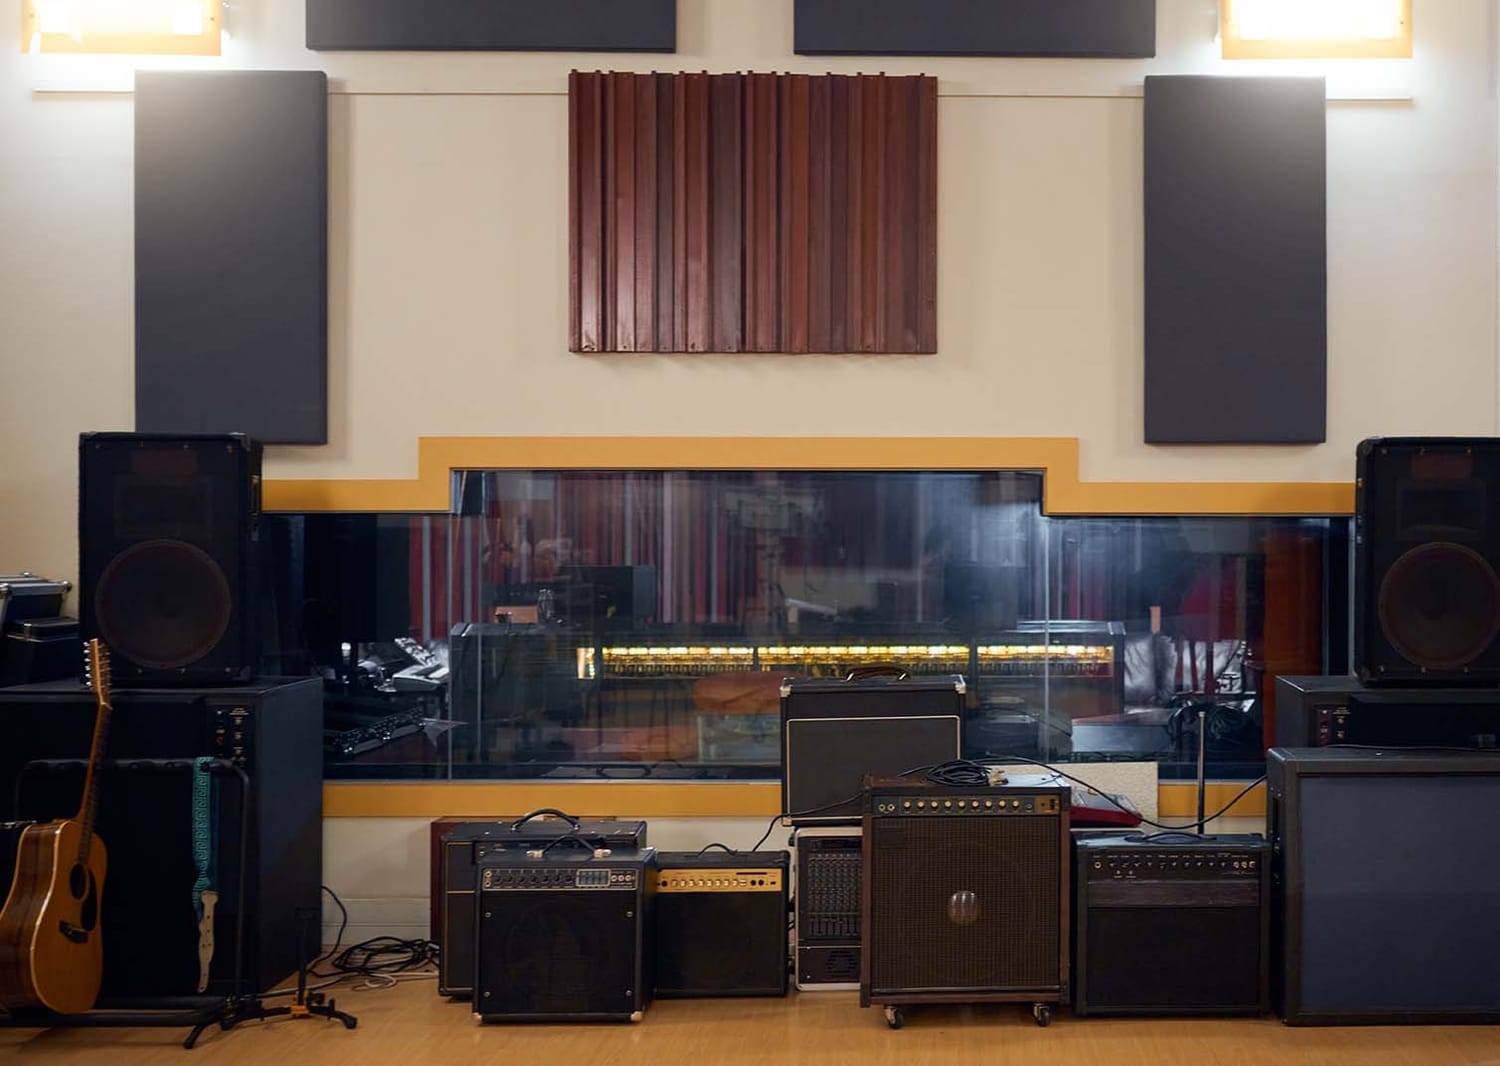
When you purchase studio monitors, you almost guarantee that you are going to need to put up acoustic treatment into your studio space. Thanks to physics and sound bouncing off of your walls, ceiling, floor, and other reflective surfaces, this means that sound that is coming out of your speakers combines with this reflected sound to create a potential mess for your ears.
I have watched producers get excited about purchasing speakers only to get disheartened when things didn't sound good right out of the box. Just know that there can be some extra work to be done to get your studio rocking.
Where to Go Next
Upgrading to a proper pair of studio monitors is a massive milestone in building out your home studio. When you hear your music through a flat, accurate pair of speakers for the first time, you’ll start catching details, depth, and mix balance issues you never knew existed.
Remember: start with the right driver size for your room, isolate them from your desk, form that equilateral triangle, and take time to learn how your reference tracks sound on them!
Here are your immediate next steps:
1. Assess Your Space: Measure your room size to determine whether a 3.5", 5", or 6.5" woofer fits your listening environment best.
2. Sort Your Monitoring Baseline: If your room is completely untreated or you need to work quietly late at night, make sure you have a reliable pair of closed-back or open-back headphones locked down first before spending money on monitors.
3. Map Out Your Complete Production Flow: Knowing how monitoring fits into tracking, arrangement, mixing, and mastering keeps you focused on making music rather than obsessing over gear. Download our free, 35-page Embervane Sparkflow Map to get the full step-by-step roadmap from blank DAW project to finished master.
And when you're ready to put your monitors to work and turn your ideas into complete tracks, jump straight into our free MIDI Madness Tier 1 course.
Now get those speakers placed, fire up your DAW, and go make something awesome!
Found this guide helpful?
Spread the word and share with another creator.
Return to Essential Gear for Home Music Production Topic Hub
About the Author

Jim is the creator of Embervane - a lifelong music maker with a curiosity‑driven approach to creativity and learning. He has been playing drums since age nine and composing seriously since 2018, continually refining his craft through study, experimentation, and hands‑on practice.
With a background in chemistry and more than two decades of studying behavioral psychology, Jim brings a unique blend of scientific thinking and human understanding to music education. He beta‑tests tools for companies like Mastering the Mix, Kit Plugins, and Soundiron, which keeps him close to the evolving landscape of modern production.
Jim isn’t a celebrity producer or award‑winning engineer - he’s a creator who remembers exactly what it feels like to struggle, learn, and grow. His mission is to help other music makers build clarity, confidence, and momentum in their craft.
Jim is the creator of Embervane - a lifelong music maker with a curiosity‑driven approach to creativity and learning. He has been playing drums since age nine and composing seriously since 2018, continually refining his craft through study, experimentation, and hands‑on practice.
With a background in chemistry and more than two decades of studying behavioral psychology, Jim brings a unique blend of scientific thinking and human understanding to music education. He beta‑tests tools for companies like Mastering the Mix, Kit Plugins, and Soundiron, which keeps him close to the evolving landscape of modern production.
Jim isn’t a celebrity producer or award‑winning engineer - he’s a creator who remembers exactly what it feels like to struggle, learn, and grow. His mission is to help other music makers build clarity, confidence, and momentum in their craft.


©2026 Embervane LLC. All rights reserved. Embervane™ is a trademark of Embervane LLC.