
Beginner Acoustic Treatment for Home Studios: What Actually Matters (and What Doesn’t)
Soundproofing vs. Acoustic Accuracy (Setting the Record Straight)
Acoustic treatment is, without a doubt, one of the most misunderstood parts of setting up a home studio.
If you spend any time browsing gear forums or watching studio walkthrough videos, it’s easy to get overwhelmed. You’ll see pristine rooms covered top-to-bottom in geometric foam, shiny wooden diffusers that look like modern sculpture, and endless debates about high-frequency response curves.
Then you look at your own spare bedroom, count your hard-earned dollars, and wonder if you need a degree in architectural acoustics just to make a decent-sounding beat.
Let’s cut through the noise: you don’t.
Acoustic treatment isn't about creating a clinical, multi-million-dollar mastering facility. It’s about making your room accurate enough so you can make musical decisions with confidence.
In order to set up your home studio without wasting money, the key here is to focus on the most impactful areas where acoustic treatment can help you.
In this guide, I am going to break down what actually moves the needle for beginners, what you can safely ignore, how to place panels where they matter most, and how to get maximum acoustic performance out of a budget home setup.
It's go time!
How to Treat a Room for Recording & Mixing (The Core Objective)
Before you buy a single panel or drive a single nail into your wall, we need to clarify what acoustic treatment actually does - and what it doesn't do.
The Listening Position Lie: Why Untreated Rooms Distort Your Mixes
Have you ever had a conversation inside an empty room with hard hardwood floors and bare drywall? You end up struggling to hear the other person clearly over the persistent ring and echo bouncing off the surfaces.
That lack of clarity is exactly what you are fighting when you sit down at your studio desk.
When you play music through your studio monitors in an untreated room, sound waves shoot out of the speakers and immediately slam into your side walls, ceiling, floor, and back wall. Those reflections bounce right back into your ears a fraction of a millisecond after the direct sound coming from the speaker cone.
When direct sound and reflected sound collide, they create chaos:
Boomy, Tubby Bass
Low frequencies collect in room boundaries, artificially boosting certain bass notes while completely cancelling out others. If you are sitting at your listening position listening to music and it just feels like the low-end is not clear, then your room might need some low-end love.
Harsh High-End Reflections
High frequencies reflect wildly off bare walls, smearing your stereo image and masking subtle details. Reflections mess with our ears big time - you have the original 'pure' sound coming from the speakers but then these high-energy reflected sounds that are delayed hit your ears and mess with the original signal. The worst culprits for these First Reflections are the front and side walls plus the ceiling (and sometimes the desk, too).
Frequency Imbalance
Some frequencies will sound unnaturally loud at your seat, while others vanish completely. This can be caused by room mode interference, but also reflections. When two sound waves hit each other, they boost some frequencies and shrink others. Acoustic Treatment helps to minimize this effect at your listening position.
All of this combines to make your listening position a lie. That's right... your room lies to your ears by messing with the sound from the speakers.
If your room is lying to you by boosting 200 Hz, you will naturally cut 200 Hz in your DAW mix to compensate. Then you play your track in your car, and suddenly the low end sounds completely hollow. When you can hear accurately at your desk, you stop guessing and start mixing with genuine confidence.

Soundproofing vs. Acoustic Treatment
Let’s clear up a huge misconception right now: acoustic treatment is not soundproofing. That's right - these are two fundamentally different things:
Soundproofing
In order to stop sound from going through the walls, ceiling or floor of your home studio into another room, soundproofing is needed. Soundproofing typically comes from both absorption in the walls and disconnecting walls from each side, and this prevents sound from entering or leaving your room.
It stops your neighbors from hearing your late-night vocal takes and keeps street traffic out of your microphones. True soundproofing requires heavy structural mass (like concrete, double-drywall assemblies, and decoupled floors). In a typical house, this kind of work becomes much harder to setup compared to a new build.
Acoustic Treatment
A room that is treated with acoustic panels controls how sound behaves inside the room once it leaves your speakers. But these panels do not really do anything to keep sound from going through the walls into other rooms.
Acoustic panels will not keep your housemates from hearing your drum loops in the next room. What they will do is stop those drum loops from bouncing off your walls and ruining your ears' ability to balance the mix.
Absorption vs. Diffusion: What Do Beginners Actually Need?
When shopping for home studio acoustic panels, you will inevitably run into two primary categories of treatment: absorption and diffusion.
Understanding the physical difference between the two will save you a lot of wasted cash.
Why Porous Absorption is Your Best Friend
Absorption panels use dense, porous materials (like rigid rockwool or dense fiberglass) to catch moving sound energy and convert it into tiny amounts of friction heat.
When a sound wave hits a proper absorption panel, instead of bouncing right back into the room like a bouncy ball off concrete, its kinetic energy gets trapped inside the fibrous weave. Depending on the size of the panel and the material inside, some frequencies are handled better than others.
High frequency waves are small, so small panels will absorb these well. But low frequency waves are large, and small panels won't do a thing to these sound waves. Good news - if the right absorber is selected, you can cover a broader range of frequencies as a whole.
For beginners, absorption is 90% of the game. Proper absorption panels handle the two biggest problems in residential rooms:
Sucking up harsh early reflections off your side walls and ceiling.
Taming the boomy bass build-up lurking in your room corners.
The Diffusion Upsell Trap: Why You Should Ignore Diffusers for Now
While absorption catches sound energy and stops it, diffusion does something different: it takes a direct sound wave and scatters it around the room, breaking a solid, harsh reflection into a soft, "smeared" wave.
What is the value of a diffuser? That "smeared" wave means that you aren't get hit with one big blast but instead a series of lower-energy hits.
Diffusion in General
If you look at high-end acoustic treatment catalogs, diffusers look incredible. They are often made of beautifully finished hardwoods arranged in intricate 3D block or laser cut patterns. And because they look so slick, companies love to push them as an essential upgrade.
Buyer beware: as a beginner, you should ignore diffusion entirely.
Yeah, some people are going to freak out because I am saying that, but I have watched many a producer screw up their room by applying diffusers without understanding them.
The Physics of Diffusion
Diffusion relies on strict physics calculations to work correctly. For a diffuser to function properly without creating weird phase artifacts, it must affect specific frequencies and sit a minimum distance away from the listener (usually 6 to 8 feet behind your head). In a typical 10' x 12' bedroom, your head is far too close to the back wall for diffusers to do anything useful.
I am talking about specific math and distance calculations here - the kind of stuff that definitely will not get you inspired to go make a song.
Most home studio rooms benefit very little from any kind of diffusion, assuming that the absorber panels were put up correctly. There is just not enough total distance to make the diffusion actually effective.
Save your money. Focus entirely on absorption. The goal right now isn't a flawless mastering suite - it's getting your space into a clean, workable environment.
Where to Place Acoustic Panels in a Home Studio
The most common beginner mistake isn't buying the wrong gear - it's sticking panels on random patches of open drywall because "it looks balanced."
Acoustic panels are surgical tools. Placing four panels in the right spots will improve your room ten times more than sticking twelve panels in the wrong spots.
Taming First Reflection Points (The Mirror Method)
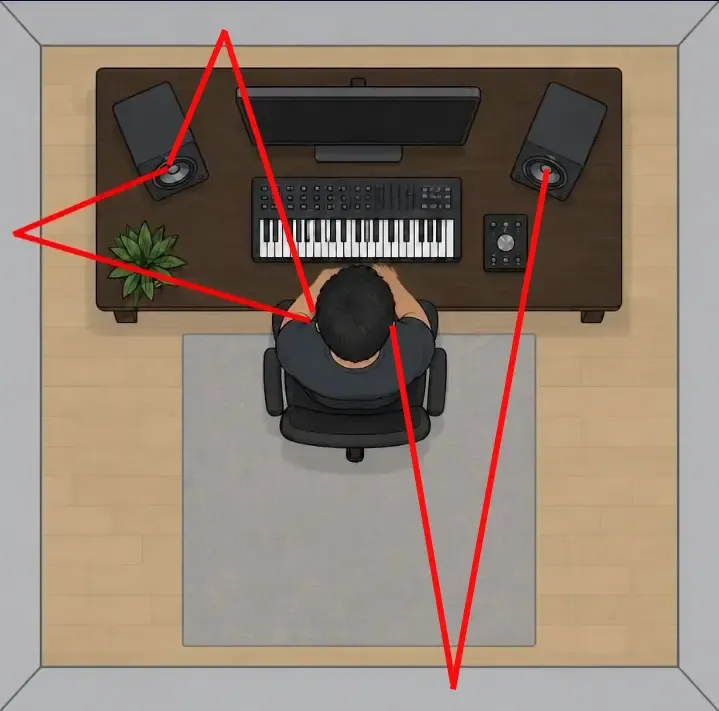
Your absolute highest-priority targets for absorption panels are your first reflection points (also known as early reflection spots). These are the precise locations on your side walls and ceiling where sound from your speakers bounces directly toward your ears.
Finding them takes two minutes using the classic Mirror Method:
Sit in your normal working chair at your desk.
Have a friend hold a small mirror flat against your left side wall at eye height and slide it slowly along the wall toward the front of the room.
Look into the mirror from your chair. The exact moment you see the reflection of your left studio monitor speaker in the mirror, mark that spot with painter's tape.
Keep sliding the mirror until you see the reflection of your right speaker, and mark that spot too.
Repeat the exact same process on the right side wall, and on the ceiling directly above your head.
You can do the same thing with the front wall as well, although here you normally would have one panel per speaker side.
Centering an absorption panel over those marked tape zones will catch the sound waves at their very first point of contact, stopping early reflections before they ever hit your ears. With the right kind of absorber panel, you can knock those reflections down and fix some of the worst sonic offenders in your room.
Why Thin Acoustic Foam Panels Fail
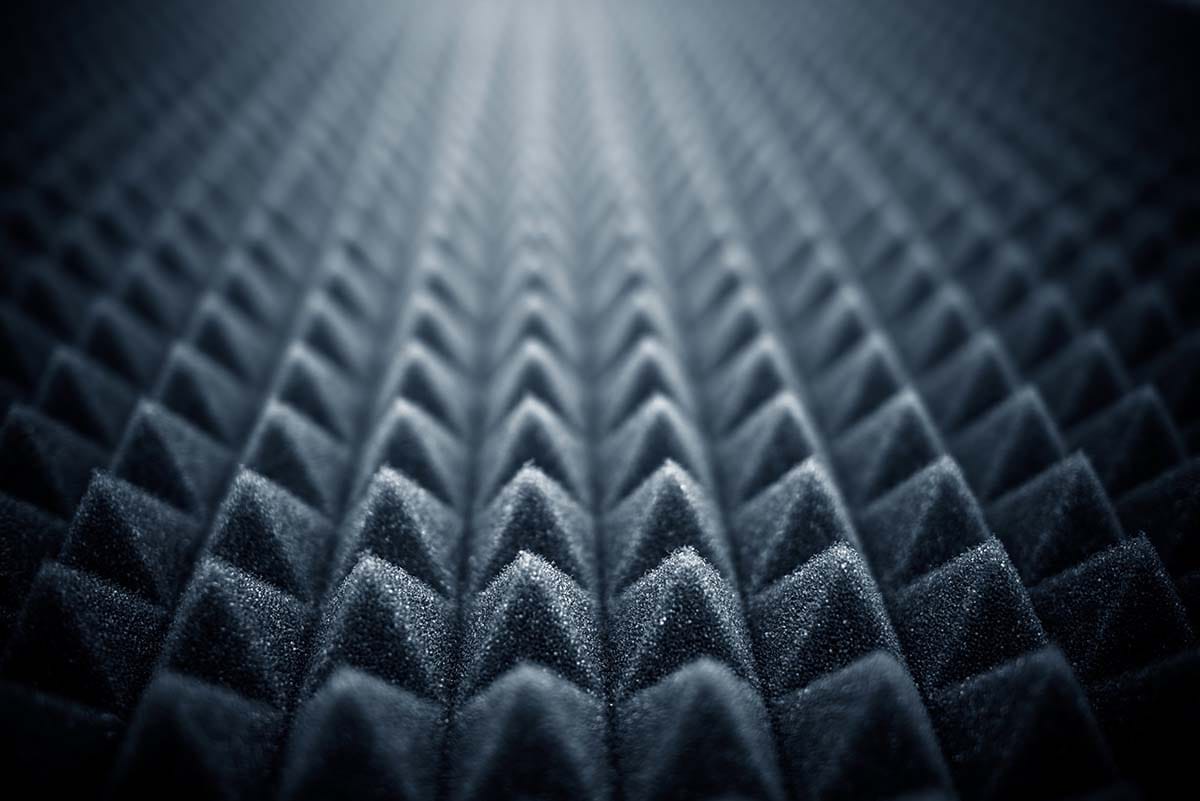
We have to address the elephant in the room: those cheap packs of thin, black-and-blue 1-inch egg-crate acoustic foam panels sold in bulk online.
They look the part, they are cheap, and they stick to the wall with tape. But from a physics standpoint, thin acoustic foam is largely a scam for home music production. Sound behaves differently depending on its wavelength:
High-frequency sound waves (like a tambourine or sizzly hi-hat) have short, thin wavelengths.
Low-frequency sound waves (like a bass guitar or kick drum) have massive, long wavelengths - a 100 Hz bass note is over 11 feet long!
Thin 1-inch foam panels only absorb very high frequencies. This is the same kind of thing that carpeting or drapes in a room will do as well - they are thin absorbers.
When you cover a room in thin foam, you suck out all the high-end air while leaving the massive mid-range and low-end mud completely untouched. The result? A room that sounds dark, boxy, and unnatural.
To absorb meaningful mid-range and low frequencies, your panels need density and depth. Look for dense, rigid mineral wool or fiberglass panels that are at least 4-12 inches thick.
What About Vocal Isolation Boxes?
All this talk about how bad eggshell foam is and what do you see inside of vocal isolation booths? Freaking eggshell foam, right?
So, why is foam used there, and how does it work?
Because vocal isolation booths are very small relative to a whole room. Inside that small space, the volume of the eggshell foam is actually larger in proportion to the size of the booth than it would be inside of a whole room.
Also, the human voice does not normally generate sound down in the very low huge-wavelength frequency range. That means that the higher-frequency sound coming from our voices can more easily get handled by the foam.
But in a full room, things change completely. When you are dealing with a full frequency spectrum range, that thin foam won't cut it for your general-purpose acoustic absorbers.
"Bass Traps:" Taming the Low-End Energy in Your Corners
If early reflections ruin your high-end clarity, low-end buildup is what destroys your mix balance.
The Low-End Build-Up Problem
Low frequencies are omnidirectional - they wrap around your speakers and fill the room in all directions. As those long bass waves travel outward, they naturally run into boundaries. Where two boundaries meet (like a wall meeting another wall, or a wall meeting the ceiling), low-end pressure accumulates rapidly.
We are talking about huge waves here - a 40 Hz sound wave has a wavelength of around 28 feet!
Where three boundaries meet - the corners of your room - bass energy builds up as those large waves try to get turned around to reflect back into the room. The air molecules there have nowhere to go in those corners, so the sound pressure builds up.
If you stand in the corner of an untreated room while playing a track, you will hear a massive, boomy swell of bass. When that trapped low-end energy reflects back into your room, it creates extreme room modes:
Peaks: Certain bass notes sound twice as loud as they actually are.
Nulls: Other bass notes cancel out, leaving you with zero low-end response at your chair.

Strategic Acoustic Absorber Placement
To tame this low-end pressure, you need absorbers that are beefy enough - thick, dense absorption units designed specifically to sit in room corners. Marketing will call these "bass traps," but that is not accurate at all - these big absorbers do not just absorb low-end frequency... they absorb everything.
Priority ordering for low-end absorber installation:
Front Tri-Corners: The vertical corners directly in front of you behind your desk displays.
Rear Tri-Corners: The vertical corners directly behind your listening position.
Wall/Ceiling Junctions: The horizontal corners where your walls meet the ceiling above your desk.
Vertical Corners: You may find the need to put effective absorption panels in the vertical corners of your room where a wall meets a wall. Each room can be different, so test yours and adjust as needed.
Putting thick, 6-inch to 12-inch-plus absorption panels across your room corners traps those long bass waves right at their highest-pressure point, flattening out your room's low-end response significantly.
You read that correctly - big, lower-density absorbers tend to work better for low-frequency sound waves. If you had an 18-inch x 18-inch rectangular absorber that could go into a corner, all that absorptive mass will help to reduce the power of those low-frequency buildups.
Cheap Acoustic Treatment & DIY Options for Home Studios
Let's address the budget reality. Commercial acoustic panels made by professional manufacturers can easily cost $75 to $300+ per panel. Outfitting a small room with commercial treatment can quickly top several thousands of dollars!
If you don't have that kind of budget right now, what are your options?
The Truth About Mattresses, Bookshelves, and Blankets
When trying to save money, beginners get creative - often with poor results. Don't let these acoustic traps mess with your room:
Hanging Heavy Moving Blankets
Moving blankets will knock down harsh room echo (flutter echo) if you are tracking vocals, but they are far too thin to absorb low or mid frequencies. Use them as a temporary vocal booth solution, not as primary room treatment.
The Back-Wall Mattress
Propping a spare mattress against your back wall does provide some dense absorption, but it takes up massive floor space, gathers dust, and looks chaotic. In addition, the actual frequency absorption provided is not good.
Bookshelves as Diffusers
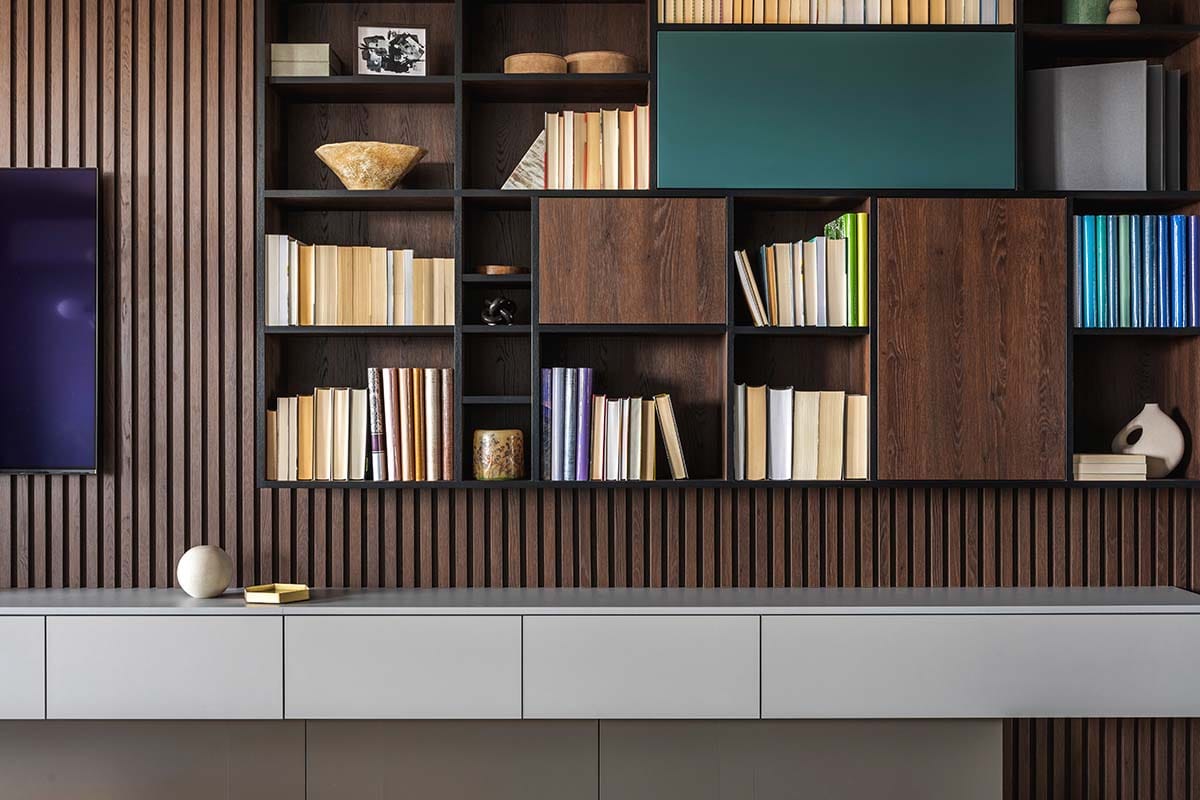
Stacking books at random depths on a rear shelf is often cited as a "DIY diffuser." As we covered earlier, diffusion isn't what your small room needs anyway - you need absorption.
Oh, and by the way, a bookshelf is not really diffusing in the way that you would think - diffusers rely on reflective surfaces with specific mathematical configurations and distances. Your bookshelf doesn't check any of those boxes, sadly.
Building Your Own DIY Insulation Panels (Maximum Value, Minimal Skill)
If you want professional-grade acoustic performance at a fraction of the retail price, building your own DIY acoustic panels is hands-down the best path forward.
It requires basic hand tools, zero advanced woodworking skills, and a single weekend afternoon.
The Basic DIY Panel Recipe
The Core Material: Buy a pack of rigid insulation boards - specifically Owens Corning 703 or Rockwool Safe'n'Sound / Handy Panels (6-inch thickness).
The Frame: Build a simple 1" x 6" wooden box frame around the insulation slab using cheap pine boards from a hardware store. Common dimensions are a 4-foot height, 6-inch depth, and a width to match your insulation (like 16" for wall insulation or 23" for attic insulation).
The Fabric Cover: Wrap the panel in an inexpensive, porous fabric (like breathable cotton, linen, or polyester).
(Pro Tip: If you can easily blow air through the fabric with your mouth, sound can pass through it into the insulation).Mounting: Screw simple picture-hanging hardware or heavy-duty Z-clips into the back of the frame and hang them on your wall like framed art.
Building four to six of these panels yourself might cost roughly $150 - $200 total in materials or less, delivering identical acoustic absorption to commercial panels costing three times as much.
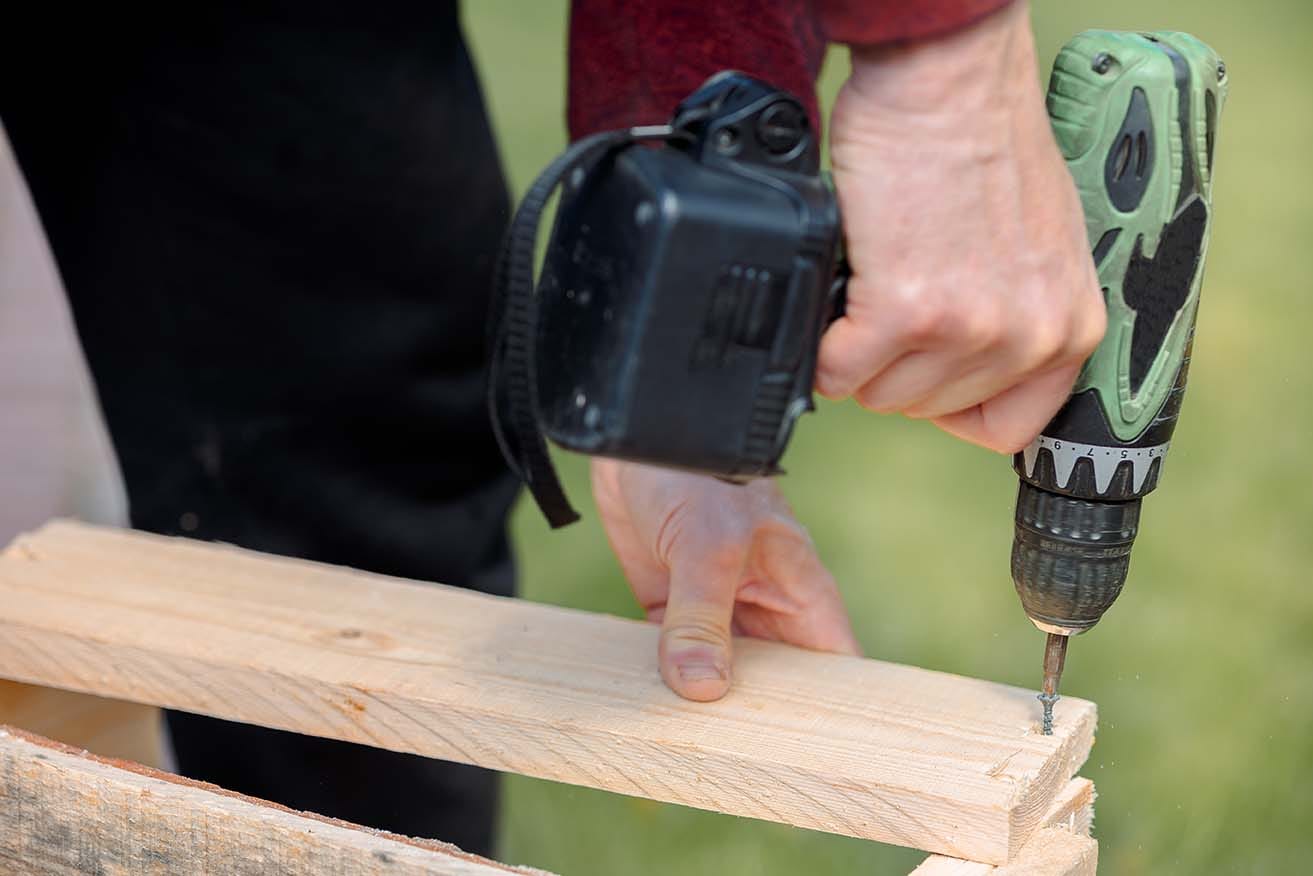
Building Help
There are a number of resources online that can show you how to put together a panel. While not all of them are paying attention to proper physics, you can still get an idea of the visual steps needed to get yourself going down the DIY road.
A Word of Caution
If you are going to construct your own absorber panels, please do yourself the favor of wearing appropriate safety equipment and working in a well-ventilated area. Like anything that is constructed, take care to protect your skin, eyes, ears, and body.
Frequently Asked Questions
What if I mix entirely on headphones?
If you produce, arrange, and mix 100% on headphones, you can skip acoustic treatment for monitoring! Sound waves go directly from the headphone driver into your ear canal without ever interacting with your room boundaries. However, keep in mind that room acoustics still matter for microphone recording.
If you track vocals or acoustic guitar in a bare, echoey bedroom, those room reflections will bleed straight into your microphone, regardless of how good your mixing headphones are.
How many acoustic panels do I need to start?
You don't need to cover your entire room. In fact, over-treating a small room can make it feel dead and uninspiring. Start with just 4 to 6 core panels:
2 panels for your high-energy front wall reflection points.
2 panels for your left/right primary side wall reflection points.
1-2 panels (or "ceiling cloud") directly above your head.
2 to 3 thick panels mounted across your front room corners to help with low-end absorption.
That small setup tackles roughly 60-80% of your room's acoustic problems for a fraction of the cost.
Where to Go Next
Acoustic treatment can feel daunting when you look at it as an all-or-nothing prospect. But remember, this is a gradual process, not an overnight sprint. Every single reflection point you tame gives you a cleaner, more reliable listening environment.
Now that you understand how sound behaves in your room, take the next step in optimizing your workspace:
Optimize Your Desk Layout: Before hanging panels, make sure your physical gear is placed for acoustic symmetry. Any panel you hang up is dependent on your listening position being in an optimal spot. It is important to know how to choose the right space for your home studio in a small room to lock in your desk and speaker positioning before proceeding with any acoustic treatment.
Pitfall Alert: Once you've locked in your desk position, studio monitor placement, and acoustic treatment, the next step is protecting your wallet - watch out for common home studio money traps.
If you have done the work to get your room sounding good, then why not celebrate by taking a musical idea and turning it into a finished song? The free Embervane Sparkflow Map is designed to help you do just that. It is a step-by-step guide covering 35 pages that help you avoid getting stuck, burnt out, or making mistakes that prevent your songs from getting finished.
And when you're ready to up your MIDI instrumentation game, jump straight into our free MIDI Madness Tier 1 course.
Keep building your foundation step-by-step, trust your ears, and go make some music!
Found this guide helpful?
Spread the word and share with another creator.
Return to Set Up Your Home Studio Without Wasting Money Topic Hub
About the Author

Jim is the creator of Embervane - a lifelong music maker with a curiosity‑driven approach to creativity and learning. He has been playing drums since age nine and composing seriously since 2018, continually refining his craft through study, experimentation, and hands‑on practice.
With a background in chemistry and more than two decades of studying behavioral psychology, Jim brings a unique blend of scientific thinking and human understanding to music education. He beta‑tests tools for companies like Mastering the Mix, Kit Plugins, and Soundiron, which keeps him close to the evolving landscape of modern production.
Jim isn’t a celebrity producer or award‑winning engineer - he’s a creator who remembers exactly what it feels like to struggle, learn, and grow. His mission is to help other music makers build clarity, confidence, and momentum in their craft.
Jim is the creator of Embervane - a lifelong music maker with a curiosity‑driven approach to creativity and learning. He has been playing drums since age nine and composing seriously since 2018, continually refining his craft through study, experimentation, and hands‑on practice.
With a background in chemistry and more than two decades of studying behavioral psychology, Jim brings a unique blend of scientific thinking and human understanding to music education. He beta‑tests tools for companies like Mastering the Mix, Kit Plugins, and Soundiron, which keeps him close to the evolving landscape of modern production.
Jim isn’t a celebrity producer or award‑winning engineer - he’s a creator who remembers exactly what it feels like to struggle, learn, and grow. His mission is to help other music makers build clarity, confidence, and momentum in their craft.


©2026 Embervane LLC. All rights reserved. Embervane™ is a trademark of Embervane LLC.