
Common Home Studio Money Traps (and What to Buy Instead)
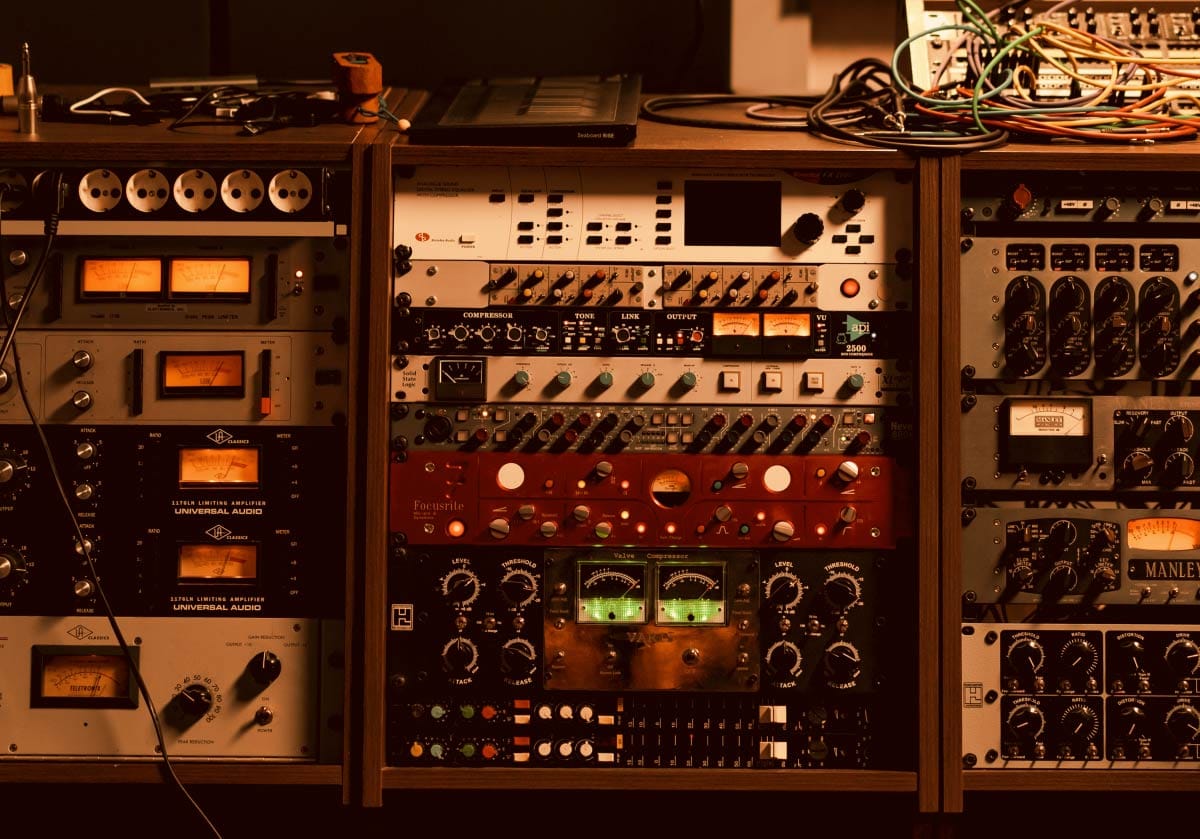
So Much Stuff to Buy!
When you decide to start making music at home, the internet hits you with a barrage of marketing messages.
Audio equipment manufacturers, gear reviewers, and flashy social media producers make it feel like you are always just one purchase away from a professional sound. You’re told that if you buy a $500 microphone, a stack of vintage analog-modeled plugins, or gold-plated audio cables, your mixes will magically transform into radio-ready hits.
Let’s dismantle that lie right away: buying more gear will not automatically make you a better producer.
In fact, overspending on the wrong gear at the wrong time is the single fastest way to drain your bank account, clutter your studio desk, and paralyze your creative momentum.
Most beginners don't fail because they lack gear; they stall out because they get caught in the trap of chasing retail therapy instead of developing core music-making skills. If you are going to set up your home studio without wasting money, then you will want to watch out for a series of key money traps.
In this guide, I'm breaking down six of the most common home studio money traps, why they ruin your workflow, and what smart, budget-conscious tools you should acquire instead.
Let's spot some traps!
Overbuying, Wrong Purchase Order, and the Gear Obsession Trap
Before diving into individual gear categories, it helps to understand the psychology behind home studio overspending.
When you sit down at your computer and struggle to make a vocal pop, dial in a tight kick drum, or get your mix to sound punchy, it creates friction. Friction feels uncomfortable. Buying a new piece of hardware or a shiny plugin bundle gives you an immediate hit of dopamine - it feels like progress, even though you haven't actually solved the underlying problem.
The secret to building an effective home studio isn't spending thousands of dollars. It’s about eliminating friction and making purchases in an order that actually supports your growth.
Let me walk you through the six biggest financial traps waiting for you - and how to dodge them like a pro.
Trap 1: Buying Expensive Studio Monitors First (Instead of the Best Budget Headphones)
It’s the classic beginner move: you get your DAW installed, fire up your setup, and immediately drop $400 to $800+ on a shiny pair of 8-inch studio monitor speakers.
You unbox them, set them directly on your hollow wooden desk against a bare drywall corner, and crank up your favorite track.
The Problem: Boomy Room Acoustics and False Mix Translation
Here is the harsh reality: your speakers are only as accurate as the room they are sitting in.
If you put high-end studio monitors in an untreated bedroom, low-frequency bass waves will bounce off your walls and collect in your room corners. Certain bass notes will sound booming and loud, while others cancel out entirely. Your speakers might be flat and accurate, but what reaches your ears at your desk is a sonic lie.
You end up cutting bass in your DAW mix because it sounds overwhelming in your room. Then you export the file, play it in your car or on your earbuds, and realize your track has zero low-end power.
What to Buy Instead: Neutral Headphones & Best Budget Studio Monitors Later
Instead of blowing your entire startup budget on heavy speakers, invest in a reliable pair of neutral, industry-standard studio headphones (such as the Audio-Technica ATH-M50x, Beyerdynamic DT 770 Pro, or Sennheiser HD 560S).
Studio headphones bypass your room's acoustics entirely. They deliver direct, uncolored sound to your ears for a fraction of the cost of studio monitors. Because of this, headphones are a highly recommended place to start for beginners.
If you do want speakers down the road, pair smaller 5-inch budget monitors with basic DIY absorber panels and desktop isolation pads first. Listening accurately through $150 headphones will beat mixing in an untreated room on $1,000 speakers every single time.
Trap 2: The "Plugin Hoarding" Trap (And Black Friday FOMO)
Across the year, you get hit with consistent messages by plugin companies to buy their products. By the time November hits, you open a social media app or video tutorial and see a producer claiming that the secret to their vocal sound is a specific $200 'one-step' vocal treatment plugin - it can be tempting! Then Black Friday hits, sales pop up everywhere, and suddenly you’ve spent $500 on 40 different EQ, compressor, and saturation plugins you barely know how to use.
The Problem: Overwhelming Choices and Unused License Collections
This is called "plugin hoarding," and it is a massive momentum killer.
When you have 15 different compressors sitting in your dropdown menu, you spend more time auditioning interfaces and scrolling through preset menus than actually listening to the music. You end up relying on presets created for someone else's song rather than learning how dynamic control actually works.
Now, don't get me wrong - I have an arsenal of plugins - some that ended up being useful and others not so much. But the point here is learning the fundamental skills that allow you to really unlock the power of a plugin you choose to buy.
Most beginners fall into the trap of purchasing plugins because they think these tools are a magic bullet for amazing sound. Spoiler alert - they are not... unless you build the skills to know how to wield those tools powerfully.
What to Focus On: Native DAW Plugins and Listening Skills
Every major DAW - whether Ableton, Logic, FL Studio, REAPER, or GarageBand - comes packed with powerful, ultra-clean stock plugins.
Stock EQs, stock compressors, and stock reverbs are incredibly light on your computer’s CPU and entirely capable of producing commercial-quality records. Before you buy a single third-party plugin bundle, master your DAW's native tools:
Learn Subtractive EQ
Practice carving out muddy frequency clutter using a stock parametric EQ. Your ability to learn how to trim away problem frequencies will serve you very well throughout your time working on music. Cutting does not seem intuitive, which is why building this skill helps to hear a whole new world with music: what does not need to be there and can be trimmed away instead of what needs to be added.
Master Basic Compression
Compression is a powerful tool that is often misunderstood. Learn how to hear compression and how attack and release times affect different instruments that you might use using your stock compressor. Try it when smoothing out a vocal, turning up your drum punch, and gluing your master bus to get a feel for how different settings and compression levels can work for you.
Need a Deep Dive?
If you've ever struggled to actually hear what a compressor is doing to your audio, check out my complete 26-minute video breakdown below. I'll walk through real-world audio examples step-by-step so you can train your ears to spot compression instantly:
Train Your Ears
Imagine needing to paint a picture while wearing a blindfold? That is the equivalent of trying to make a great-sounding song without ear training.
You might think that you can hear just fine - after all, your ear doctor tested your hearing and things looked good (or maybe not). But your ear's ability to detect sound is completely different than the skills used to identify very specific sub-level music-related sounds when music is playing.
To build skills like transient identification, understanding compression and hearing its effects, training your ears to hear both what is missing and what needs to be taken away and other useful things, spend your money on ear-training software (like SoundGym or TrainYourEars) and invest that time into finishing songs instead of collecting software licenses.
(Don't worry - the plugins will be there when you boost your skills. And then, you'll know which ones will move the needle for you.)
Trap 3: Chasing "Shiny Hardware" Outboard Gear Early On
There is an undeniable allure to rackmount hardware. Glowing vacuum tubes, big aluminum volume knobs, and vintage-style VU meters look fantastic on a studio desk. Beginners often believe that to get "warm, professional" vocals, they need a standalone hardware mic preamp or an outboard optical compressor before hitting their computer.
The Problem: Expecting Analog Preamps to Fix Poor Technique
Hardware outboard gear is expensive, heavy, and unforgiving. A decent hardware preamp or compressor easily costs between $600 - $2,000+.
For a beginner, adding outboard hardware introduces technical friction:
You have to manage gain staging manually across multiple hardware boxes.
Once audio is recorded through analog hardware, you cannot "undo" heavy compression or saturation.
Expensive hardware will not fix a noisy room, bad microphone placement, or an off-pitch vocal performance.
What to Buy Instead: A Best Budget Audio Interface & Good Mic Technique
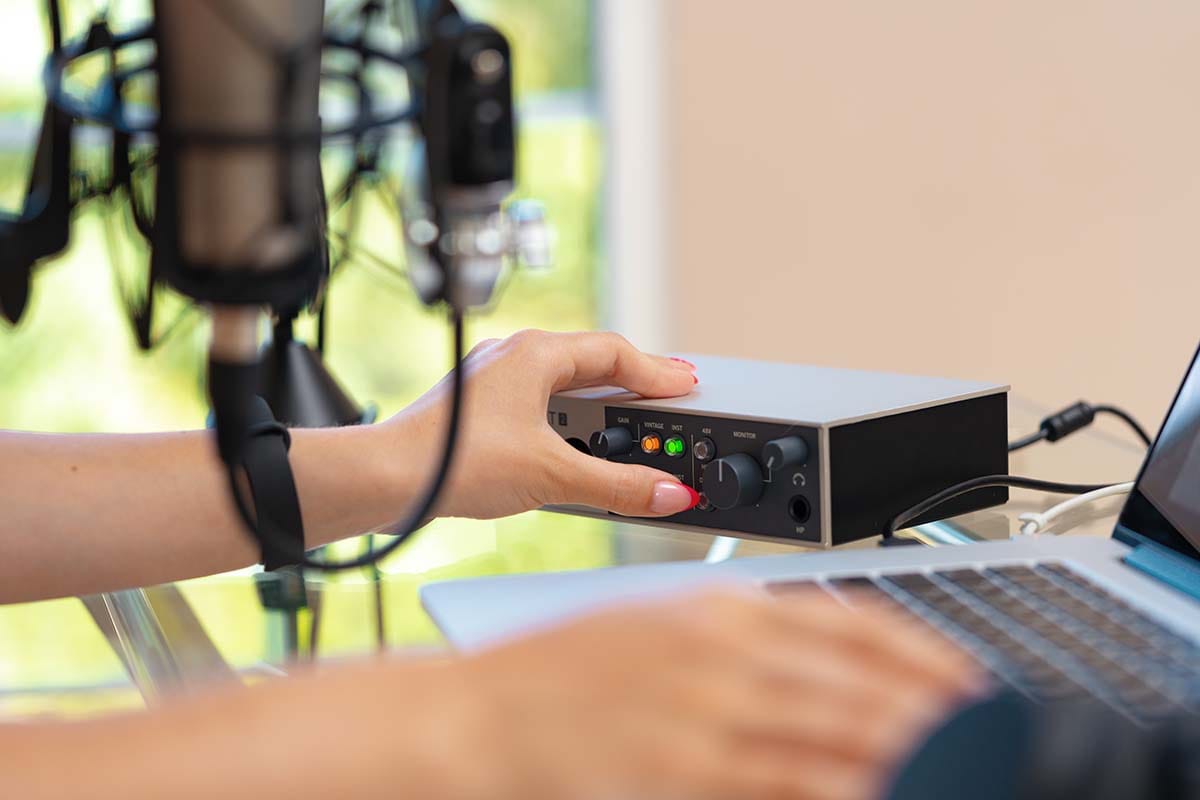
Modern entry-level audio interfaces (like the Focusrite Scarlett, Audient iD series, or MOTU M2) feature ultra-clean, low-noise built-in preamps and pristine digital converters for around $120–$200.
Instead of chasing analog hardware:
Practice proper vocal distance (staying 4–6 inches from your mic capsule).
Use a $20 pop filter to stop plosive thumps.
Sing or perform with confidence.
A clean digital recording taken with great performance technique will crush a noisy, poorly staged take recorded through a $1,500 analog preamp every time.
Trap 4: Acoustic Foam vs. Panels (Wasting Cash on Thin Foam)
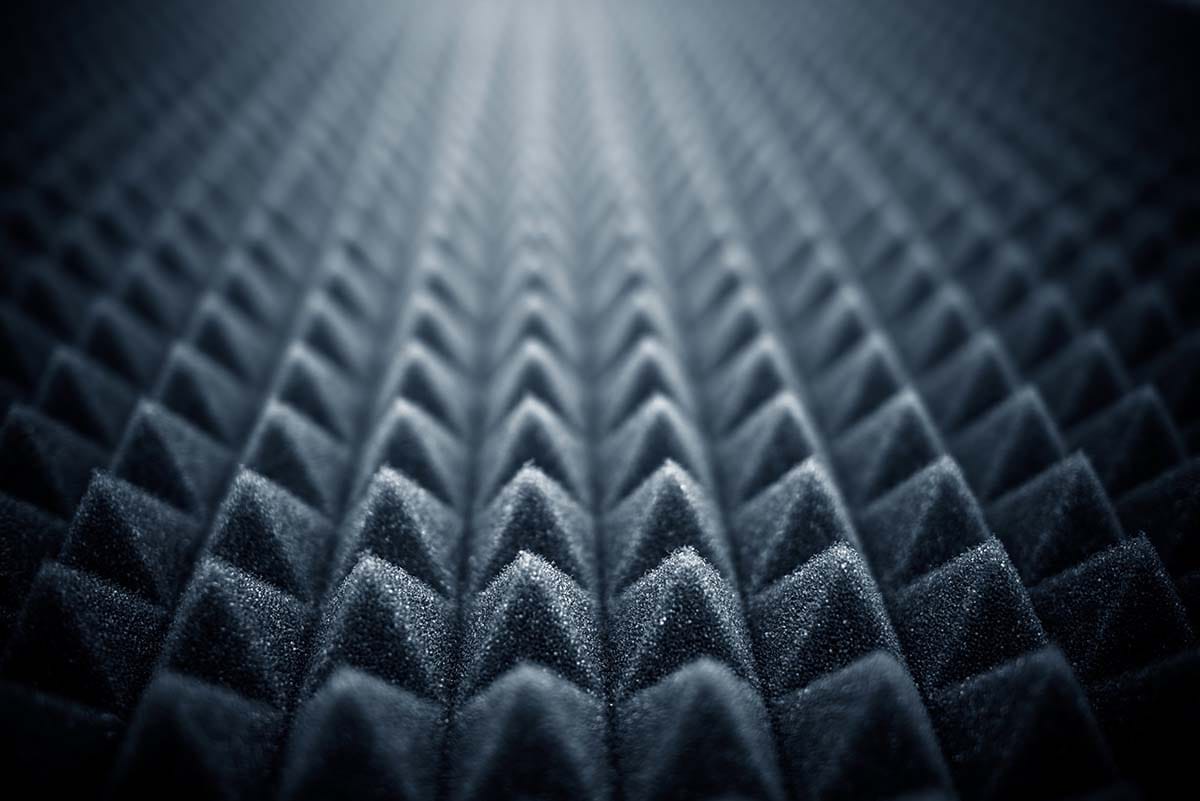
You've seen them all over the internet: packs of 12-inch or 24-inch thin, black-and-red foam pyramid squares sold in bulk for $30 to $50. It’s tempting to buy three packs, stick them all over your bedroom walls, and assume your room is acoustically treated.
Heck, before I knew what was going on, I purchased thin foam 'absorbers' like this.
The Problem: Thin Foam Only Absorbs Highs and Leaves Low-End Mud
As we covered in our deep dive on room acoustics, thin 1-inch or 2-inch lightweight acoustic foam is largely a waste of money for home music production.
Sound energy behaves based on wavelength:
High frequencies (hi-hats, vocal sibilance) have very short wavelengths.
Low frequencies (kick drums, basslines) have massive wavelengths - up to 20+ feet long!
Cheap thin foam only absorbs ultra-high frequencies. When you cover a room in thin foam, you deaden the room's natural high-end air while leaving the massive mid-range and low-end mud bouncing off your drywall completely untouched. Your room ends up sounding dark, boxy, and muffled.
What to Buy Instead: Rockwool or Fiberglass Absorber Panels
If you are going to spend money on acoustic treatment, invest it where it actually works:
DIY Insulation Panels: Build simple wooden frames packed with 4-inch to 6-plus-inch Rockwool, Owens Corning 703, or fiberglass insulation.
Corner Bass Absorbers: Place thick absorption across room corners where low frequencies accumulate.
Purchased Absorber Panels: If DIY is not your thing, then purchase quality absorption panels from a reputable supplier.
Trap 5: The "Monster Cable" and Audiophile Accessory Trap
When you get to the checkout page of a music retailer, you'll often see recommendations for $80 gold-plated audio cables, "audiophile-grade" power conditioners, or custom wooden monitor isolation stands costing hundreds of dollars.
The Problem: Overpaying for Gold-Plated Snake Oil
The audio industry is full of marketing jargon designed to separate you from your money. Make good decisions when purchasing, and to do that it is important to be educated.
While you certainly shouldn't buy dirty, paper-thin $2 cables that fall apart after three uses, buying "audiophile-grade" cables with gold connectors will not make your synth tracks sound wider or your bass notes sound warmer. Electricity in a balanced copper audio cable either carries an analog signal cleanly or it doesn't.
Look, I am not saying that expensive cables are bad. But they are expensive. When you starting out, it is much more important to get a good value than it is to get higher-cost gear.
The fact is that gold plating prevents long-term corrosion in harsh marine environments and can provide better wear and tear for cables that are being plugged/unplugged, but it offers zero improvement to audio signal quality in a dry home bedroom setup.
What to Buy Instead: Durable Balanced TRS/XLR Cables and Isolation Pads
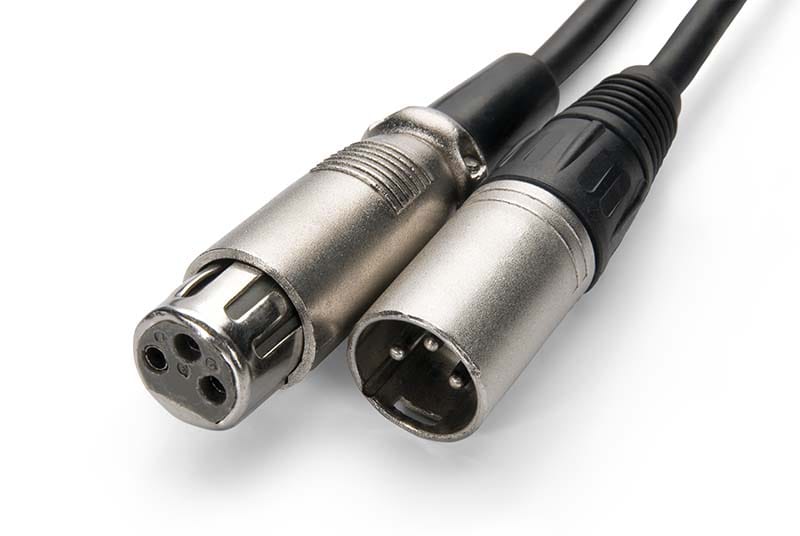
Stick to reputable, industry-standard cable manufacturers (like Hosa, Mogami, or D'Addario) offering durable, balanced TRS and XLR cables. Costs and quality will still vary, so find cables that work for your situation.
The truth is, a standard $20–$45 balanced cable from a reliable brand will last for years, reject EMI interference, and deliver 100% of the signal purity you need. Take the money you saved on fancy cables and put it toward a solid MIDI keyboard controller or a comfortable studio chair!
Trap 6: Upgrading Gear Out of Sequence (Upgrading Out of Order)
Perhaps the biggest money trap of all is buying gear completely out of order - upgrading hardware or software to solve a problem that is actually caused by poor workflow, lack of practice, or bad room acoustics.
Wrong Order: Buy $800 Monitors > Buy Hardware Pre-Amp > Realize Room Echo Ruins Everything
Right Order: Computer + DAW > Studio Headphones > Interface + Mic > MIDI Controller > Speakers & Room Treatment (if needed)
The Problem: Solving Workflow & Skill Deficits with Retail Therapy
Upgrading out of sequence happens when you buy a new piece of gear before mastering the gear you already own. You buy a second condenser microphone because your vocals sound harsh, only to realize later that the harshness was caused by singing off-axis into an untreated room.
As tempting as it can be, focus on figuring out where your 'gear deficiencies' are by focusing on your creative workflow and finishing a stack of songs. You might be surprised at how clear the needs become when you keep running into a particular problem that your current tools don't fix as you finish song after song.
What to Do Instead: The Recommended Embervane Purchase Roadmap
To keep your studio build structured, affordable, and free of buyers' remorse, follow this proven step-by-step gear priority roadmap:
Computer & DAW: Start with a computer that runs smoothly and a DAW that feels comfortable to navigate.
Studio Headphones: Get a pair of neutral, closed-back or open-back headphones to hear your audio accurately.
Audio Interface & Microphone: Grab an entry-level 2x2 USB interface and a reliable budget microphone (dynamic or broad-frequency condenser).
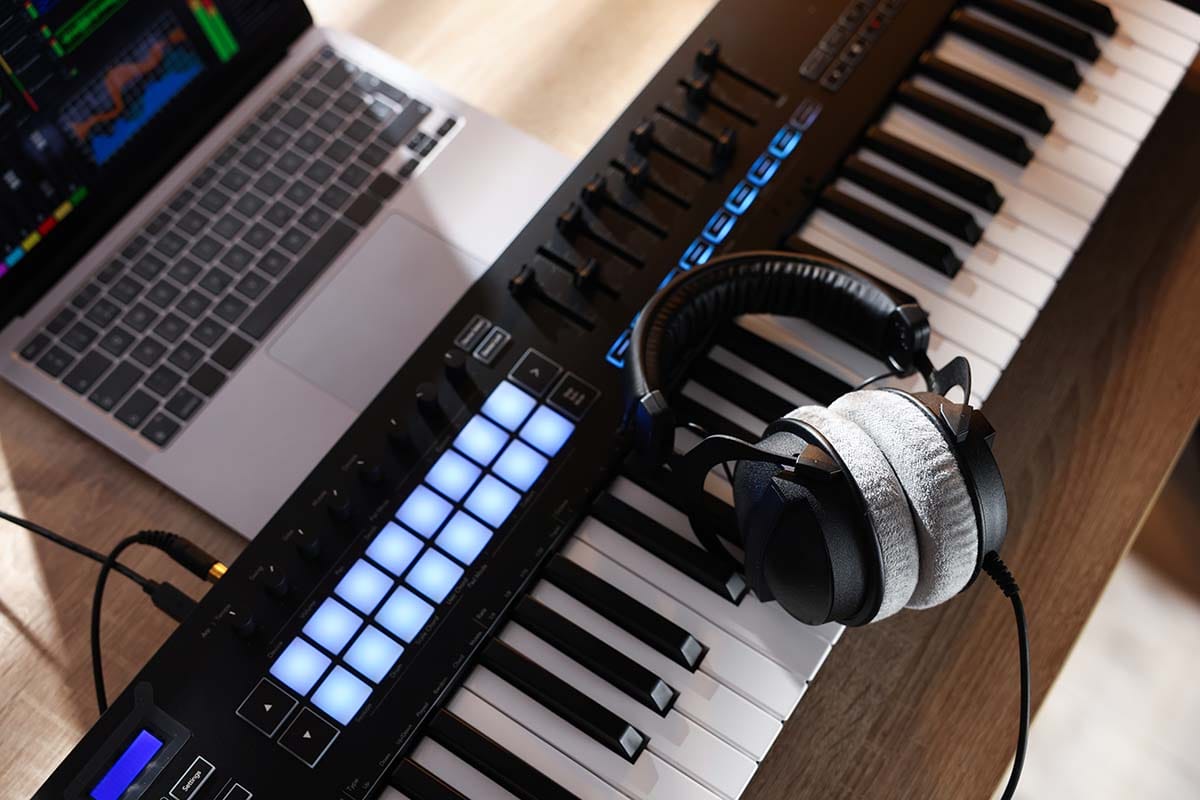
MIDI Keyboard Controller: Add a simple 25-key or 49-key velocity-sensitive MIDI controller to sketch out melodies and chords easily.
Acoustic Treatment & Monitors: Once your skills outgrow headphones and your workspace is stable, add basic room absorption and studio monitors.
Frequently Asked Questions
How much does a home studio cost to set up from scratch?
You can build a fully functional, professional-grade home music production setup for roughly $300 to $600 total (assuming you already own a basic laptop or desktop computer).
A starter setup includes a DAW subscription or trial ($0–$100), a clean USB audio interface ($120), a pair of decent studio headphones ($100–$150), a budget condenser or dynamic mic ($100), and a simple MIDI keyboard ($80–$100).
Can you spend more? 100% - but you don't need to when you first start. Consider your budget and where your money can be spent to have the largest impact.
Do I need a standalone mic preamp with a modern audio interface?
No, absolutely not. Modern USB audio interfaces under $200 come equipped with exceptionally clean, low-noise digital preamps. Standalone hardware preamps are a luxury item for commercial studios - they are completely unnecessary for beginners and will not noticeably improve your vocal recordings compared to using a good microphone with good mic technique.
Do preamps have their place? Sure - but that normally comes with finishing more songs so you know which one might work for you in your workflow.
Is acoustic foam ever worth buying for home studios?
Thin egg-crate foam is generally not worth buying for general room treatment because it fails to absorb low and mid frequencies. However, dense foam isolation pads placed directly underneath studio monitors on your desk are useful - they stop speaker vibrations from transferring into your wooden desktop surface.
(Pro Tip - if you added acoustic panels but there is still an issue with the high-end, some foam absorbers can help to more surgically take care of this issue after you knock out the big stuff.)
Where to Go Next
Dodging gear traps is all about protecting your budget and preserving your creative energy so you can focus on what actually matters: writing and finishing great songs.
Now that you know what gear to prioritize and what to skip, take the next logical steps in building out your home studio workspace:
Optimize Your Desk Layout: Before hanging panels, make sure your physical gear is placed for acoustic symmetry. Any panel you hang up is dependent on your listening position being in an optimal spot. It is important to know how to choose the right space for your home studio in a small room to lock in your desk and speaker positioning before proceeding with any acoustic treatment.
When to Expand: We've spent a lot of time going over how not to overspend here, but knowing when to expand your studio without upgrading too soon is key.
If you have done the work to get your room sounding good, then why not celebrate by taking a musical idea and turning it into a finished song? The free Embervane Sparkflow Map is designed to help you do just that. It is a step-by-step guide covering 35 pages that help you avoid getting stuck, burnt out, or making mistakes that prevent your songs from getting finished.
And when you're ready to up your MIDI instrumentation game, jump straight into our free MIDI Madness Tier 1 course.
Keep your studio setup simple to start, protect your wallet, and get back to finishing those songs!
Found this guide helpful?
Spread the word and share with another creator.
About the Author

Jim is the creator of Embervane - a lifelong music maker with a curiosity‑driven approach to creativity and learning. He has been playing drums since age nine and composing seriously since 2018, continually refining his craft through study, experimentation, and hands‑on practice.
With a background in chemistry and more than two decades of studying behavioral psychology, Jim brings a unique blend of scientific thinking and human understanding to music education. He beta‑tests tools for companies like Mastering the Mix, Kit Plugins, and Soundiron, which keeps him close to the evolving landscape of modern production.
Jim isn’t a celebrity producer or award‑winning engineer - he’s a creator who remembers exactly what it feels like to struggle, learn, and grow. His mission is to help other music makers build clarity, confidence, and momentum in their craft.
Jim is the creator of Embervane - a lifelong music maker with a curiosity‑driven approach to creativity and learning. He has been playing drums since age nine and composing seriously since 2018, continually refining his craft through study, experimentation, and hands‑on practice.
With a background in chemistry and more than two decades of studying behavioral psychology, Jim brings a unique blend of scientific thinking and human understanding to music education. He beta‑tests tools for companies like Mastering the Mix, Kit Plugins, and Soundiron, which keeps him close to the evolving landscape of modern production.
Jim isn’t a celebrity producer or award‑winning engineer - he’s a creator who remembers exactly what it feels like to struggle, learn, and grow. His mission is to help other music makers build clarity, confidence, and momentum in their craft.


©2026 Embervane LLC. All rights reserved. Embervane™ is a trademark of Embervane LLC.