
How to Expand Your Home Studio Over Time Without Upgrading Too Soon
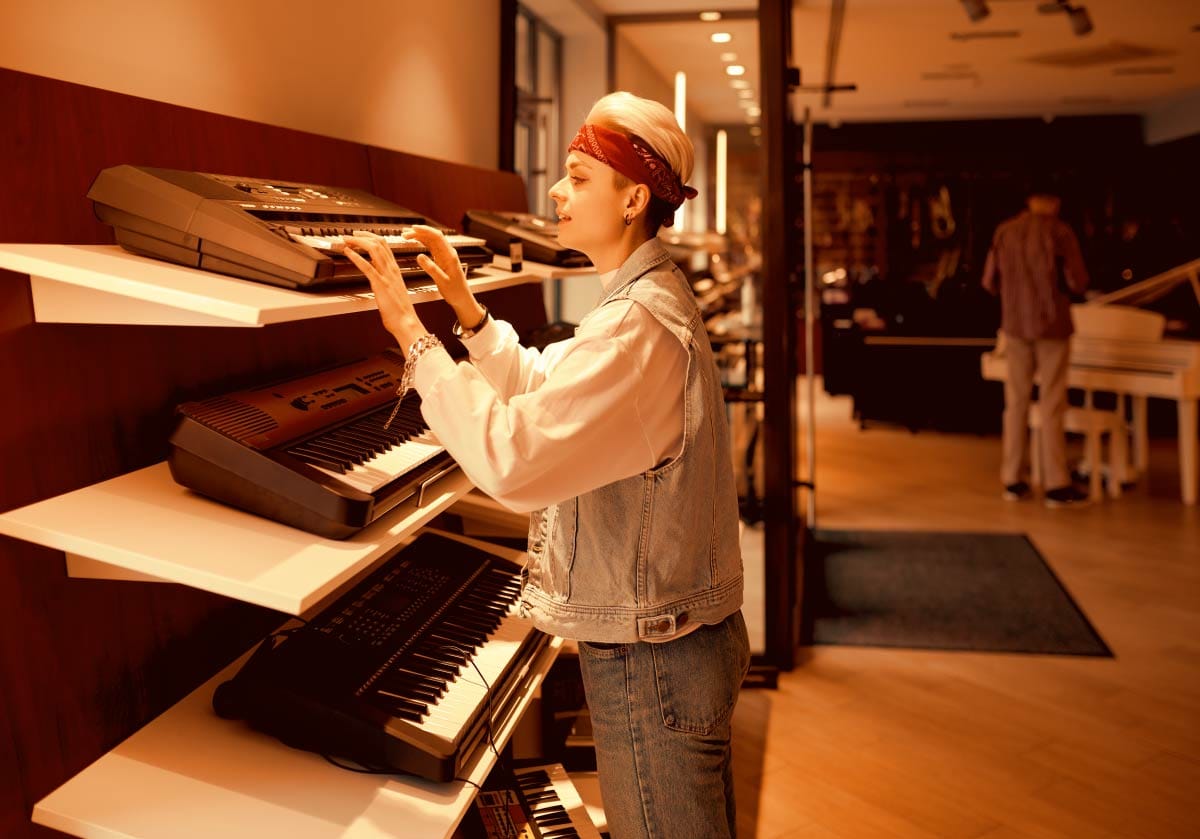
It's Upgrade Time!
The temptation to buy gear is the constant companion of every digital music producer. I mean, come on - gear looks awesome, right? We live in an era of relentless marketing where every new audio interface, analog synthesizer, MIDI controller, and vintage-modeled plugin promises to be the missing link between our current tracks and professional, radio-ready releases.
When you start making music on a computer, your foundation is mercifully simple: a reliable laptop, a Digital Audio Workstation (DAW), a basic audio interface, a pair of decent headphones, and a simple MIDI controller. With just those core home studio essentials, you can write, arrange, mix, and release complete songs.
Eventually, though, you will hit real walls. You will notice clear limitations in your monitoring, annoying friction in your physical workflow, or concrete boundaries in your sound design.
The secret to knowing how to upgrade your home studio isn't buying gear whenever you have spare cash sitting in your bank account - it’s knowing what to buy, why you need it, and when the investment actually serves your music. And that is how you set up your home studio without wasting money - upgrading your gear or software by resolving real workflow chokepoints.
In this guide, I am going to model a strategic studio expansion roadmap, show you how to identify when you actually need an upgrade, and help you figure out which piece of gear needs to be replaced, added, or skipped altogether.
Let's hit it!
The Strategic Home Studio Upgrade Path (Order of Operations)
Assuming you already have a working computer, a DAW, an entry-level audio interface, studio headphones, and a basic controller, here is the most logical order to expand your studio step-by-step without blowing your budget out of order.
1. Studio Monitors & Room Treatment (The Critical Monitoring Pivot)
If you started your journey producing exclusively on headphones, your first structural upgrade should be moving to dedicated studio monitors paired with targeted room treatment.
Headphones are exceptional for detail work, micro-editing, and late-night composition. However, they eliminate the natural sound crossfeed between your left and right ears, making stereo imaging, low-end balance, and depth perception feel artificial.
Upgrading to quality studio monitors gives you a true physical soundfield. But buying monitors without treating your room is a half-measure. Untreated parallel walls, glass windows, and bare drywall corners reflect sound waves, creating phase cancellation and boomy room modes that trick your ears into making bad mix decisions.
Prioritize budget acoustic treatment - specifically thick bass traps in primary corners and broadband absorption panels at your first reflection points - alongside your monitor purchase. Evaluating sound accurately in physical space transforms how your mixes translate to the outside world.
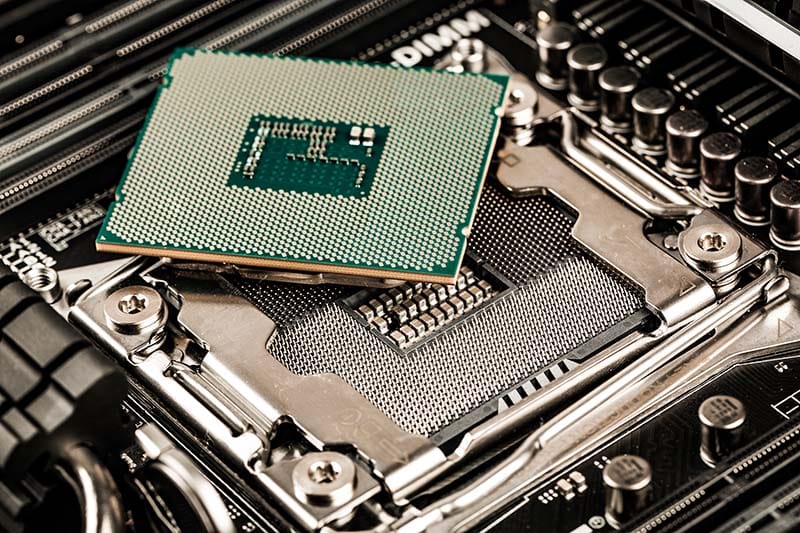
2. Computer Spec Expansion (RAM, Storage & Processing Power)
Before you start buying fancy analog hardware, look at the engine powering your entire operation: your computer.
As your production skills improve, your sessions will naturally grow. You will start using resource-heavy orchestral sample libraries, multi-sampled drum instruments, and CPU-intensive mixing plugins. If your computer starts stuttering, choking on low buffer settings, or throwing "CPU Overload" warnings every time you press the spacebar, your creativity takes a direct hit.
Upgrading your system's RAM (aiming for 32GB or more for modern production) and moving your session files and sample libraries onto ultra-fast internal or external NVMe SSD drives is often the single most high-impact upgrade you can make for home music studio essentials. It removes invisible system drag and keeps your sessions running butter-smooth.
I remember running into this wall at one point - my projects became more sophisticated and when I needed to bounce in place more than once just to keep the CPU utilization tamed, I realized that it was time for beefier computer hardware.
3. Microphone Upgrades (Targeted Acoustic Capture)
Most beginner studio starter bundles include an inexpensive, all-purpose large-diaphragm condenser microphone. While these utility mics get the job done for initial song demos, they often feature harsh upper-midrange frequency boosts and noisy internal circuitry.
When your recording needs mature, finding the best microphone upgrade for your home studio depends on your primary recording focus:
For Vocals
A high-quality large-diaphragm condenser or a legendary broadcast dynamic microphone (like the Shure SM7B or Roswell Mini K47) tuned to your specific voice type tames harsh sibilance and captures nuanced vocal warmth.
For Acoustic Instruments & Guitars
A pair of small-diaphragm pencil condensers or an active ribbon mic captures transient detail and natural room tone without adding brittle top-end glare.
4. Dedicated MIDI Control Surfaces & Fader Banks (Tactile Speed)
Writing automation, tweaking synth parameters, and drawing in mix volume levels using a computer mouse is tedious. It forces your brain out of "musical mode" and drags you straight into "computer operator mode."
Adding dedicated physical controllers reintroduces tactile feedback into your creative process:
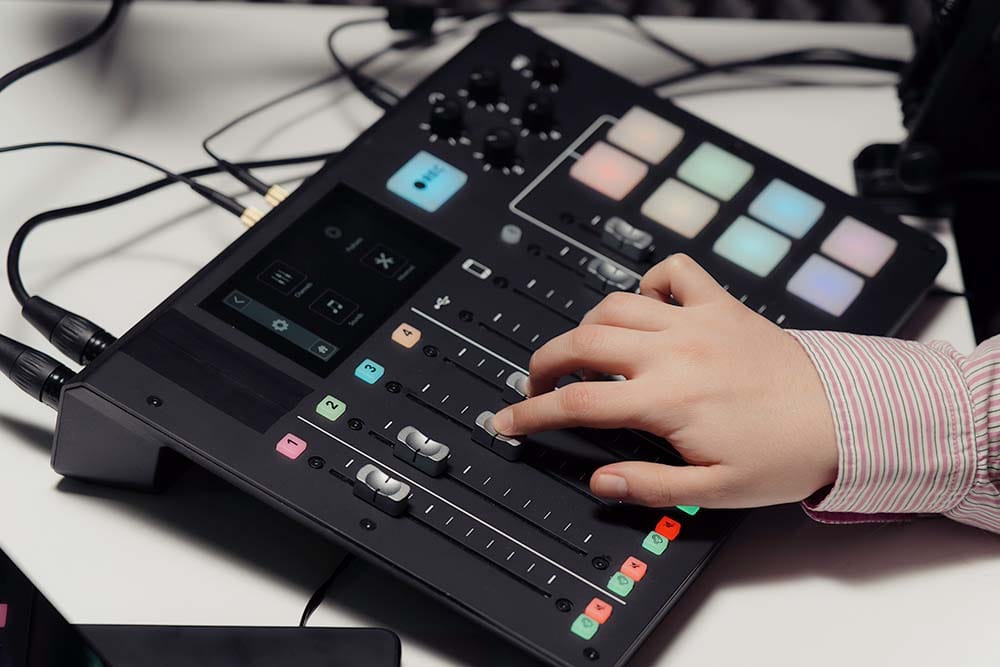
Motorized Fader Controllers (Mixing)
These controllers allow you to perform physical volume rides across multiple tracks simultaneously, bringing natural human movement back into digital mixes. This is how you bring the feel of a big mixing console into a compact desktop footprint.
Think about it this way - you could use a mouse and click, drag, and tweak for 20 minutes, or you could hit record and physically ride a fader to capture that exact performance in real time. Which way lets you feel the music better?
Expression & Modulation Controllers (Performance)
Dedicated fader controllers, breath controllers, or knobby CC surfaces allow orchestral, ambient, and synth producers to map parameters (like Modulation, Expression, and Vibrato) live while playing parts. It doesn't matter if you are playing in front of a crowd or recording into your DAW - you get the same result.
Taking an intuitive physical controller to layer in expressive performance data is not only more efficient than drawing lines with a mouse, but it sounds far more human.
5. Home Studio Rack Essentials & Patchbays (Eliminating Cable Chaos)
As you add external hardware, synth modules, and secondary controllers, you will inevitably hit the dreaded "port wall." You run out of USB ports on your computer, and crawling behind your desk to swap cables becomes a regular chore.
Upgrading your studio infrastructure with home studio rack essentials - such as a rackmount power conditioner, an industrial powered USB/Thunderbolt hub, and a dedicated desktop patchbay or monitor controller - keeps your workflow and your workspace clean. When every instrument and audio path is permanently cabled and accessible at the flip of a switch, the barrier between having an idea and recording it vanishes.
6. Analog Outboard Signal Chains (Color, Character, and Headroom)
Once your digital workflow is fast and your monitoring environment is reliable, you may find that ultra-clean digital recordings feel a bit sterile. Digital processing is precise, but analog hardware adds subtle harmonic distortion, natural compression, and non-linear saturation that gives audio weight and "glue."
Upgrading to an outboard analog signal chain typically involves:
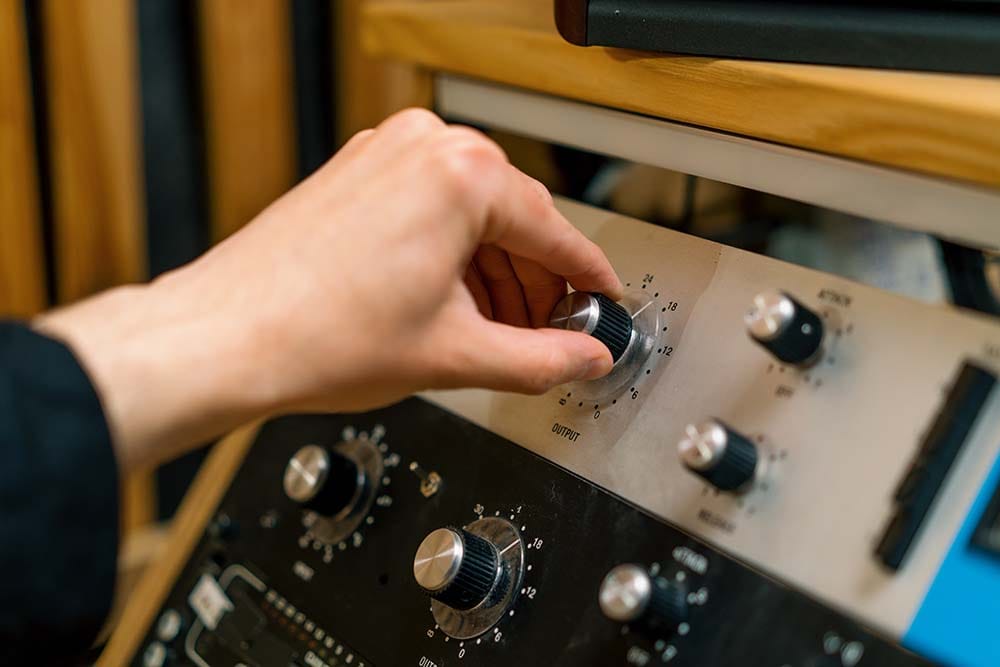
Standalone Channel Strips / Preamps
A high-end outboard preamp adds immediate presence, warmth, and harmonic richness before the signal ever hits your digital converters.
Outboard Hardware Compressors & EQs
Classic optical compressors or parametric EQs allow you to shape dynamics on the way into the DAW, locking in polished tones during tracking rather than trying to fix weak recordings later in post.
Analog hardware isn't strictly necessary for modern production, but for producers seeking distinct sonic character and tactile recording workflows, it is an unmatched upgrade.
7. DSP Expansion & Interface I/O (System Latency Elimination)
As your sessions grow from 10 tracks to 80+ tracks laden with instruments and plugins, your computer’s CPU can face heavy strain. If you need to record live vocalists or overdubs late in the production process, high buffer sizes introduce distracting audio latency.
Upgrading to an expanded audio interface with integrated DSP (Digital Signal Processing) offloads heavy plugin processing directly onto dedicated hardware chips inside the interface. This allows you to monitor through latency-free plugins, sub-mixes, and reverb sends without stressing your computer’s primary processor.
Simultaneously, expanding your interface's physical Input/Output (I/O) count via ADAT optical connections prepares your studio for multi-mic drum tracking, hardware synth arrays, or outboard hybrid mixing setups.
When to Replace Existing Gear: Fixing Workflow Friction
Upgrading your studio shouldn't be driven by shiny new tech releases; it should be driven by identifying and eliminating friction in your creative process.
Every time you encounter a delay, a crash, or an awkward workaround while making music, a tiny amount of your creative energy leaks out of your session.
The Productivity Parable: Imagine working on an internet connection that takes 15 seconds to load every single webpage. If you click 200 links a day, you lose almost an hour every single day just staring at a loading icon. Upgrading your connection speed doesn't just save time; it stops your focus from shattering every 30 seconds.
The exact same principle applies to your home studio setup essentials.
Ask yourself these three diagnostic questions to determine if a piece of gear actually needs replacing:
Am I Spending More Time Troubleshooting Than Creating?
If your entry-level interface regularly drops its USB connection, produces crackling clock glitches, or requires constant driver re-installs, replace it. The psychological tax of wondering whether your gear is going to work today kills artistic momentum faster than anything else.
Is Latency Forcing Me to Alter My Performance?
If you have to turn off master bus plugins, bypass processing, or alter your performance timing because your interface cannot achieve low latency, your hardware is actively holding back your musicianship. Remember that latency is also heavily affected by computer CPU strength and how efficiently your DAW handles that processing load.
Are Repetitive Technical Tasks Taking Me out of the Zone?
If you constantly reach for a computer mouse to adjust a simple monitoring level, or if you constantly have to crawl behind your desk to re-cable an instrument, your physical setup has a bottleneck. Upgrading to a dedicated monitor controller, a powered USB hub, or hands-on home studio equipment essentials eliminates mechanical friction so your brain stays in a creative flow state.
When to Add New Gear: Expanding Creative Capability
While replacing existing gear fixes broken workflows, adding brand-new gear unlocks creative capabilities you previously could not achieve.
Before buying a new piece of hardware or software, run it through a simple diagnostic test: Will this tool allow me to generate sounds, textures, or workflows that are currently impossible with my present setup?
Unlocking New Textures and Sound Generation
If you produce electronic, pop, or hybrid orchestral music, relying entirely on the same three stock virtual synths can lead to repetitive sound design habits. Adding a physical analog synthesizer, an expressive MPE (MIDI Polyphonic Expression) controller, or a unique acoustic instrument introduces organic unpredictability into your sessions.
You aren't buying the item because it looks impressive sitting on your desk; you are buying it because it introduces a sonic dimension your software cannot replicate.
Software Expansion vs. Hardware Expansion
It is also worth noting that expanding creative capability doesn't always mean buying physical boxes. Sometimes, adding a dedicated third-party sample library (like high-end orchestral strings or custom drum samples) or a specialized software instrument opens up more creative doors than a physical piece of hardware ever could - and for a fraction of the cost.
Look for where your creative output is actually stuck before deciding between software and hardware.
Staying in the Creative Flow State
The ultimate goal of adding gear is protecting your flow state - that effortless state of deep focus where hours pass like minutes and decisions happen intuitively.
If adding a dedicated hardware drum pad allows you to tap out natural, un-quantized percussion grooves in seconds rather than spending 20 minutes clicking notes onto a MIDI grid, that purchase pays for itself instantly in creative output.
Conversely, if adding a complex piece of gear introduces a steep technical learning curve that halts your song creation for weeks, you may have added unnecessary complexity too soon.
The Golden Rule of Studio Expansion
A world-class home studio isn't built overnight - it is assembled intentionally over years of regular production.
Whenever you feel the itch to buy new gear, follow this golden rule: Master your current tools until their physical limitations actively hinder your musical output.
When your mixing decisions are consistently accurate, your workflow is fast, and your creative vision exceeds what your current gear can physically deliver, you’ll know exactly what to buy next.
Expand with purpose, eliminate workflow friction, and keep the focus where it belongs: on the music.
Frequently Asked Questions
What gear should I upgrade first in my home studio?
If your room supports it, your very first structural upgrade should almost always be studio monitors paired with basic acoustic treatment. While headphones are great for detailed editing, monitors give you a realistic physical stereo field, and acoustic treatment prevents room reflections from throwing off your low-end balance and mixing decisions.
How do I know if I actually need a new piece of gear or if I have "Gear Acquisition Syndrome" (GAS)?
You have a legitimate need for an upgrade if your current gear creates physical friction - such as CPU dropouts, bad latency, or tedious computer mouse programming that interrupts your flow state. If you are buying a tool simply because it looks impressive on social media or promises a "magic fix" for your music, you are likely experiencing GAS.
Should I buy expensive analog hardware or stick to software plugins?
Stick to software plugins until your digital workflow is fast, reliable, and your room is acoustically treated. Modern plugins deliver world-class sound quality. Analog outboard gear (like preamps or hardware compressors) is a luxury upgrade designed to add subtle harmonic character and tactile control late in your studio progression.
Is it better to upgrade one piece of high-end gear or multiple budget items at once?
I'm a value guy, so keep that in mind - I am always looking for the biggest bang for my money spent. Because of that, I always prioritize one high-quality, targeted upgrade that solves an immediate bottleneck over buying several budget items at once.
Low-cost gear often comes with hidden workflow limitations that require another upgrade shortly down the road, while quality gear lasts for years and holds its value.
Where to Go Next
Expanding your studio isn't about collecting impressive hardware - it's about systematically eliminating bottlenecks so your ideas move from your head into your DAW with zero friction.
Now that you have a clear roadmap for when (and when not) to buy new gear, here are your next steps to keep your momentum going:
Dial In Your Environment First: Before you drop money on studio monitors or outboard gear, make sure your physical setup isn't fighting you. If your desk position and speaker placement are off, even $2,000 monitors won't translate correctly. Take the time to choose the right space for your home studio to lock in your room layout before making your next hardware investment - it is really that important.
Consider Your Budget: At the end of the day, the depth of our wallet determines what we get to play with. Building a fully outfitted studio takes time, but knowing your personal budget blueprint will help guide your future purchases so they make sense over the long haul.
Don't let waiting for the "next upgrade" become an excuse to stall your music. You already have enough tools right now to write and release incredible songs. If you're feeling stuck in the loop of starting ideas but never finishing them, grab the free Embervane Sparkflow Map. This 35-page step-by-step roadmap guides you through the entire production process so you can overcome creative burnout and cross the finish line.
If you want to get more expressiveness out of your current MIDI controller before buying expensive hardware faders, jump into our free MIDI Madness Tier 1 course.
Keep your setup lean, protect your creative focus, and put your energy into the only metric that matters: finishing great music.
Found this guide helpful?
Spread the word and share with another creator.
Return to Set Up Your Home Studio Without Wasting Money Topic Hub
About the Author

Jim is the creator of Embervane - a lifelong music maker with a curiosity‑driven approach to creativity and learning. He has been playing drums since age nine and composing seriously since 2018, continually refining his craft through study, experimentation, and hands‑on practice.
With a background in chemistry and more than two decades of studying behavioral psychology, Jim brings a unique blend of scientific thinking and human understanding to music education. He beta‑tests tools for companies like Mastering the Mix, Kit Plugins, and Soundiron, which keeps him close to the evolving landscape of modern production.
Jim isn’t a celebrity producer or award‑winning engineer - he’s a creator who remembers exactly what it feels like to struggle, learn, and grow. His mission is to help other music makers build clarity, confidence, and momentum in their craft.
Jim is the creator of Embervane - a lifelong music maker with a curiosity‑driven approach to creativity and learning. He has been playing drums since age nine and composing seriously since 2018, continually refining his craft through study, experimentation, and hands‑on practice.
With a background in chemistry and more than two decades of studying behavioral psychology, Jim brings a unique blend of scientific thinking and human understanding to music education. He beta‑tests tools for companies like Mastering the Mix, Kit Plugins, and Soundiron, which keeps him close to the evolving landscape of modern production.
Jim isn’t a celebrity producer or award‑winning engineer - he’s a creator who remembers exactly what it feels like to struggle, learn, and grow. His mission is to help other music makers build clarity, confidence, and momentum in their craft.


©2026 Embervane LLC. All rights reserved. Embervane™ is a trademark of Embervane LLC.